Purpose
I am aware that this topic has been done before and probably more times than is worth counting, however this was originally written as a HOWTO for my brother to install a replacement for his old gateway box. I wanted to include all of the stuff that is usually left out, as I felt that would reduce the number of possible phone calls until he wanted to do something interesting with the unit.
|
Note
|
This was originally posted on my business website as a reference for my brother. It seemed like a good idea to add it here, given the recent discussion of AsciiDoc and how to use it. This was posted with the blogpost utility from the asciidoc source document. |
History
As stated, this originally started as a guide for my brother to configure a replacement for his aging router device. There were a number of options, but the simplest one was to recommend something I already had experience with using.
I’ve been using pfSense for years on a variety of hardware, but that came later. Originally, I used a netwinder as my gateway device at home and over the years, migrated to using SmoothWall on an older PC that was gathering dust. This served me very well and I was happy for a while. Of course, it had an old IDE disk in it that was already three years past its warranty, so it eventually failed.
This started my down the road to find an inexpensive [1] system I could repurpose. I had a few FireBox IIs from a previous employer that went bankrupt and found an article on how to reflash the internals to run m0n0wall. This box was pretty good, did what I wanted but had some limitations and was much noisier than the previous solution, so eventually I replaced it with an old nokia-ip300 box that was repurposed to run SmoothWall again [2]
Around this time, newer fireboxes were showing up on the market and an Xcore unit was inexpensive. It had the bonus of being an x86 box, so it would be possible to get something useful running on it. The choices were m0n0wall and pfSense and a number of people had already done the real work, so all I needed to do was get one and connect the dots. I looked at both offerings and decided that pfSense offered a little more in the way of things I wanted to do, so I went ahead and used that as my firewall/router distribution. After installation, I was very pleased with the results.
This was a good reliable unit and operated as my ADSL gateway for years. Eventally I located a second one and configured it for my new cable internet connection and ran both for a year while I decided if I wanted to get away from ADSL. I did and converted to VOIP phone service as well. I have a cell, so if the line is occasionally unreliable, I always have the cell phone. Experience has told me that VOIP is a pretty reliable service. Not exactly the same as POTS, but good enough for my uses. Much cheaper than Bell and easier to block unwanted callers.
At some point, I was attending one of the earlier BSDCan conferences and a friend of mine was showing me his Sokeris WiFi box. My immediate reaction was:
-
Low power
-
No moving parts
-
No noise
-
Tiny
-
Did I say no moving parts?
Needless to say, this sparked some interest, but I was not interested in spending a lot of money on a unnexessary box at the time and didn’t need the WiFi ability immediately. At some point after that, I ran across mention of the ALIX platform and decided that I should get one to test and possibly use as a low power replacement unit. I bought one and built the system and it worked as expected. Nice, simple, easy to forget about. I like rack gear, so I went back to the watchguard, but still had the unit. I eventually used it at a client location to provide a better internet gateway than their provider gave them. A number of issues were cleared up and I forgot about it until my brother asked me about his home configuration.
After examining what he had configured, we tested his layout and determined that the devices [3] he was using had 10Mb/s interfaces on their exterior ports, so it was no wonder he was only getting about 8 Mb/s on a speed test. He asked if he should get a better unit to act as the gateway device and I suggested he build out a pfSense box and use that, as I was sure he would eventually want to do some "interesting" things with his connection.
pfSense Embedded on a ALIX2D3 Board
Now that we are past the reason for the document, it is time to get started with the actual installation. This consists of:
-
Assembling the hardware
-
Downloading and Creating the boot image on Compact Flash
-
Booting the unit to set some basic configuration items
-
Running the web configuration
-
Enjoying the results
This is all explained in the detailed instructions that follow.
Getting Started
Required hardware is a small Phillips screwdriver and either a pair of needle nose pliers or a nut driver
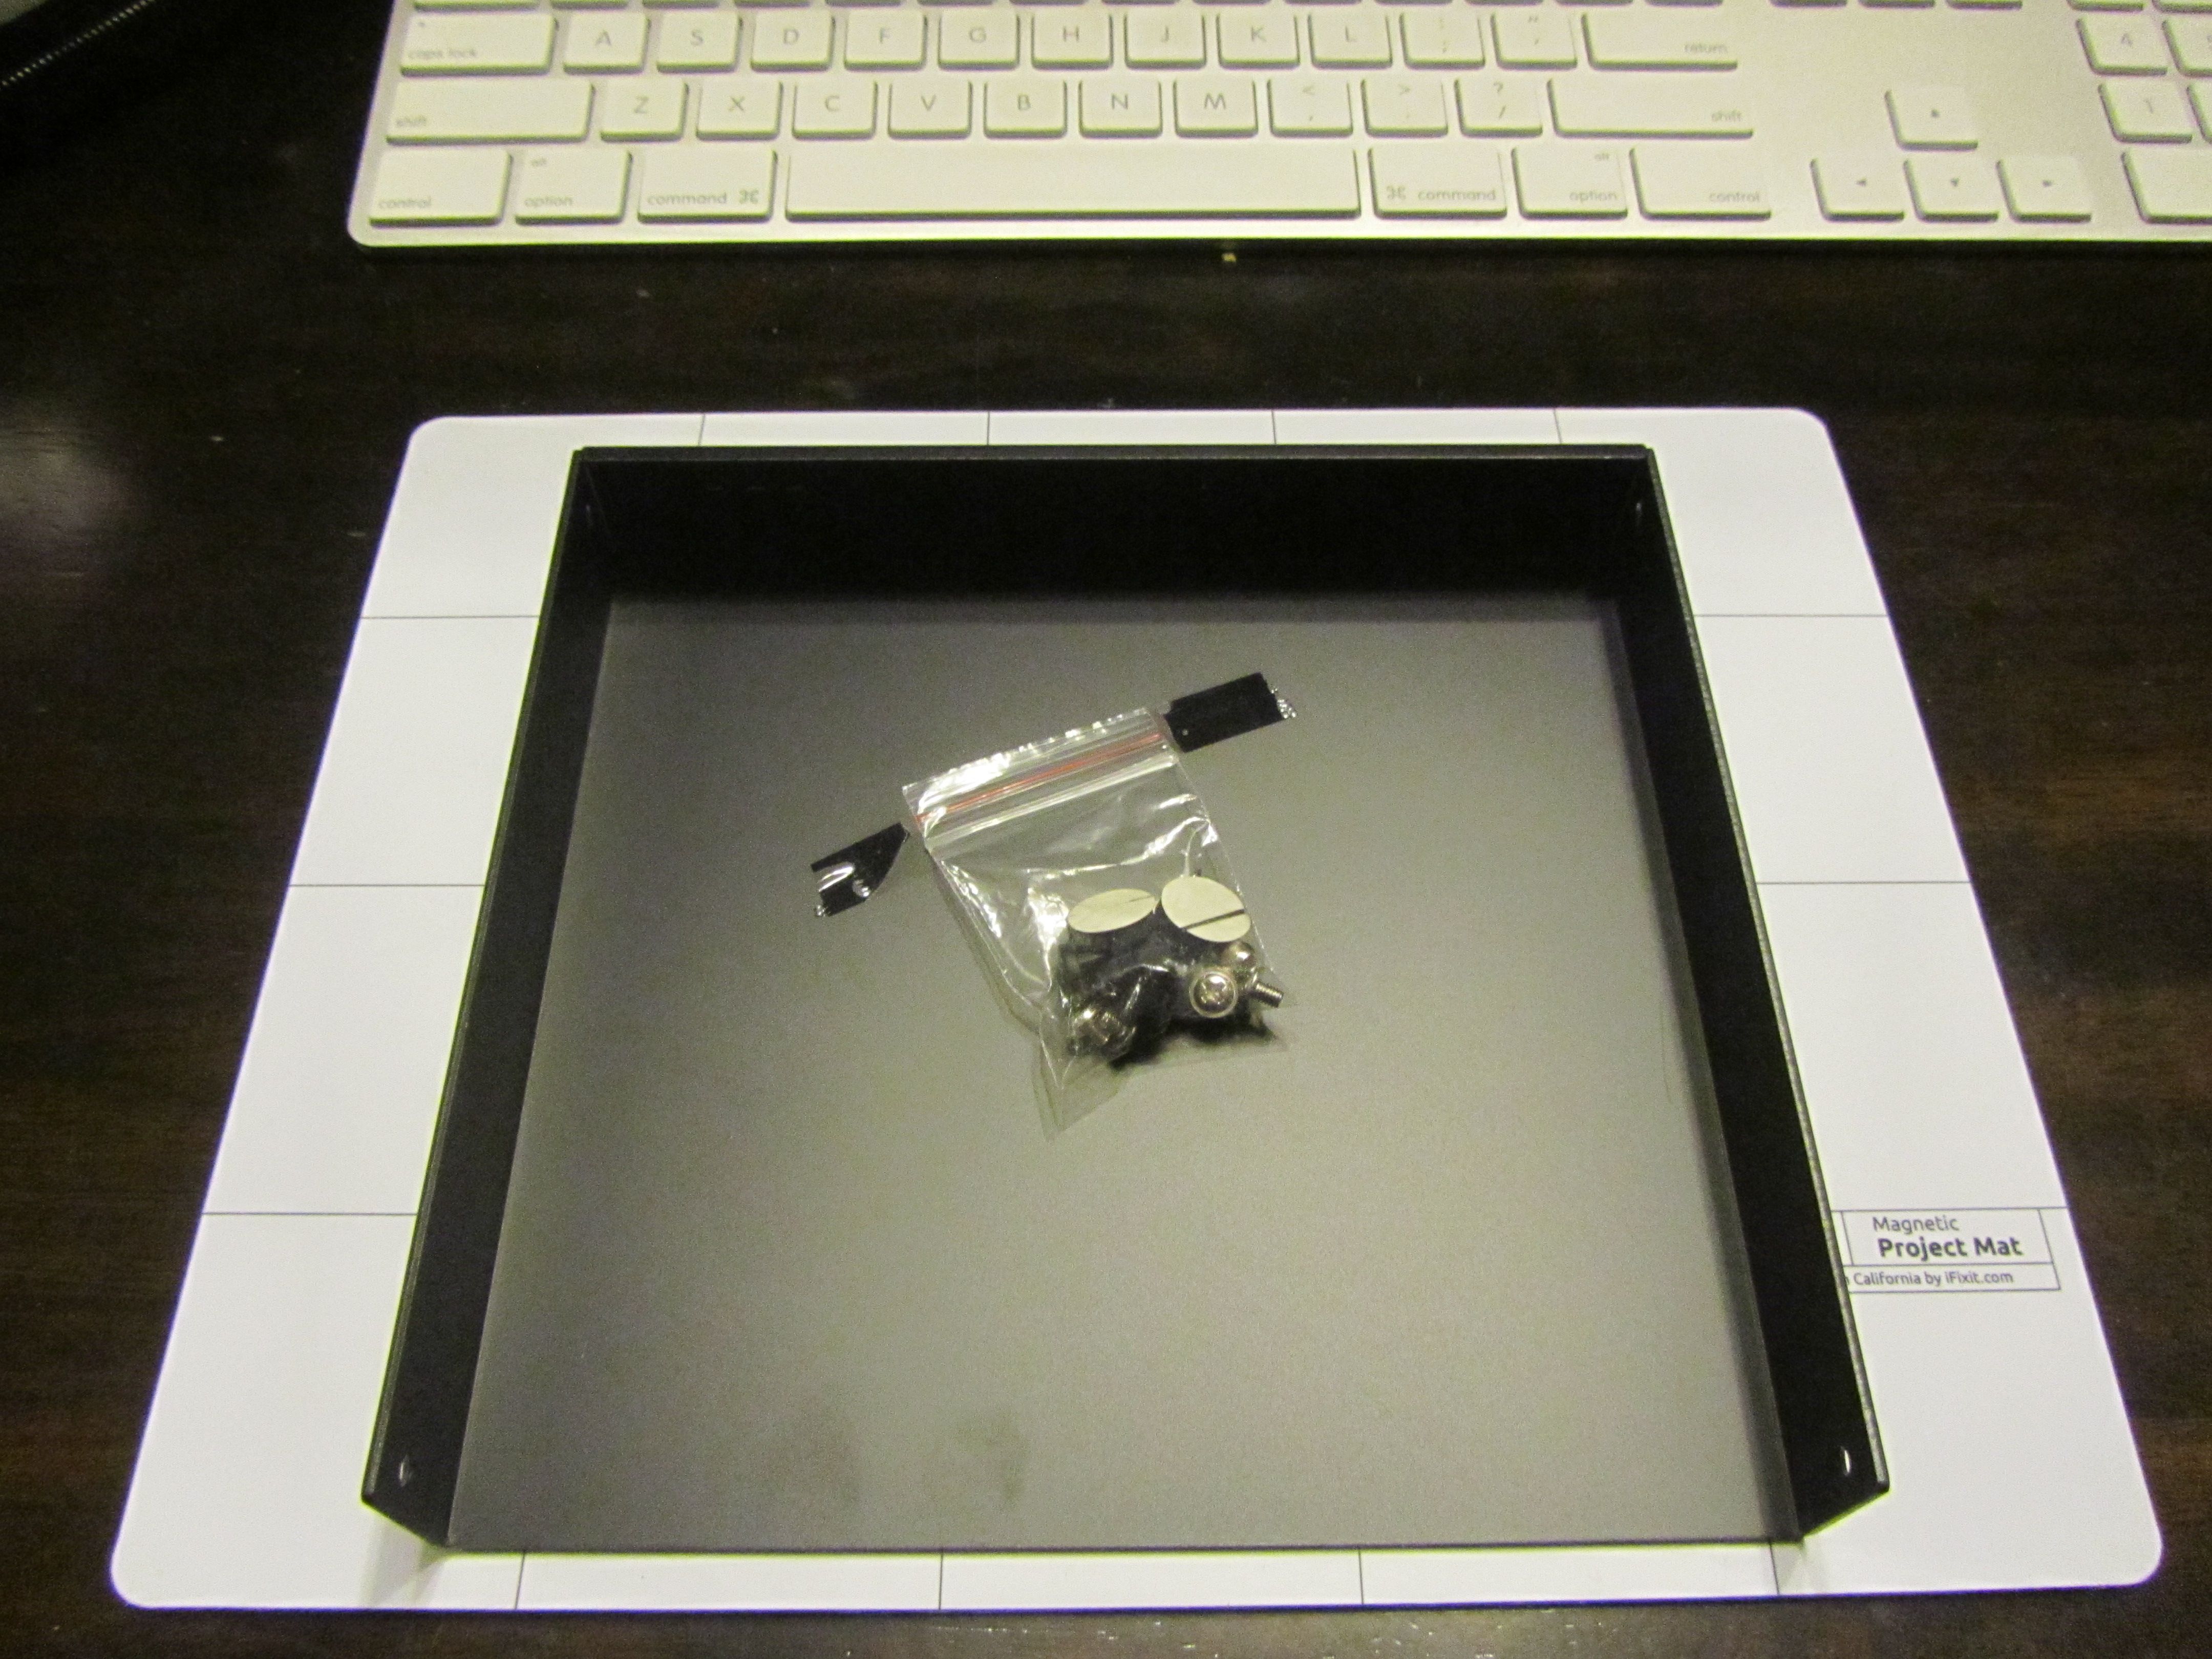
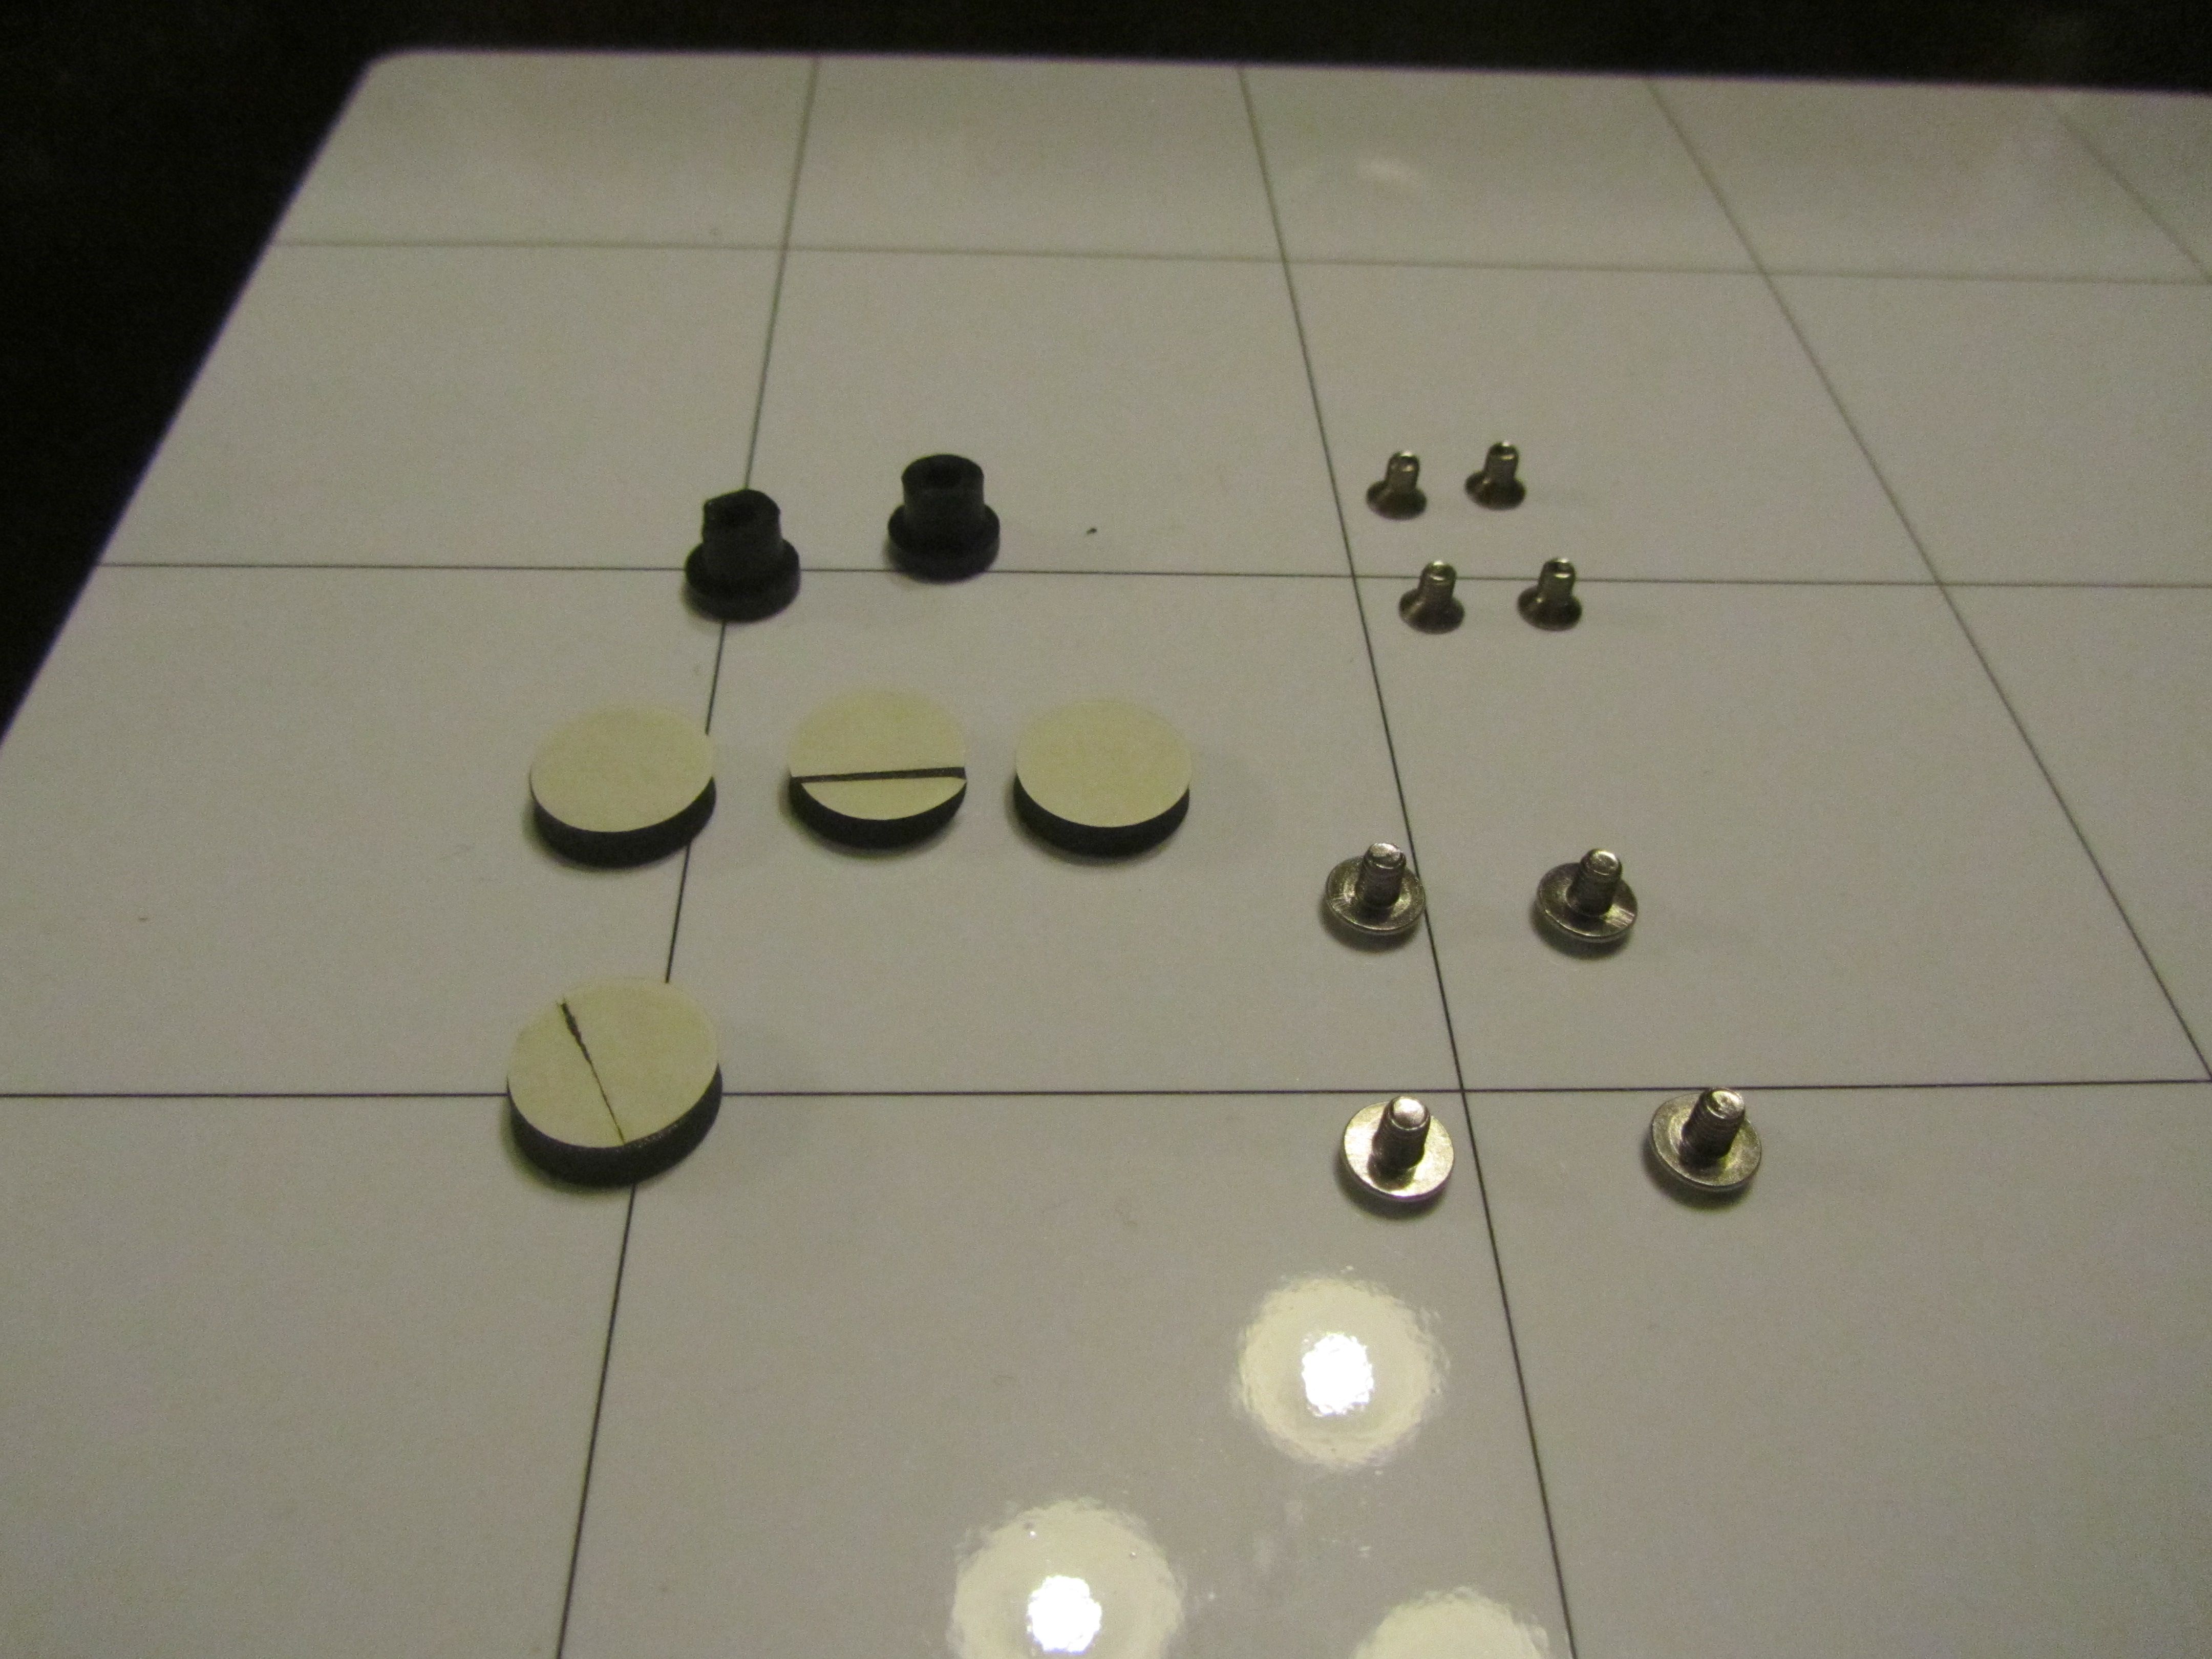
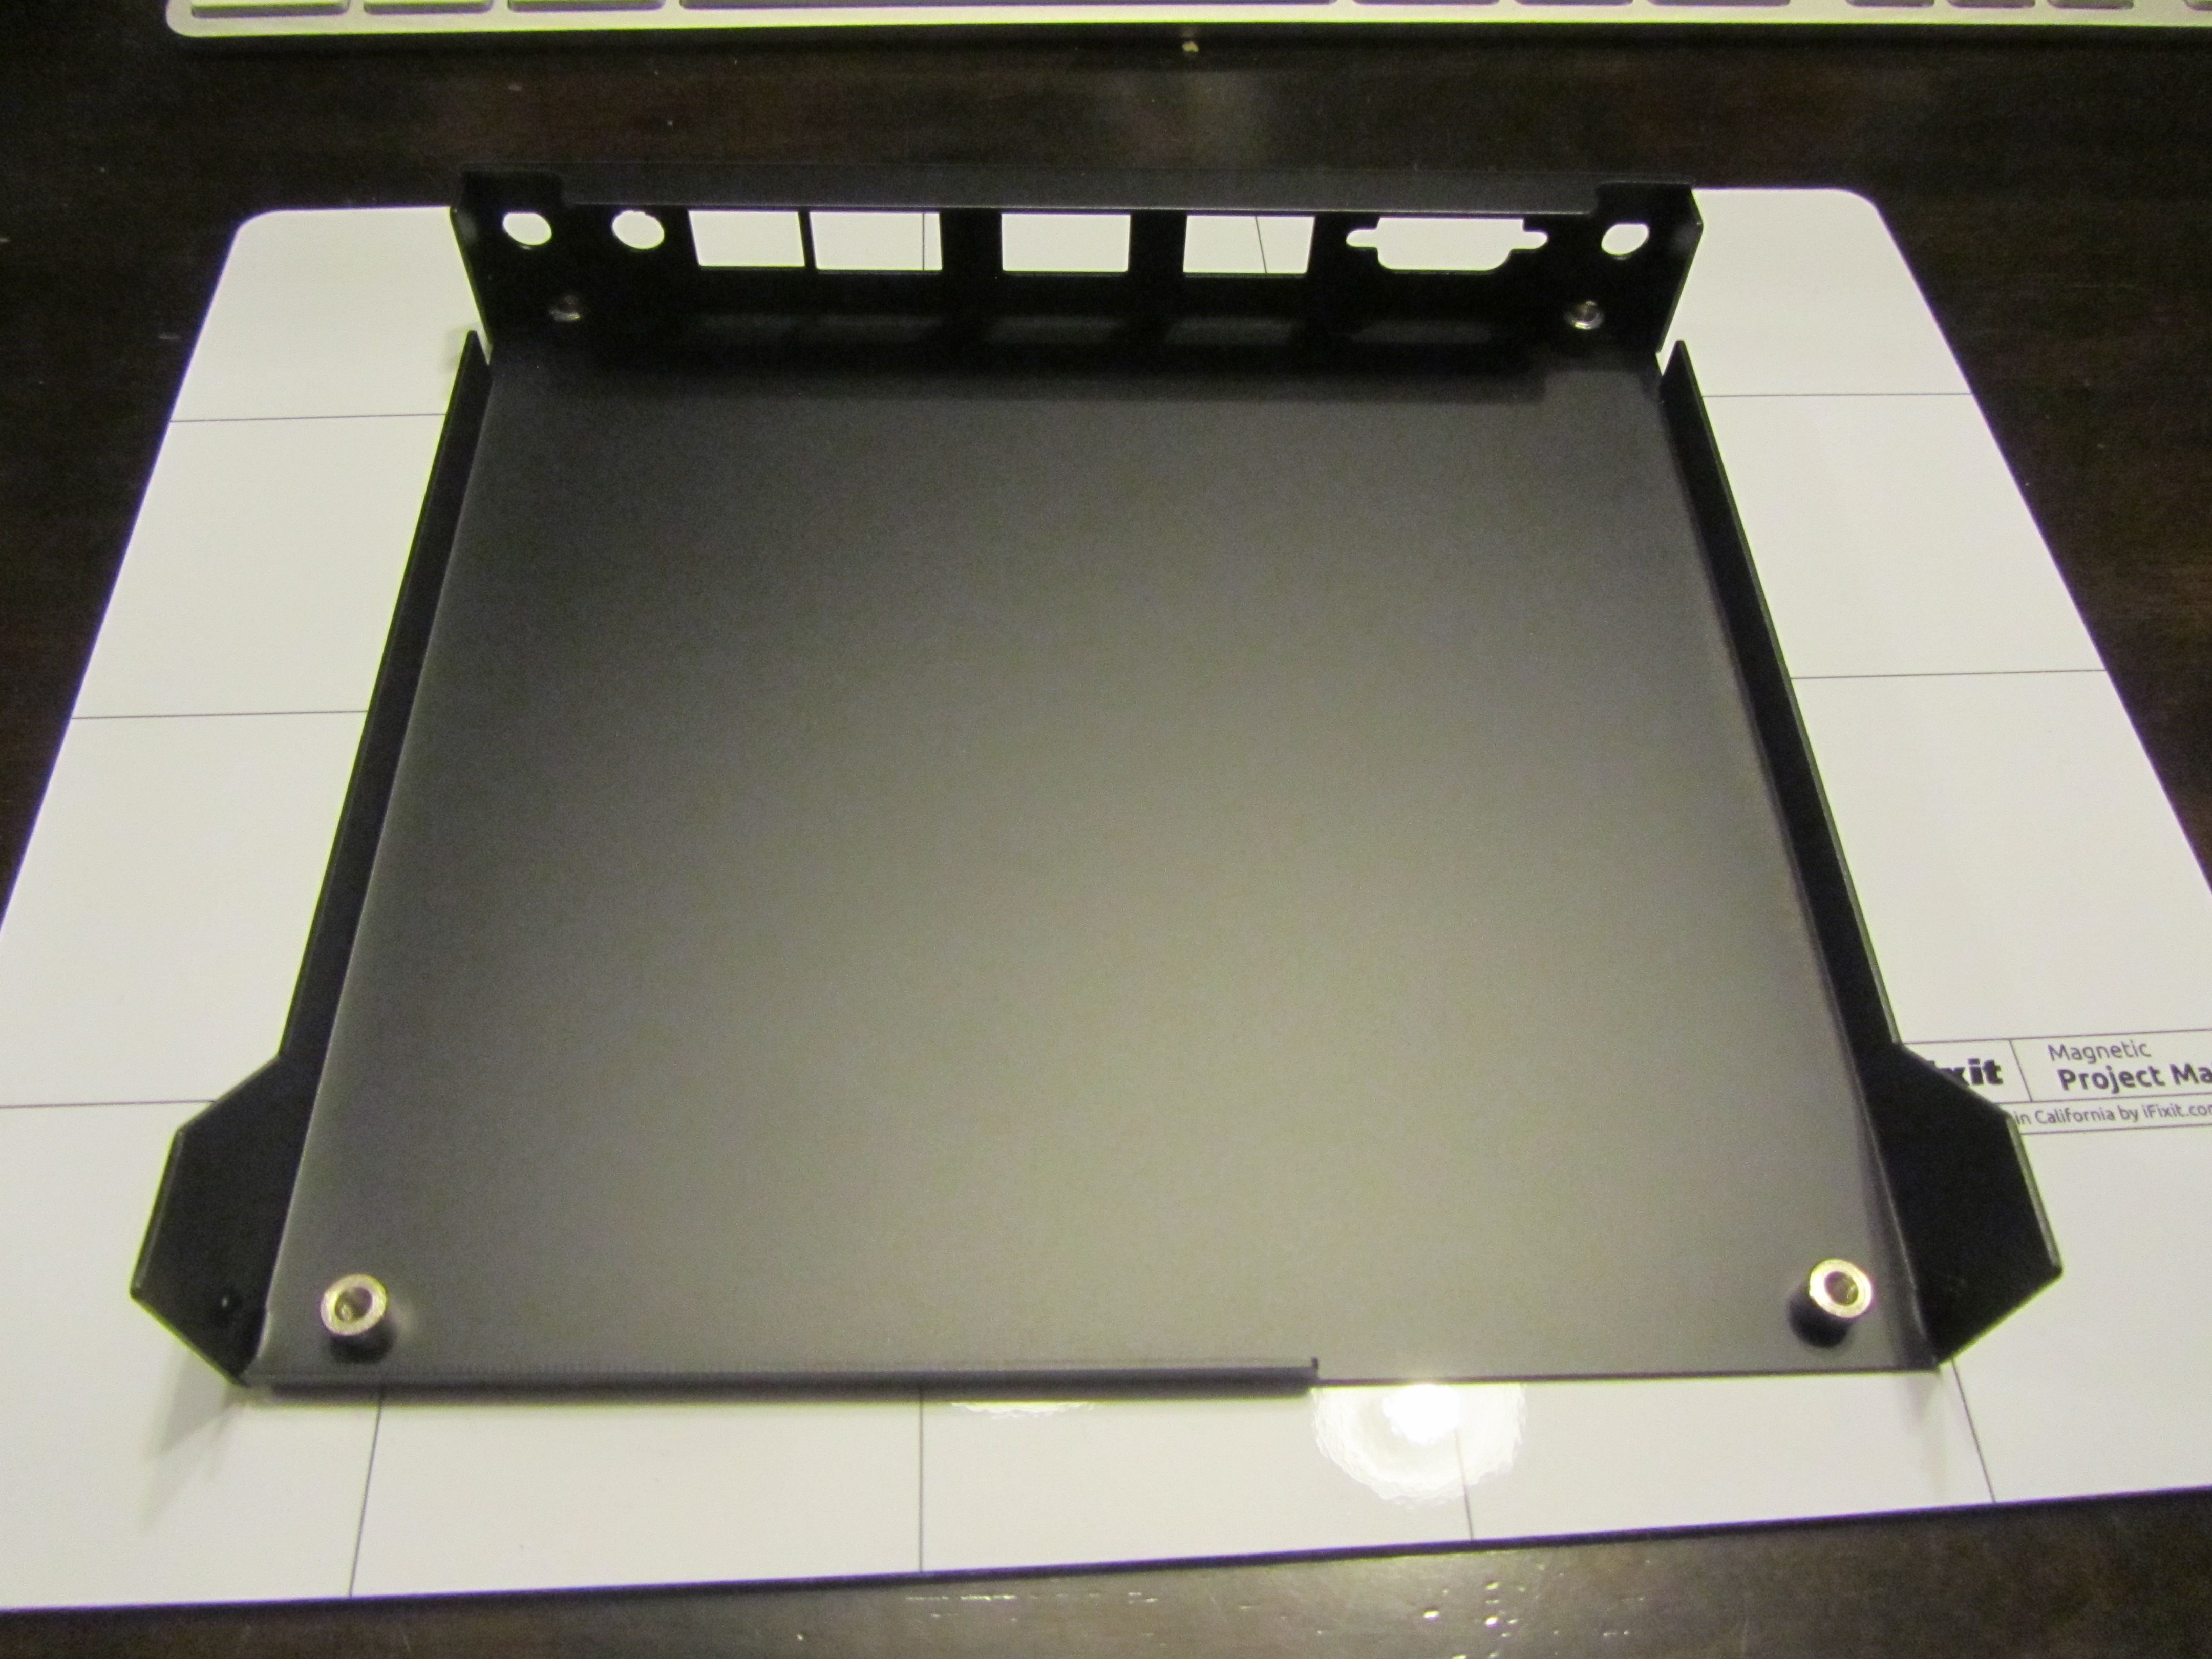
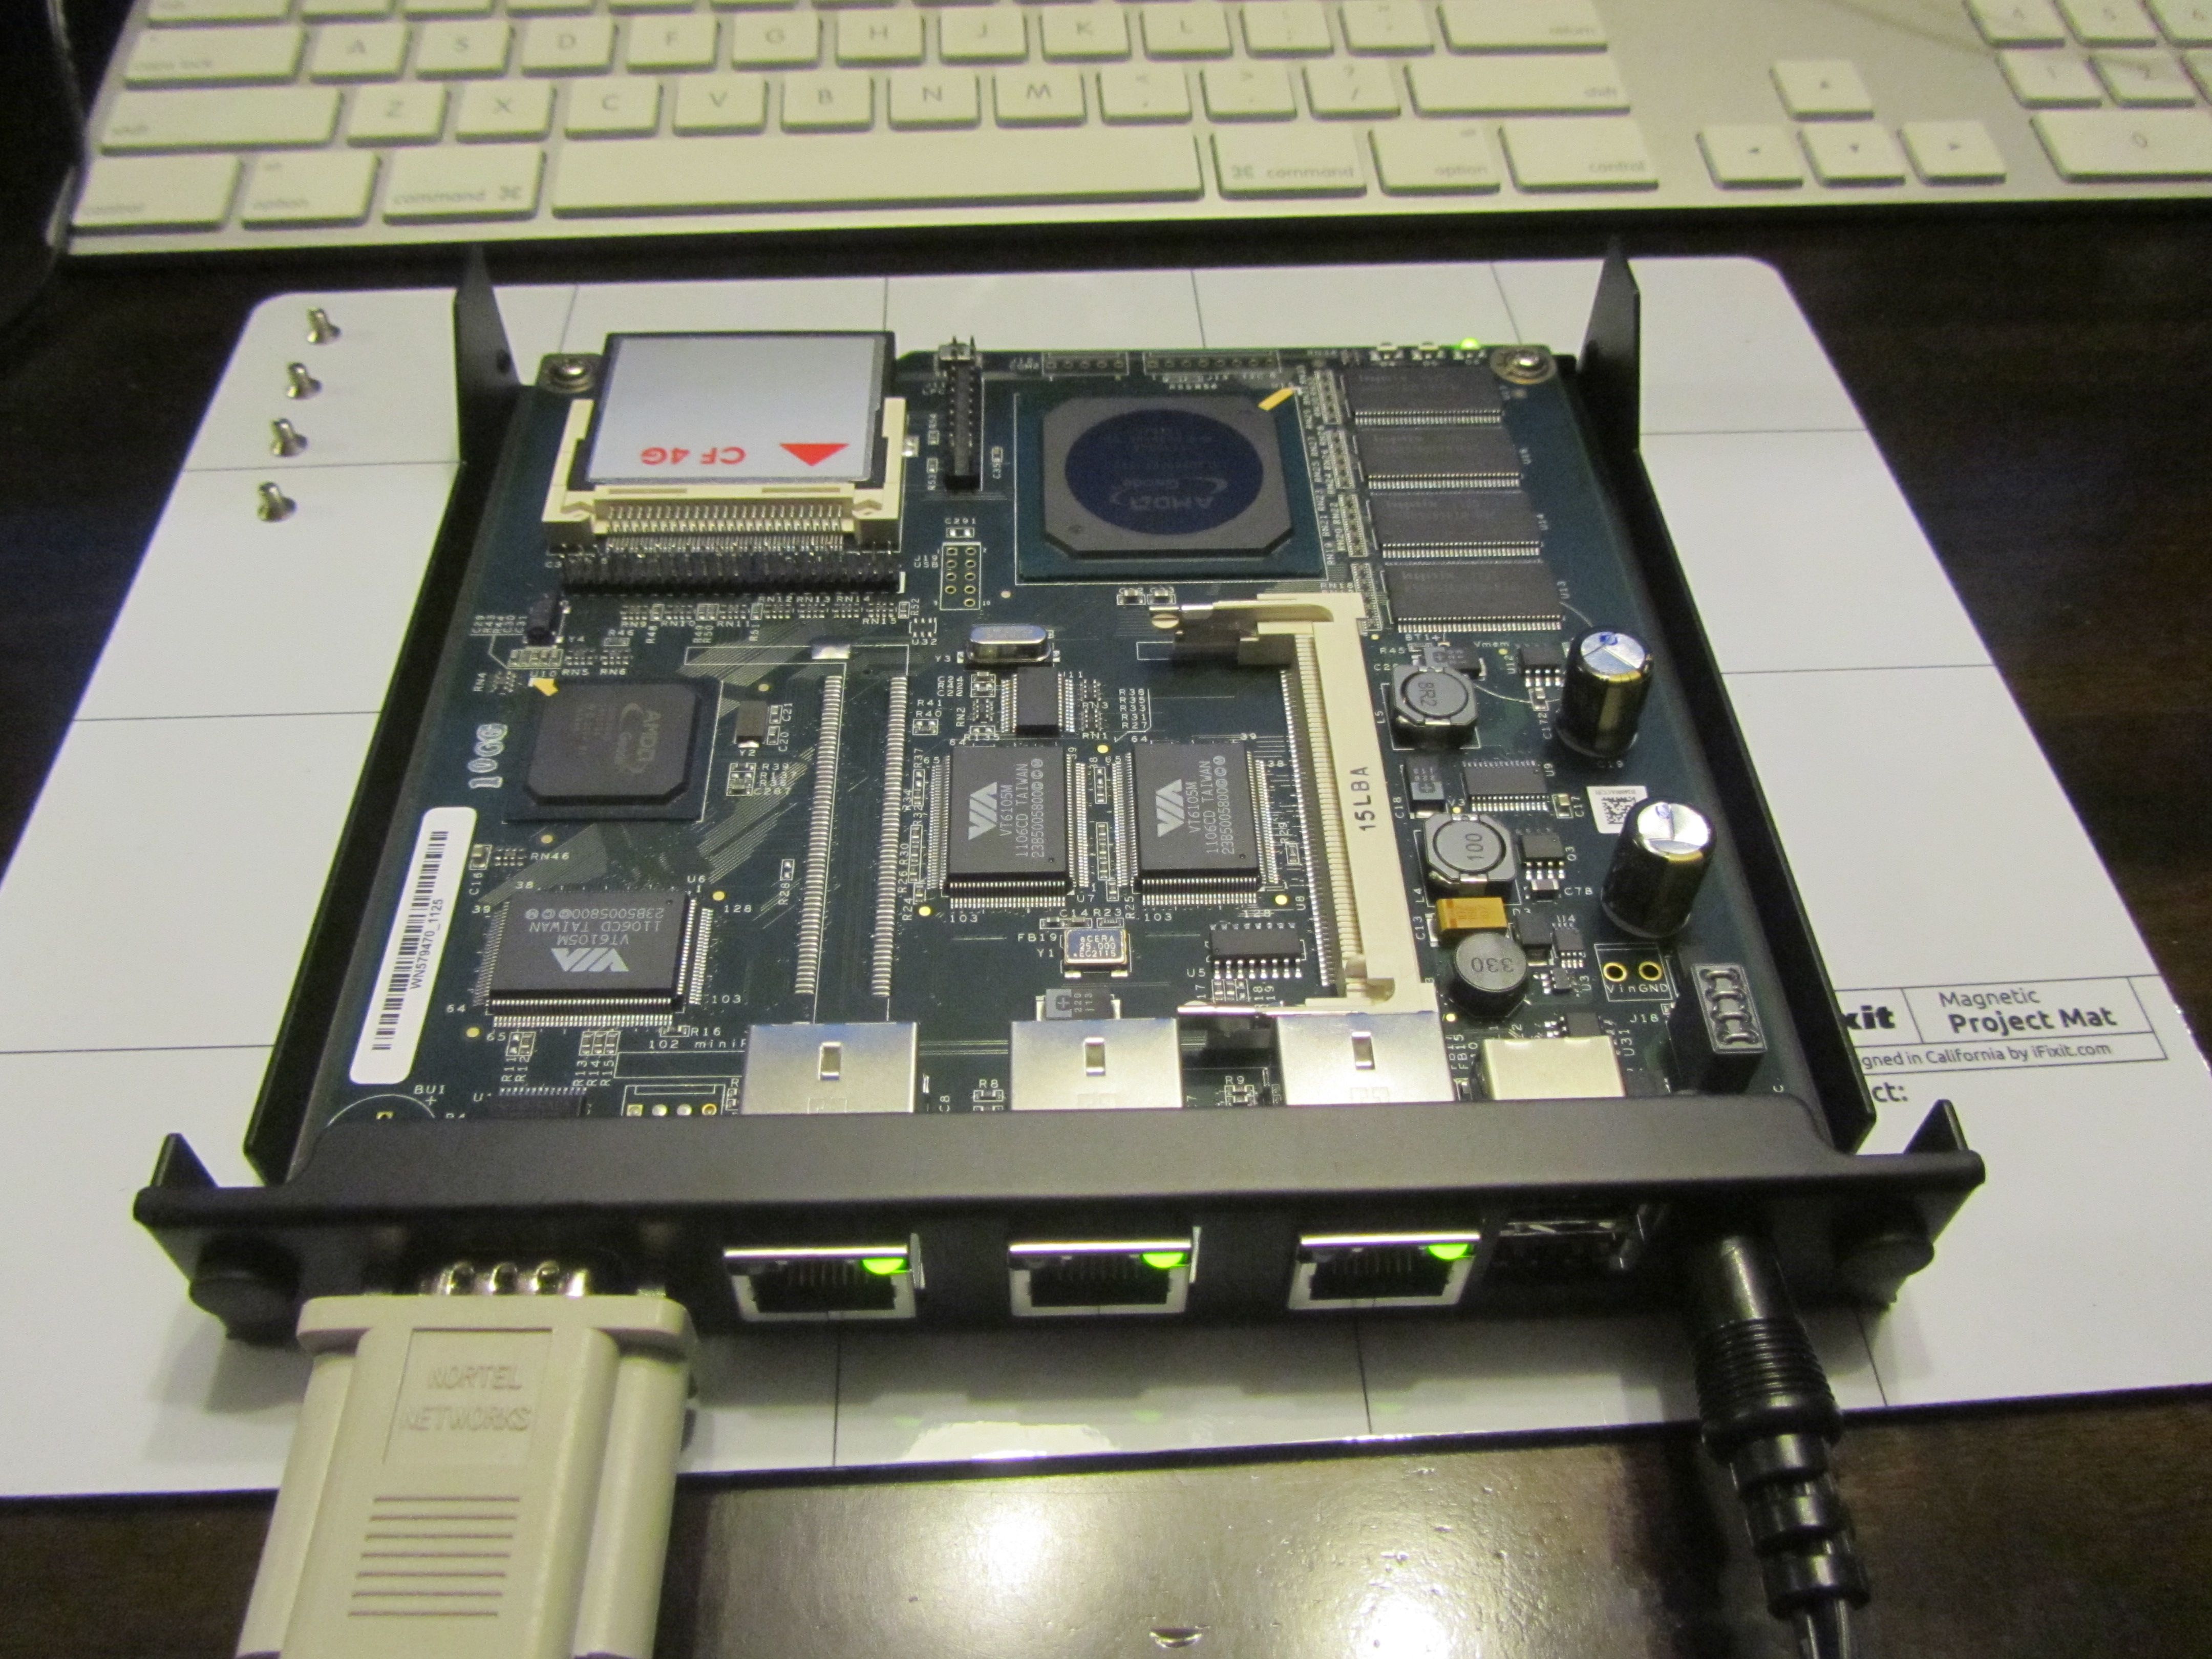
Initial Hardware Assembly
Assembling the ALIX board into the case is pretty simple, so here are some photos for the less hardware inclined. It should take about 10 minutes [4] to assemble the system.
|
Caution
|
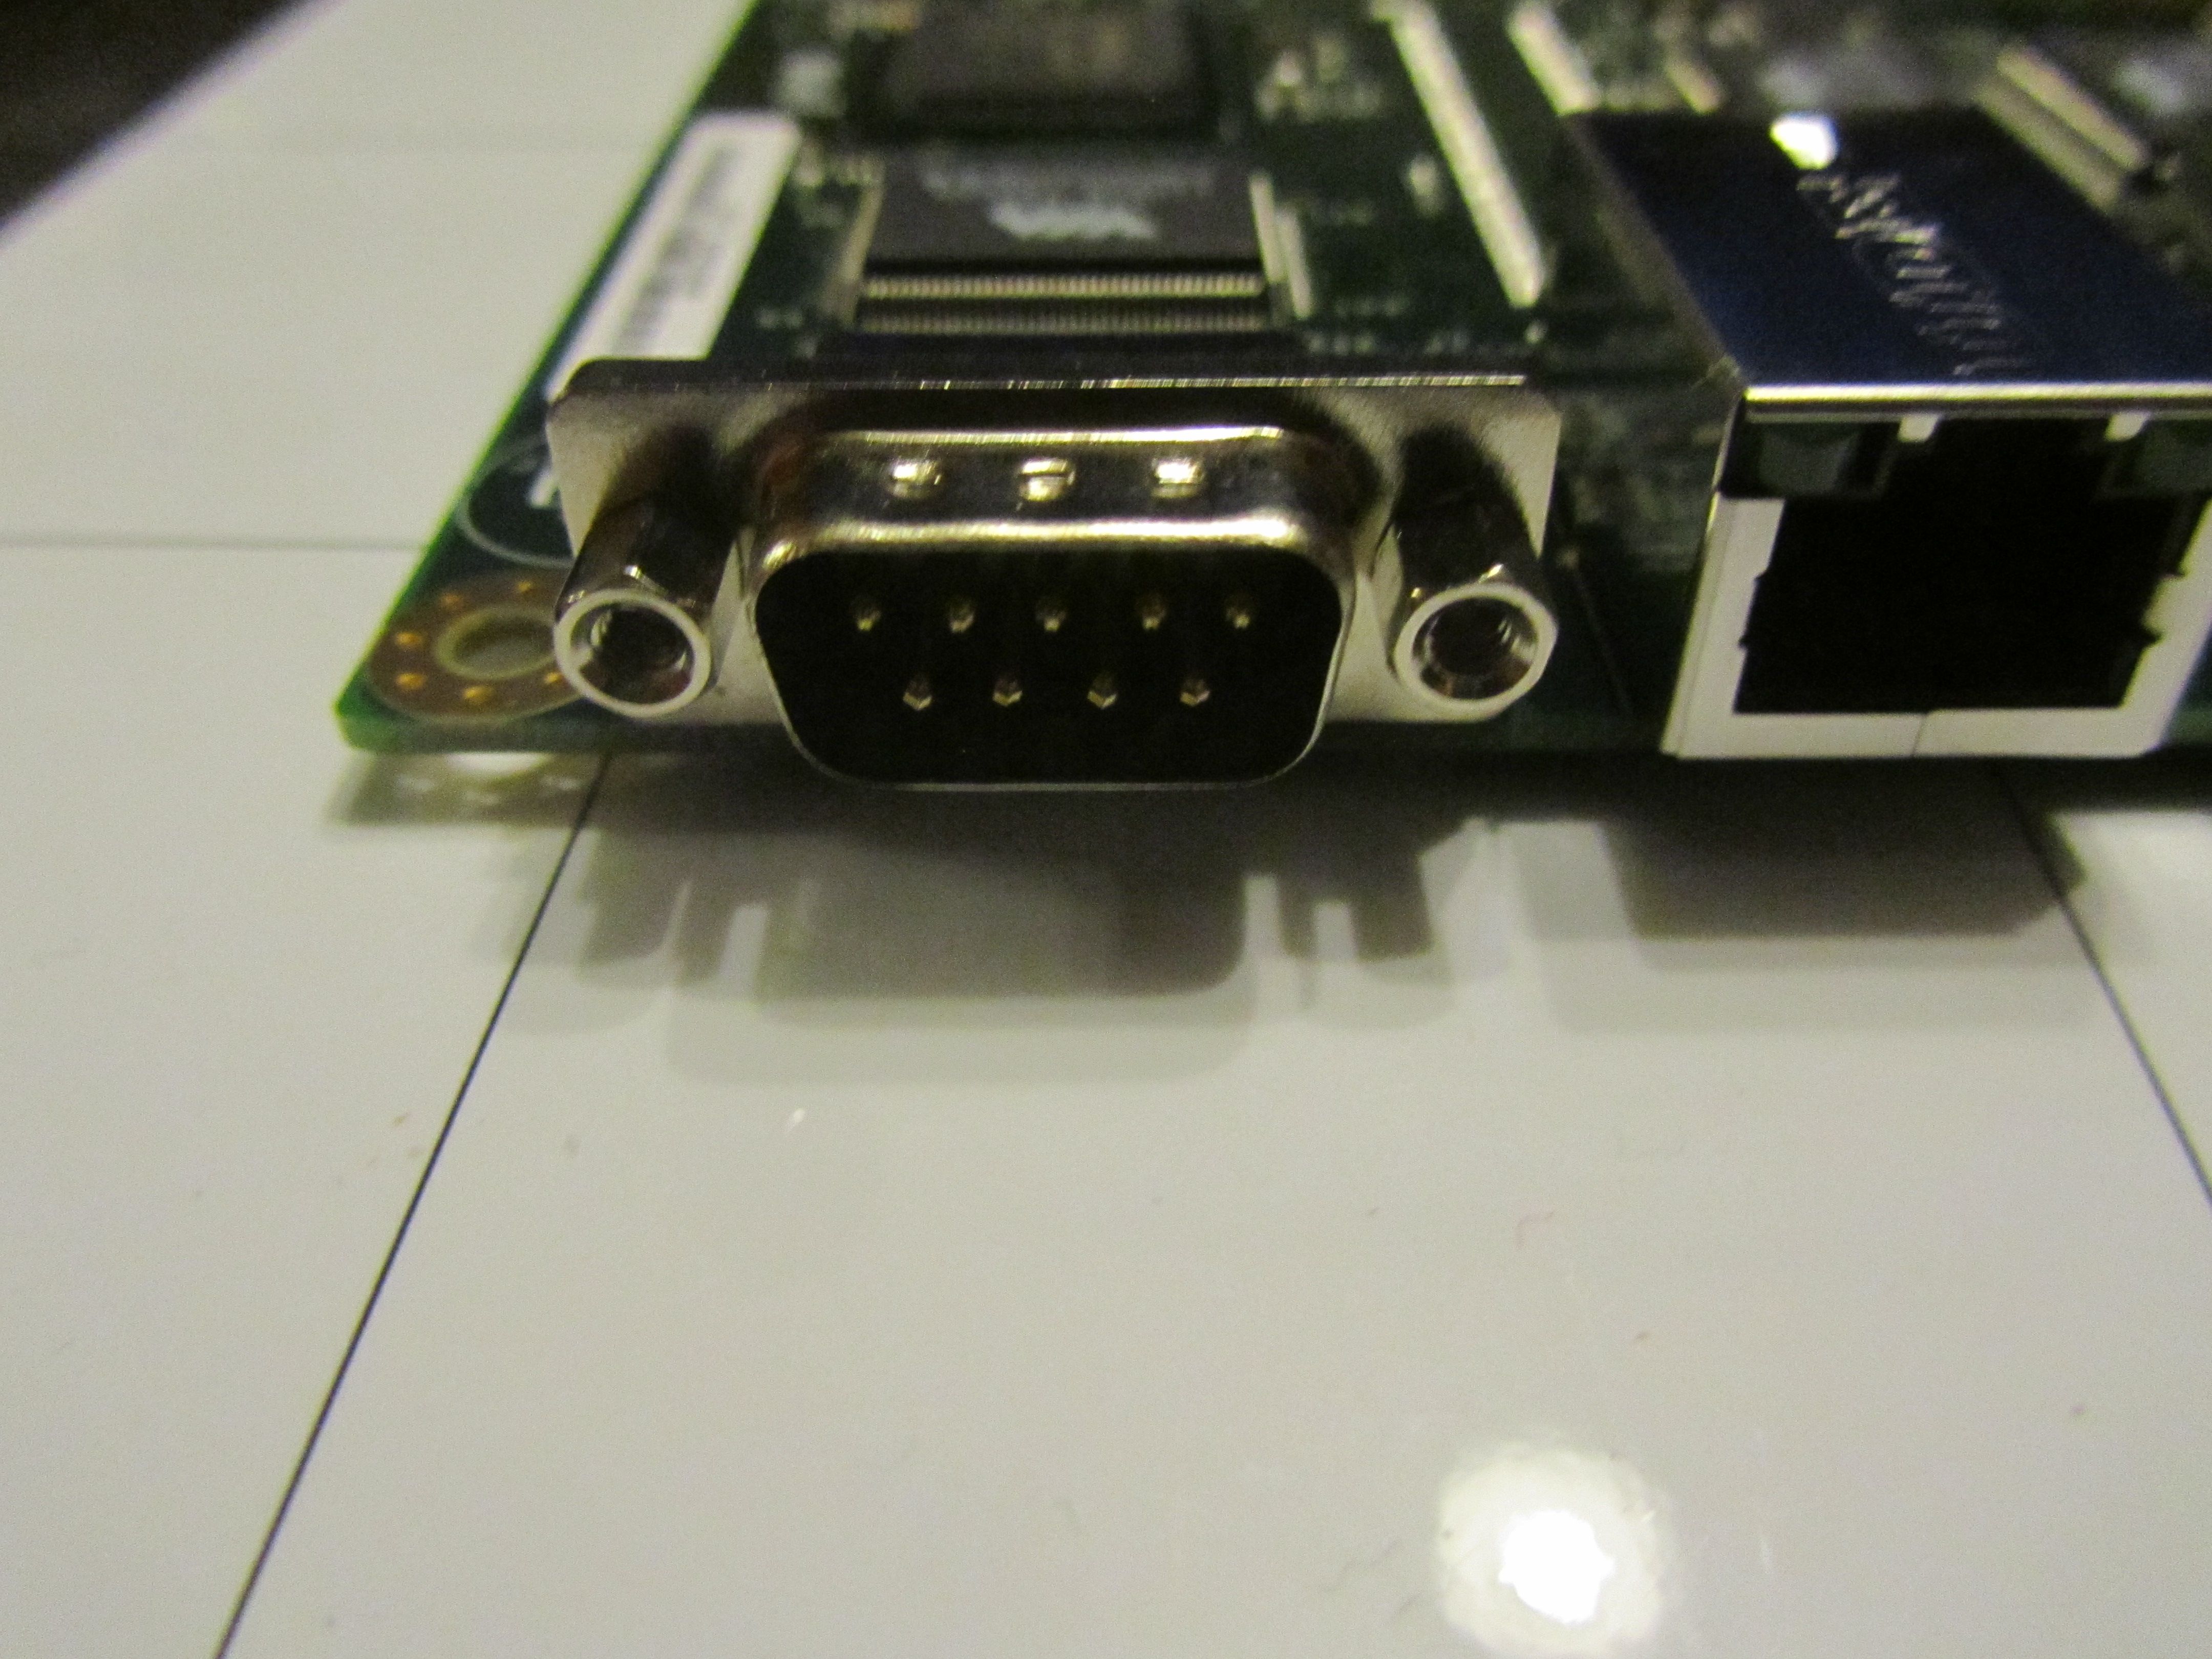
This board only has a serial interface for the console. There are no video or keyboard interfaces. BIOS setup and all initial communication requires a terminal emulator and null modem cable. |
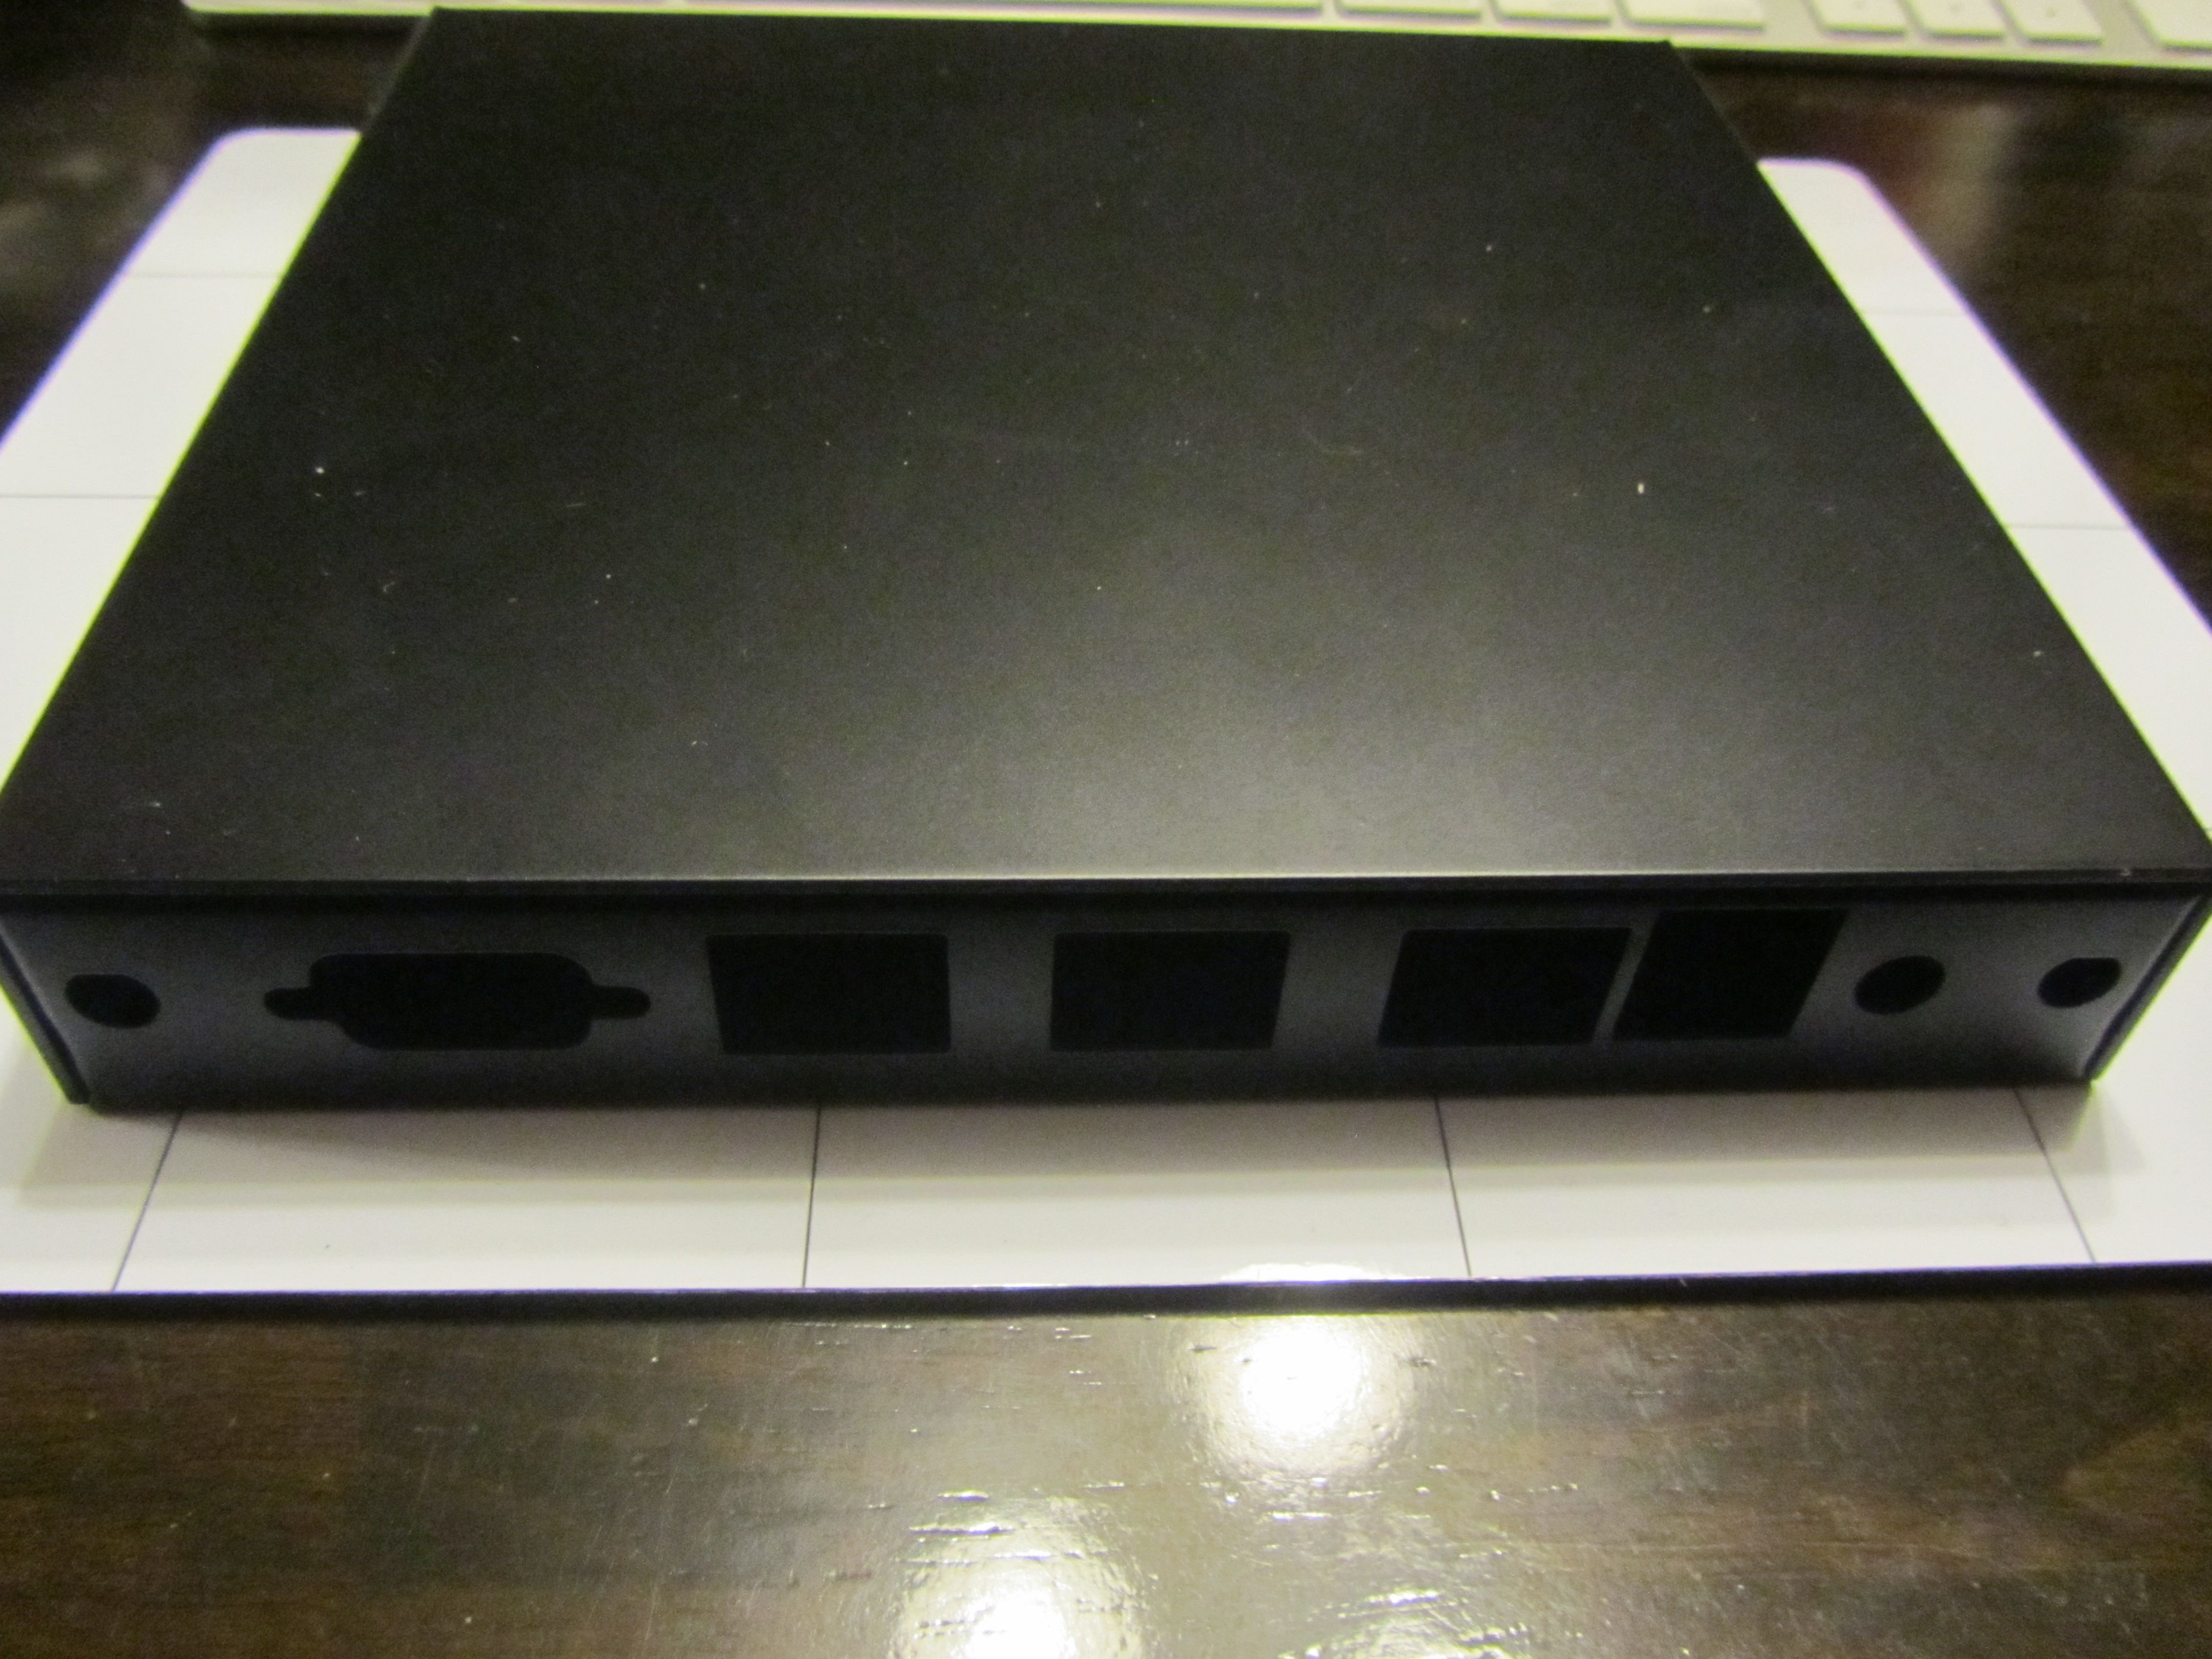
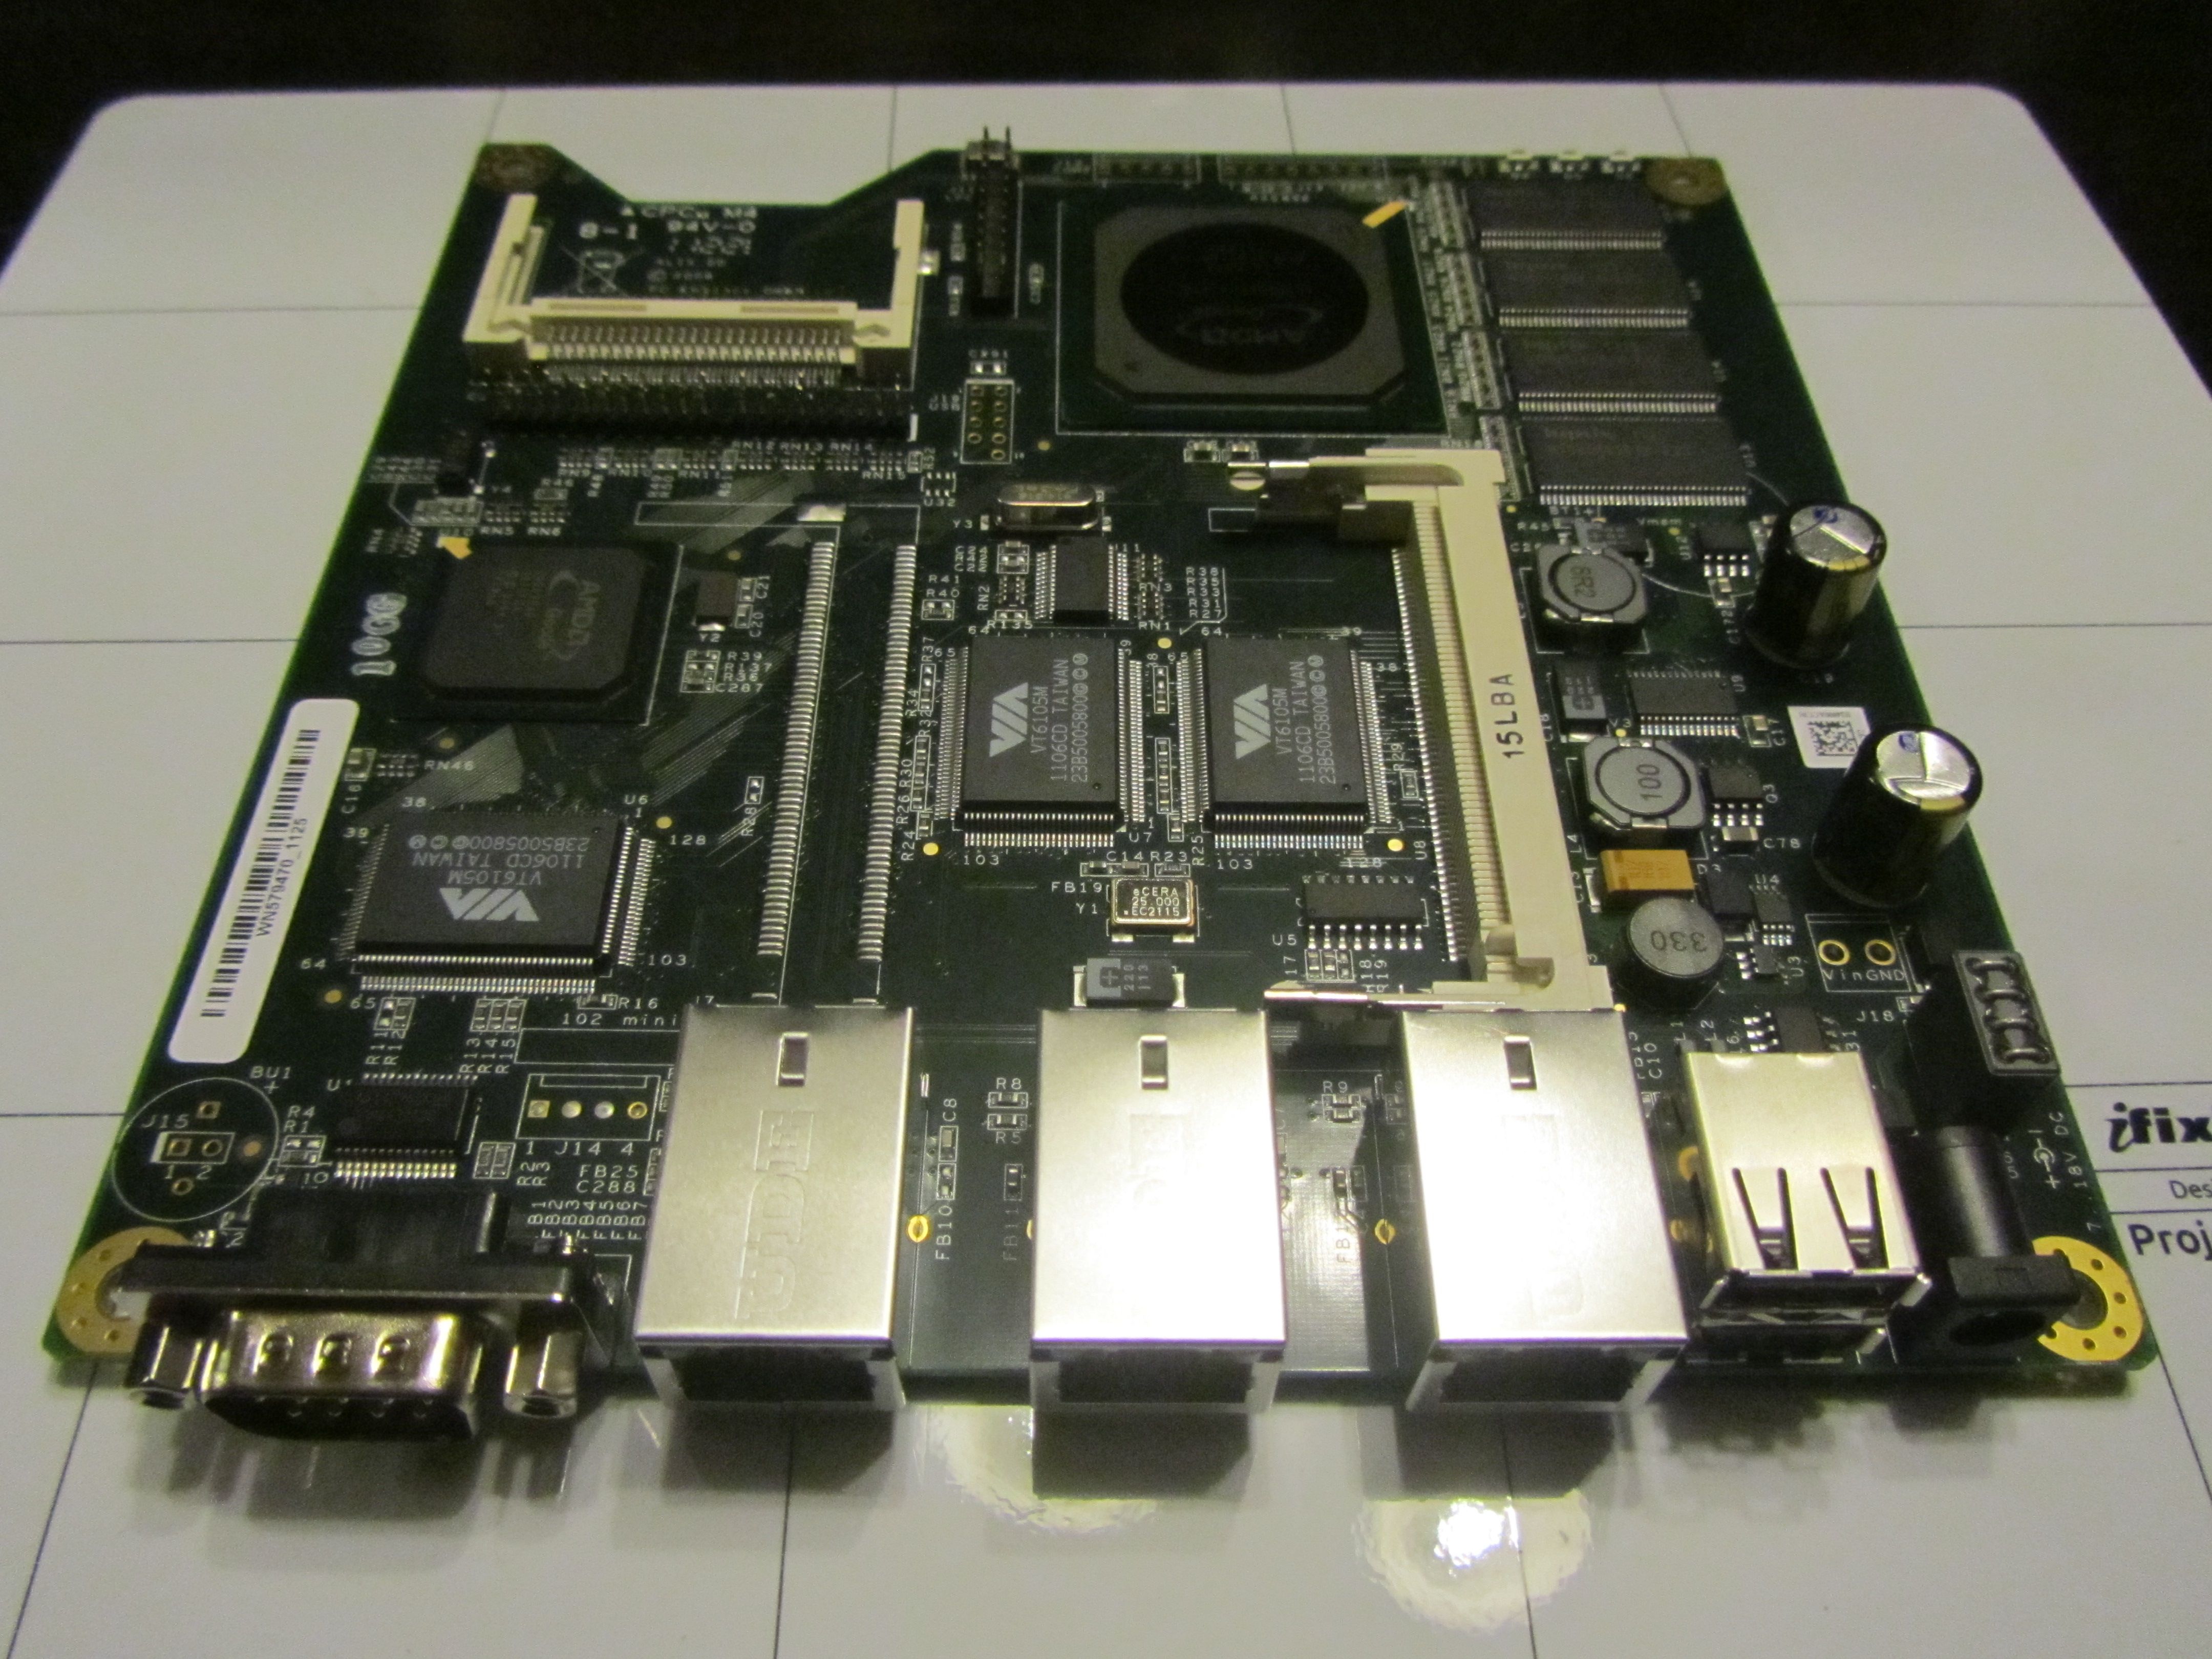
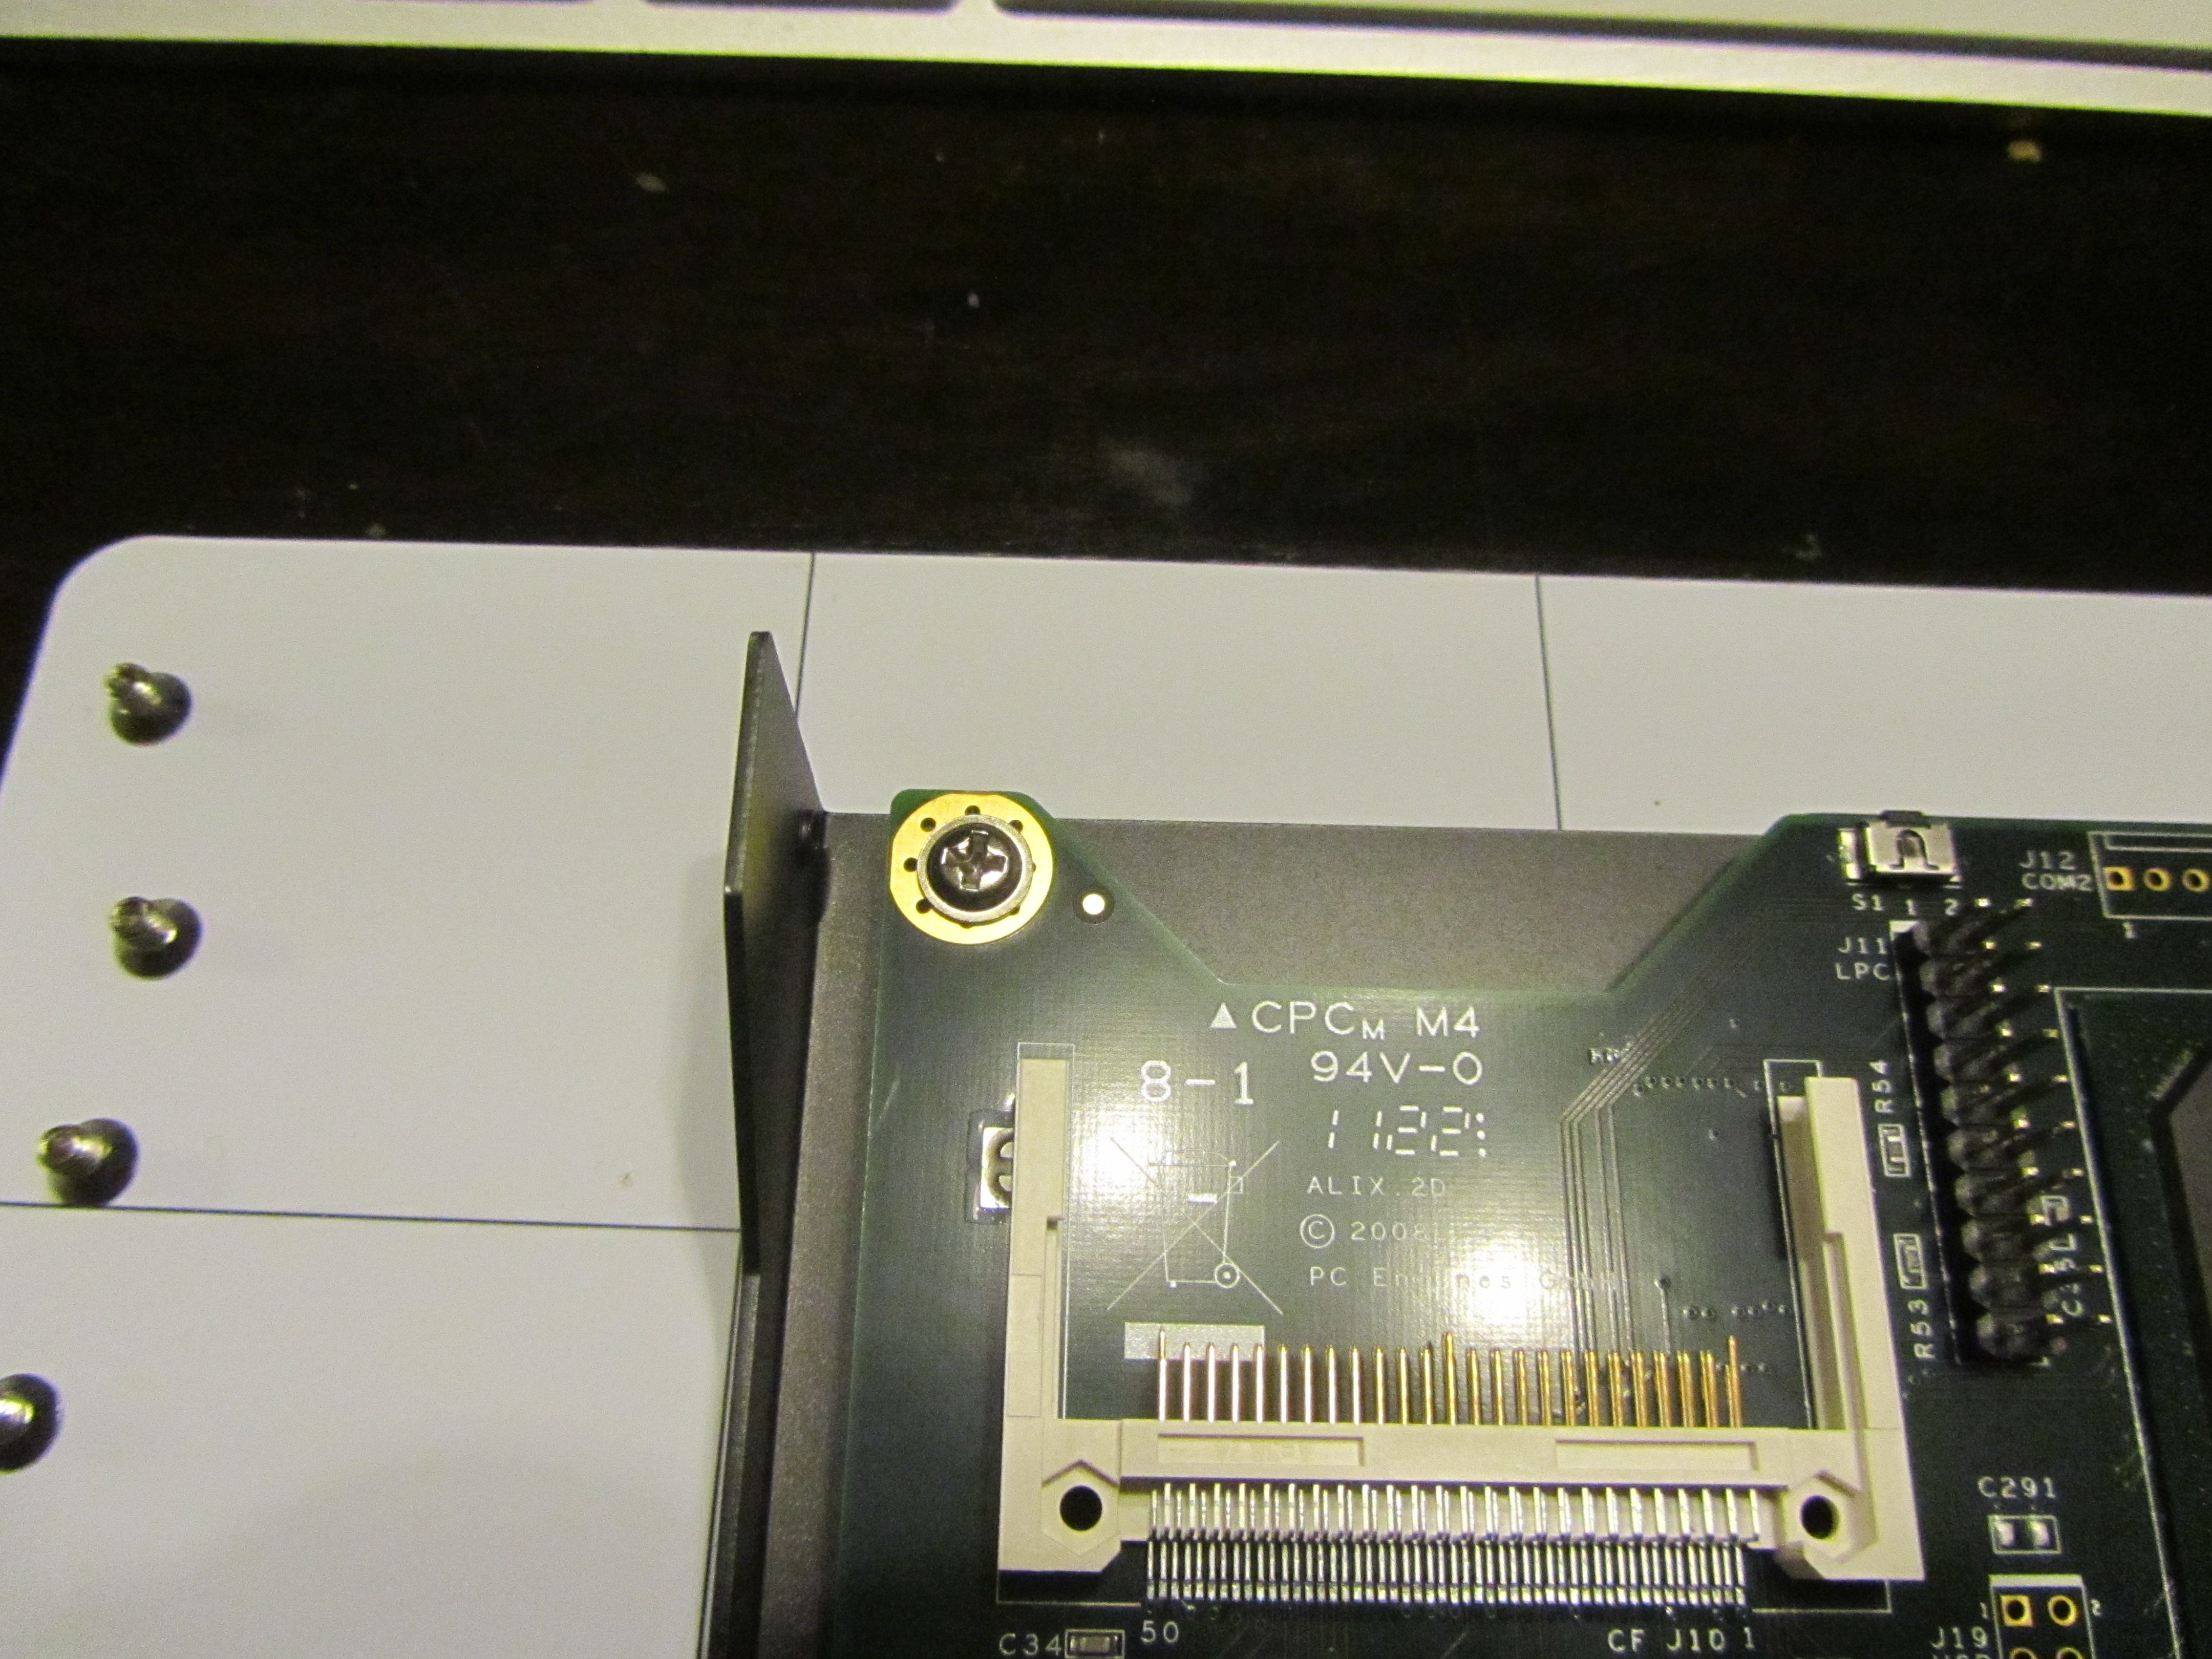
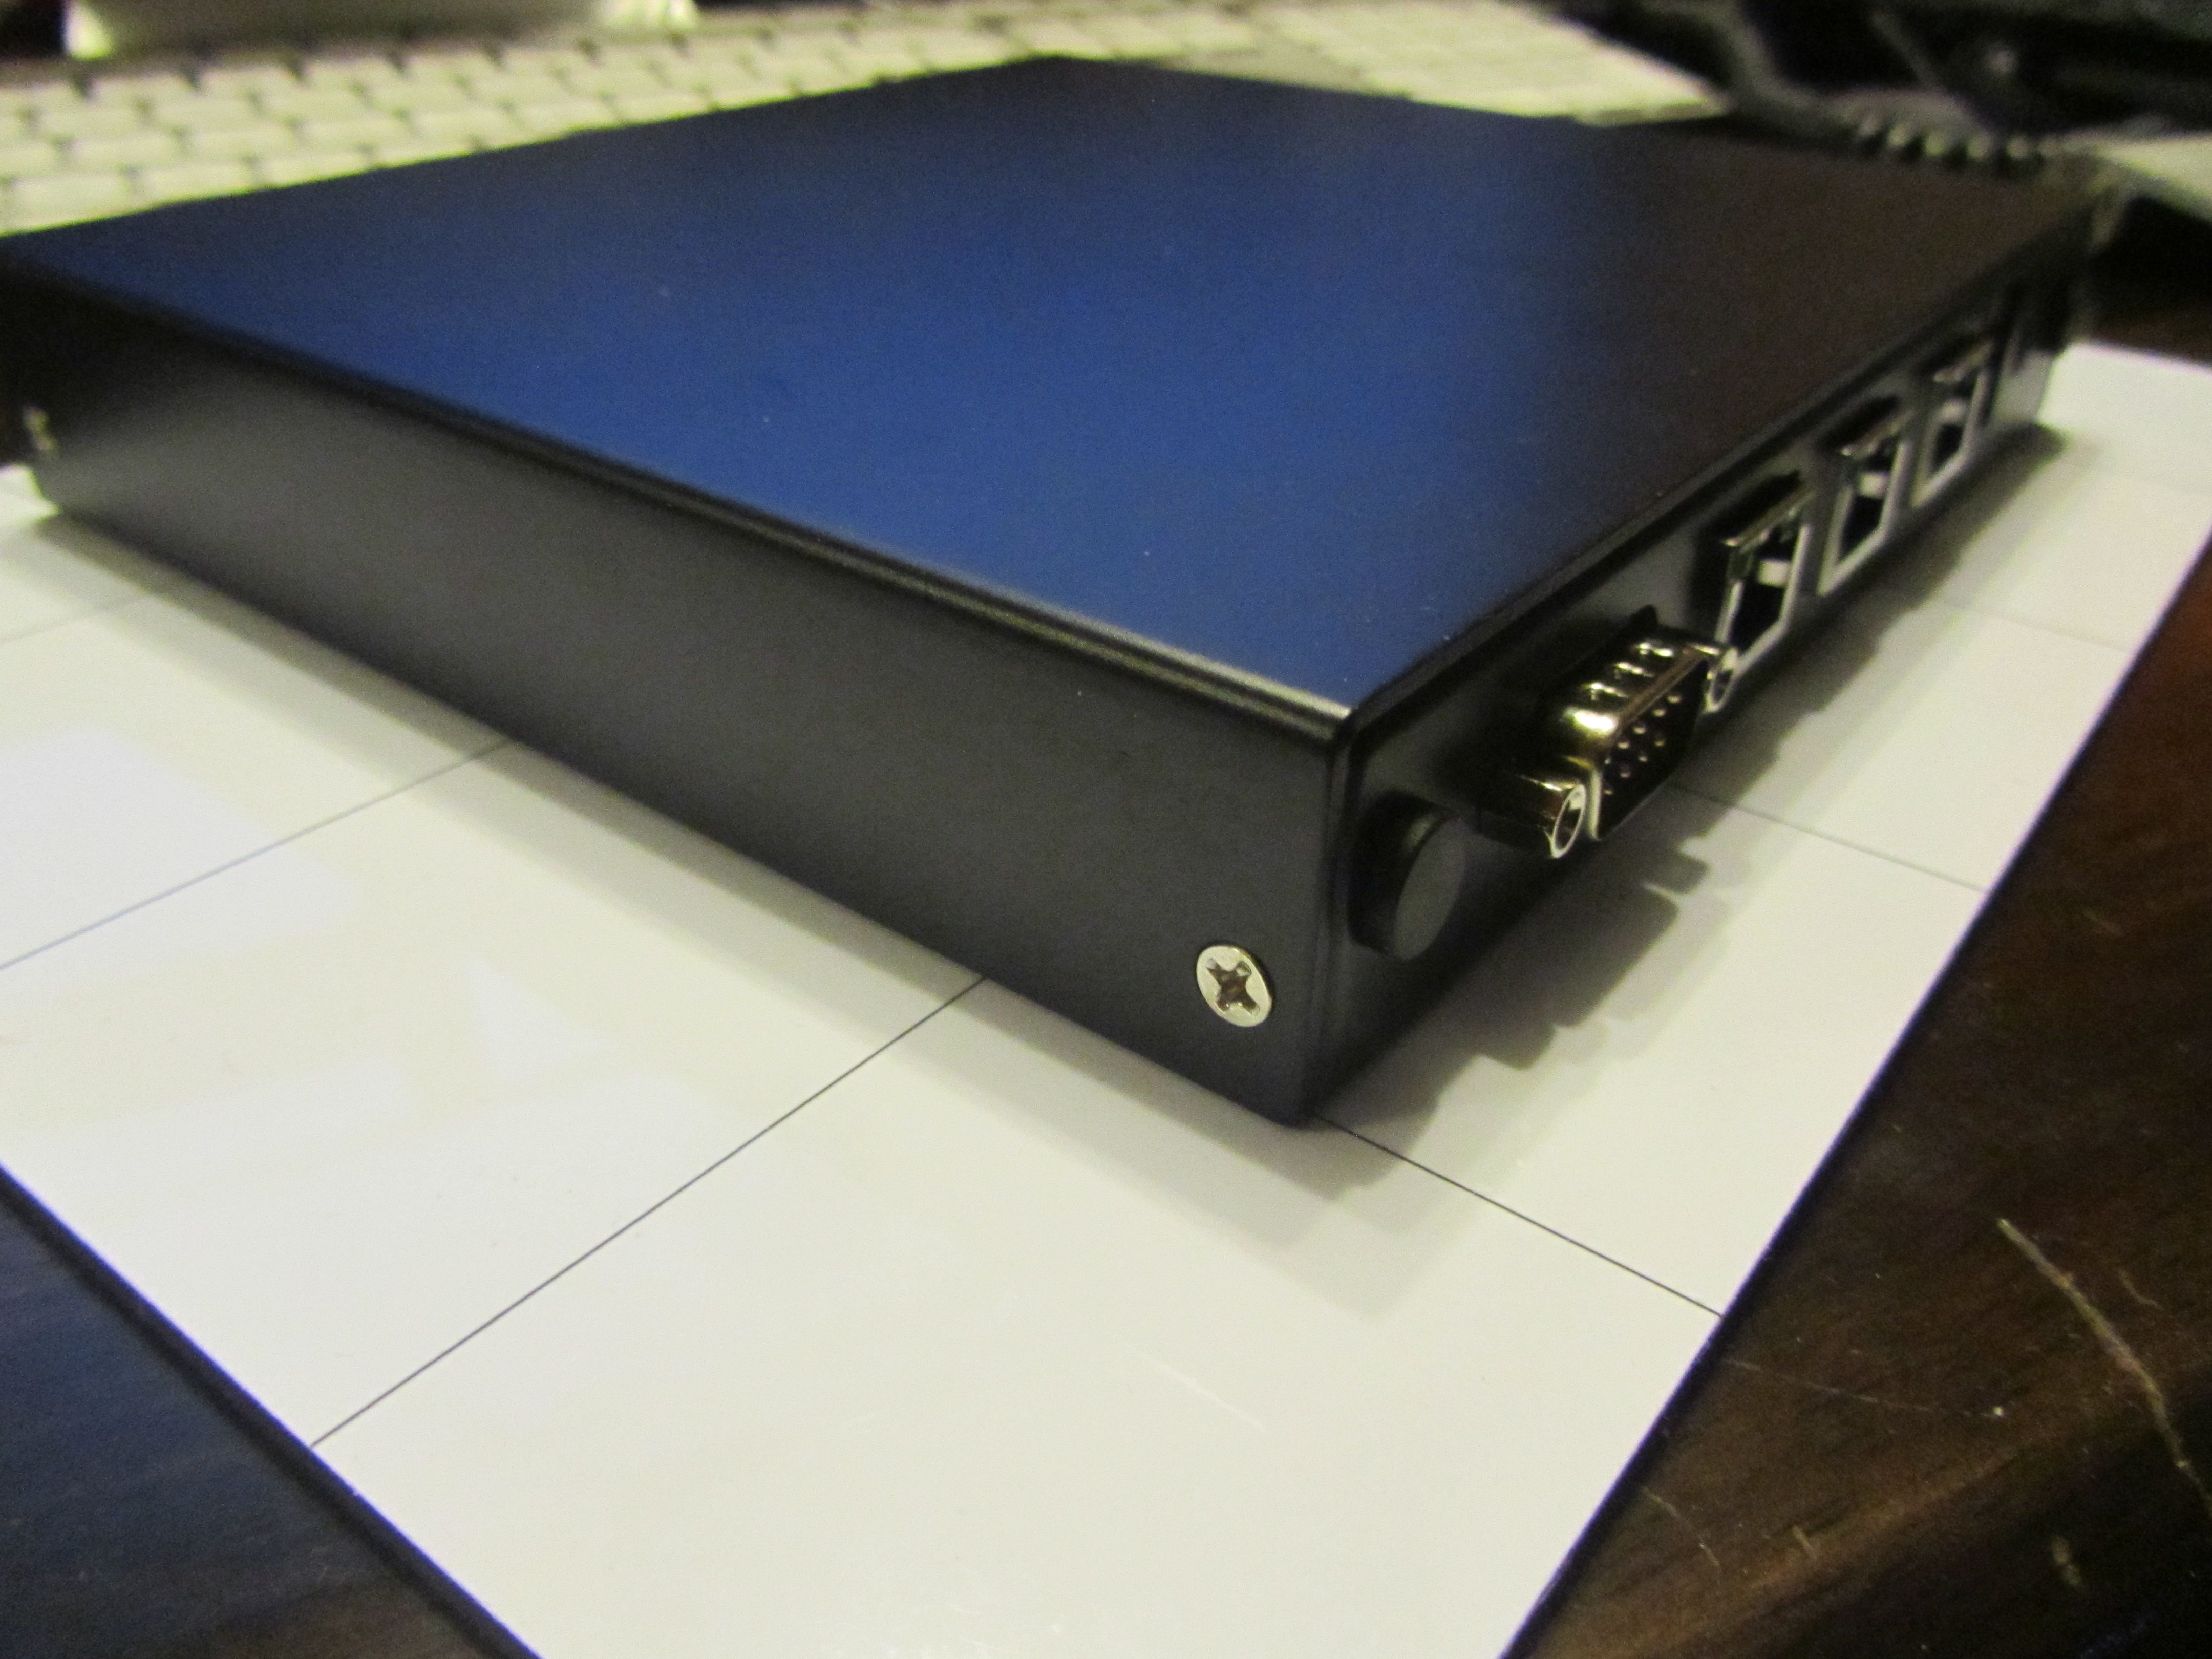
Before you can mount the board, you will need to remove the screws from the serial port on the board. They will be replaced after the board is mounted.
Place the board in the case bottom, lining up the mounting holes. You will need to slide the serial port and LAN hearers into the holes in the case, so raise the board a little to allow it to slide in.
Attach the board to the case with the four small brass screws.
Now put the serial port screws back in. You will want them to keep the serial cable from falling out.

Installing the Image
You will need a CF reader. I’m assuming there is not one built in to your computer, so you need to get a USB external CF reader. Any generic multi-reader should suffice. One of mine looks like this:
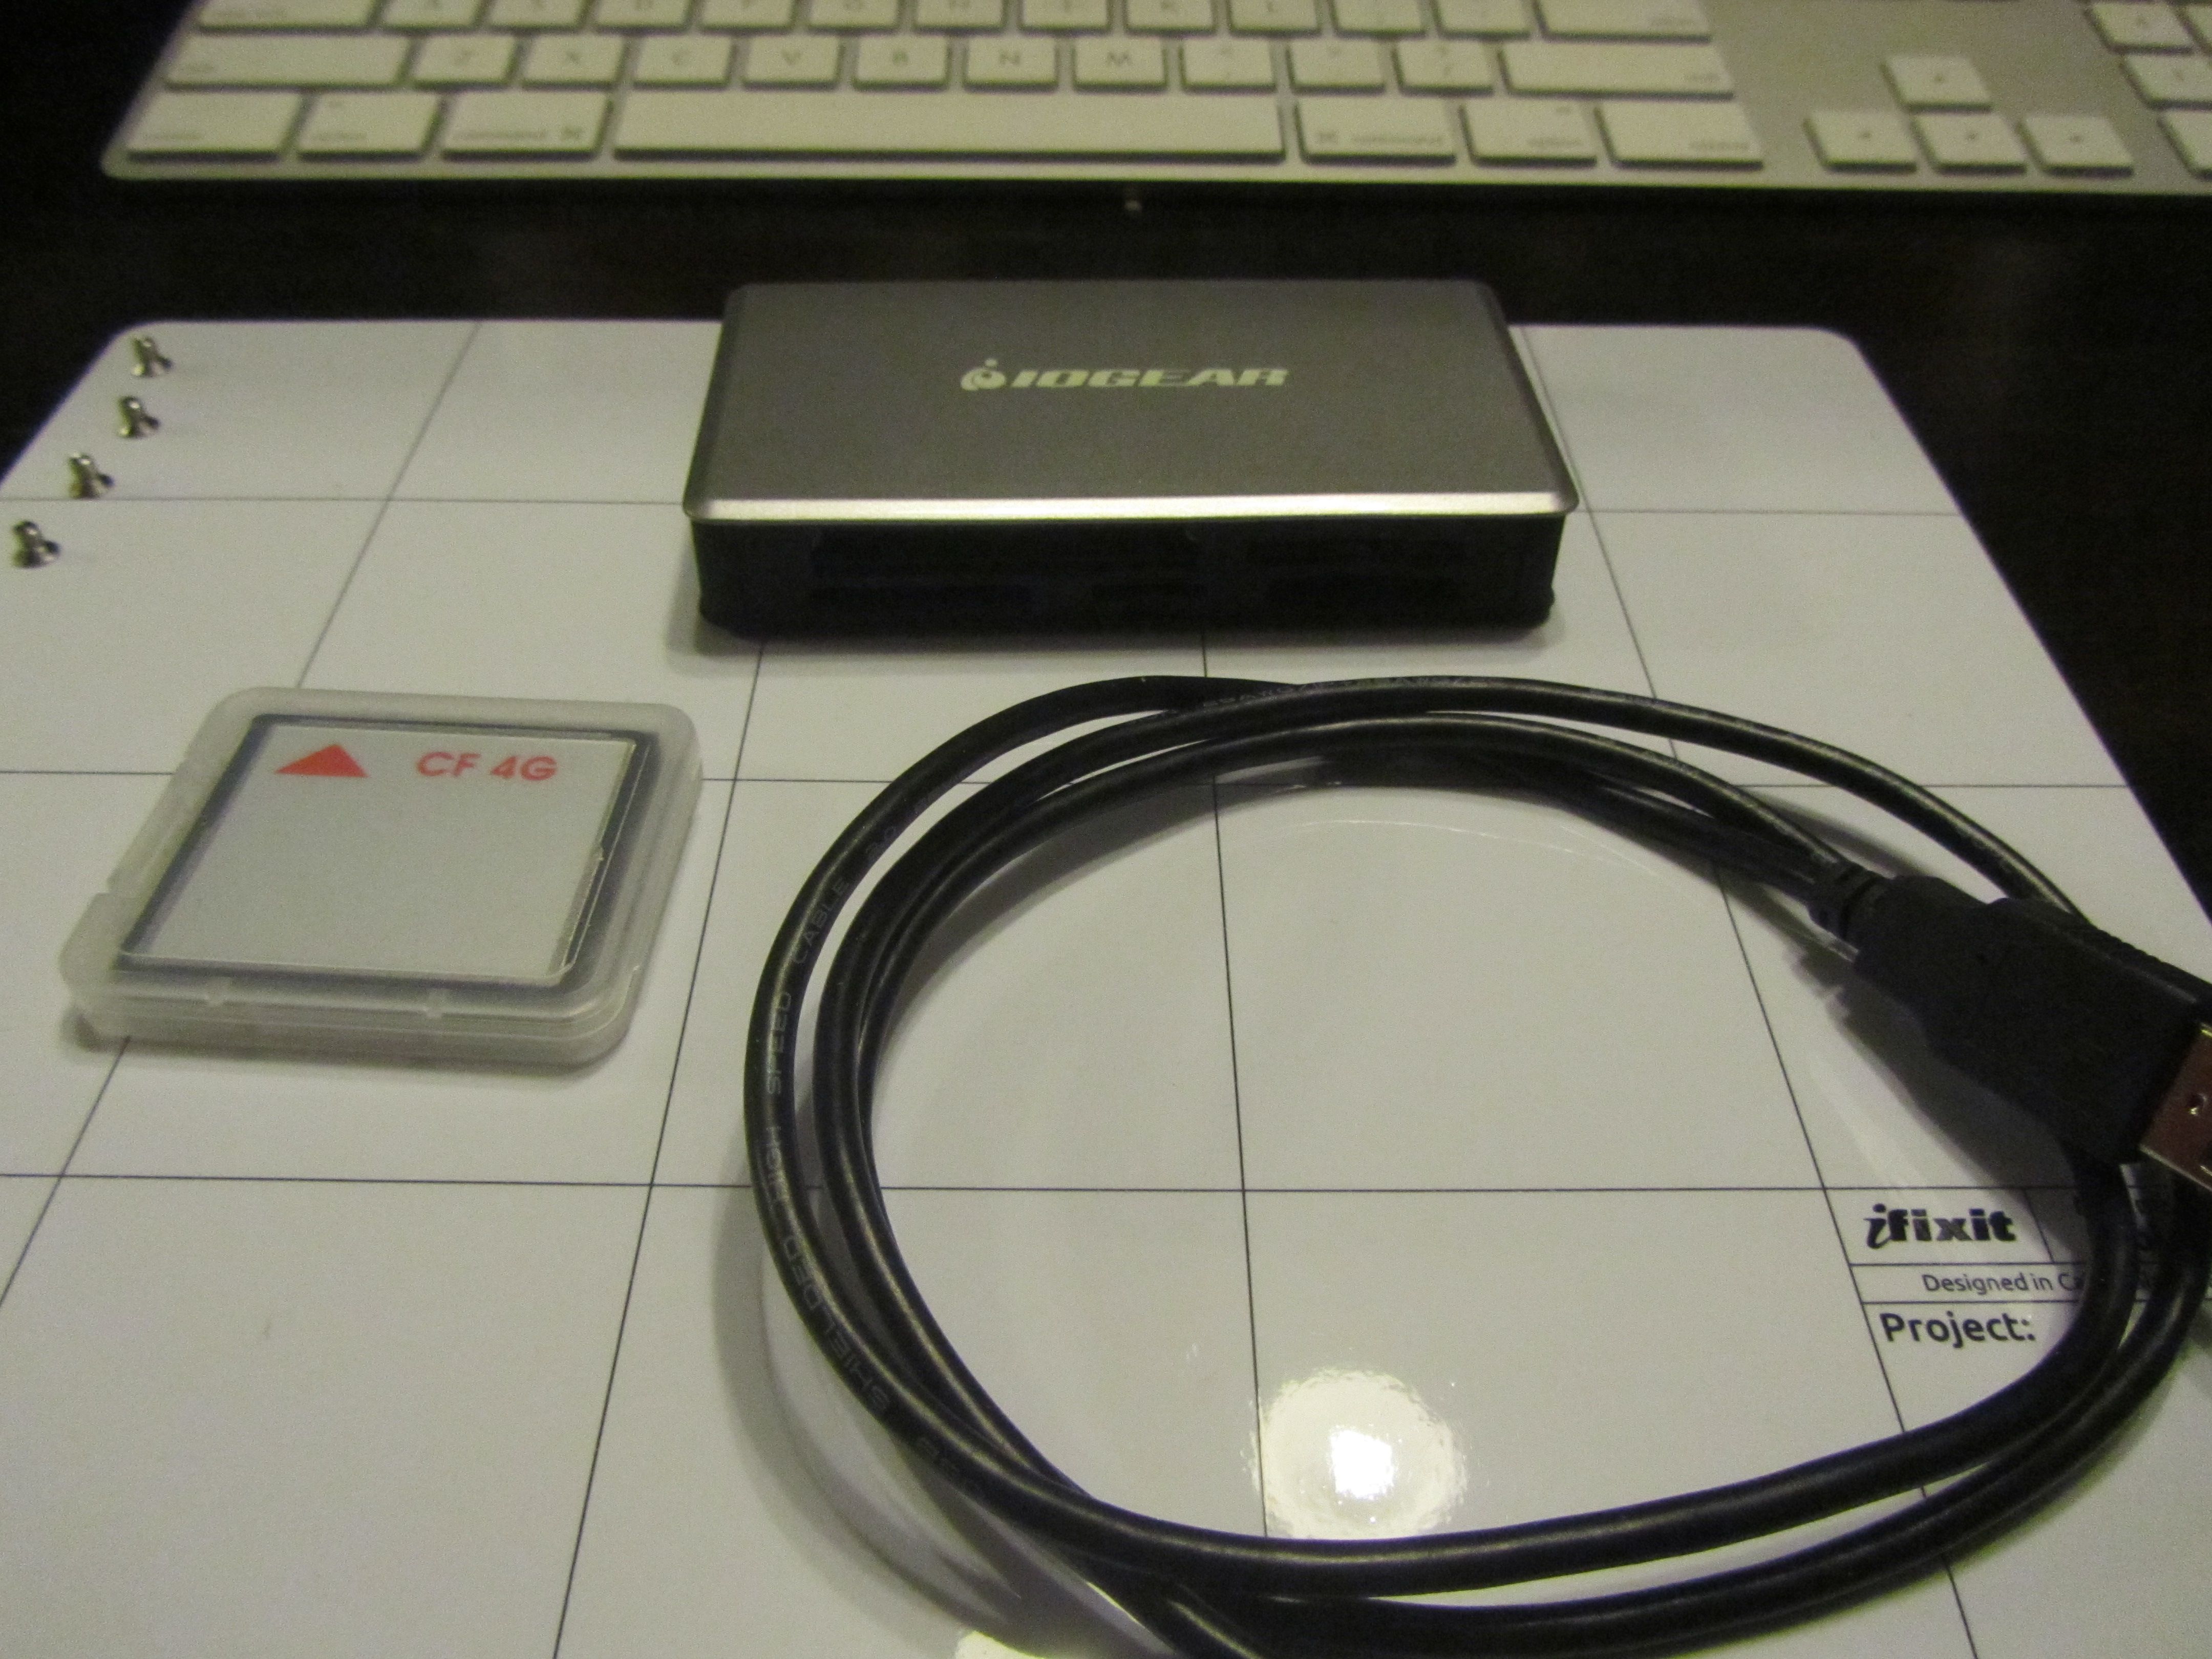
Just connect it and put your CF card in the unit.
Assuming you have an industrial CF card with a 4GB capacity, download the image from here i386 4GB pfSense image. I happen to use a Mac, so this is for a Unix like system. If you need more information on dumping the image, the pfSense site has a tutorial for you.
4GB CF card written on a mac
root# gzcat pfSense-2.1-RELEASE-4g-i386-nanobsd.img.gz | dd of=/dev/rdisk5 bs=16k
243528+1 records in
243528+1 records out
3989970432 bytes transferred in 843.781840 secs (4728675 bytes/sec)
root#
If you do not have a Unix type computer system, then there is a windows option. You can use physdiskwrite, located at the M0n0wall site.
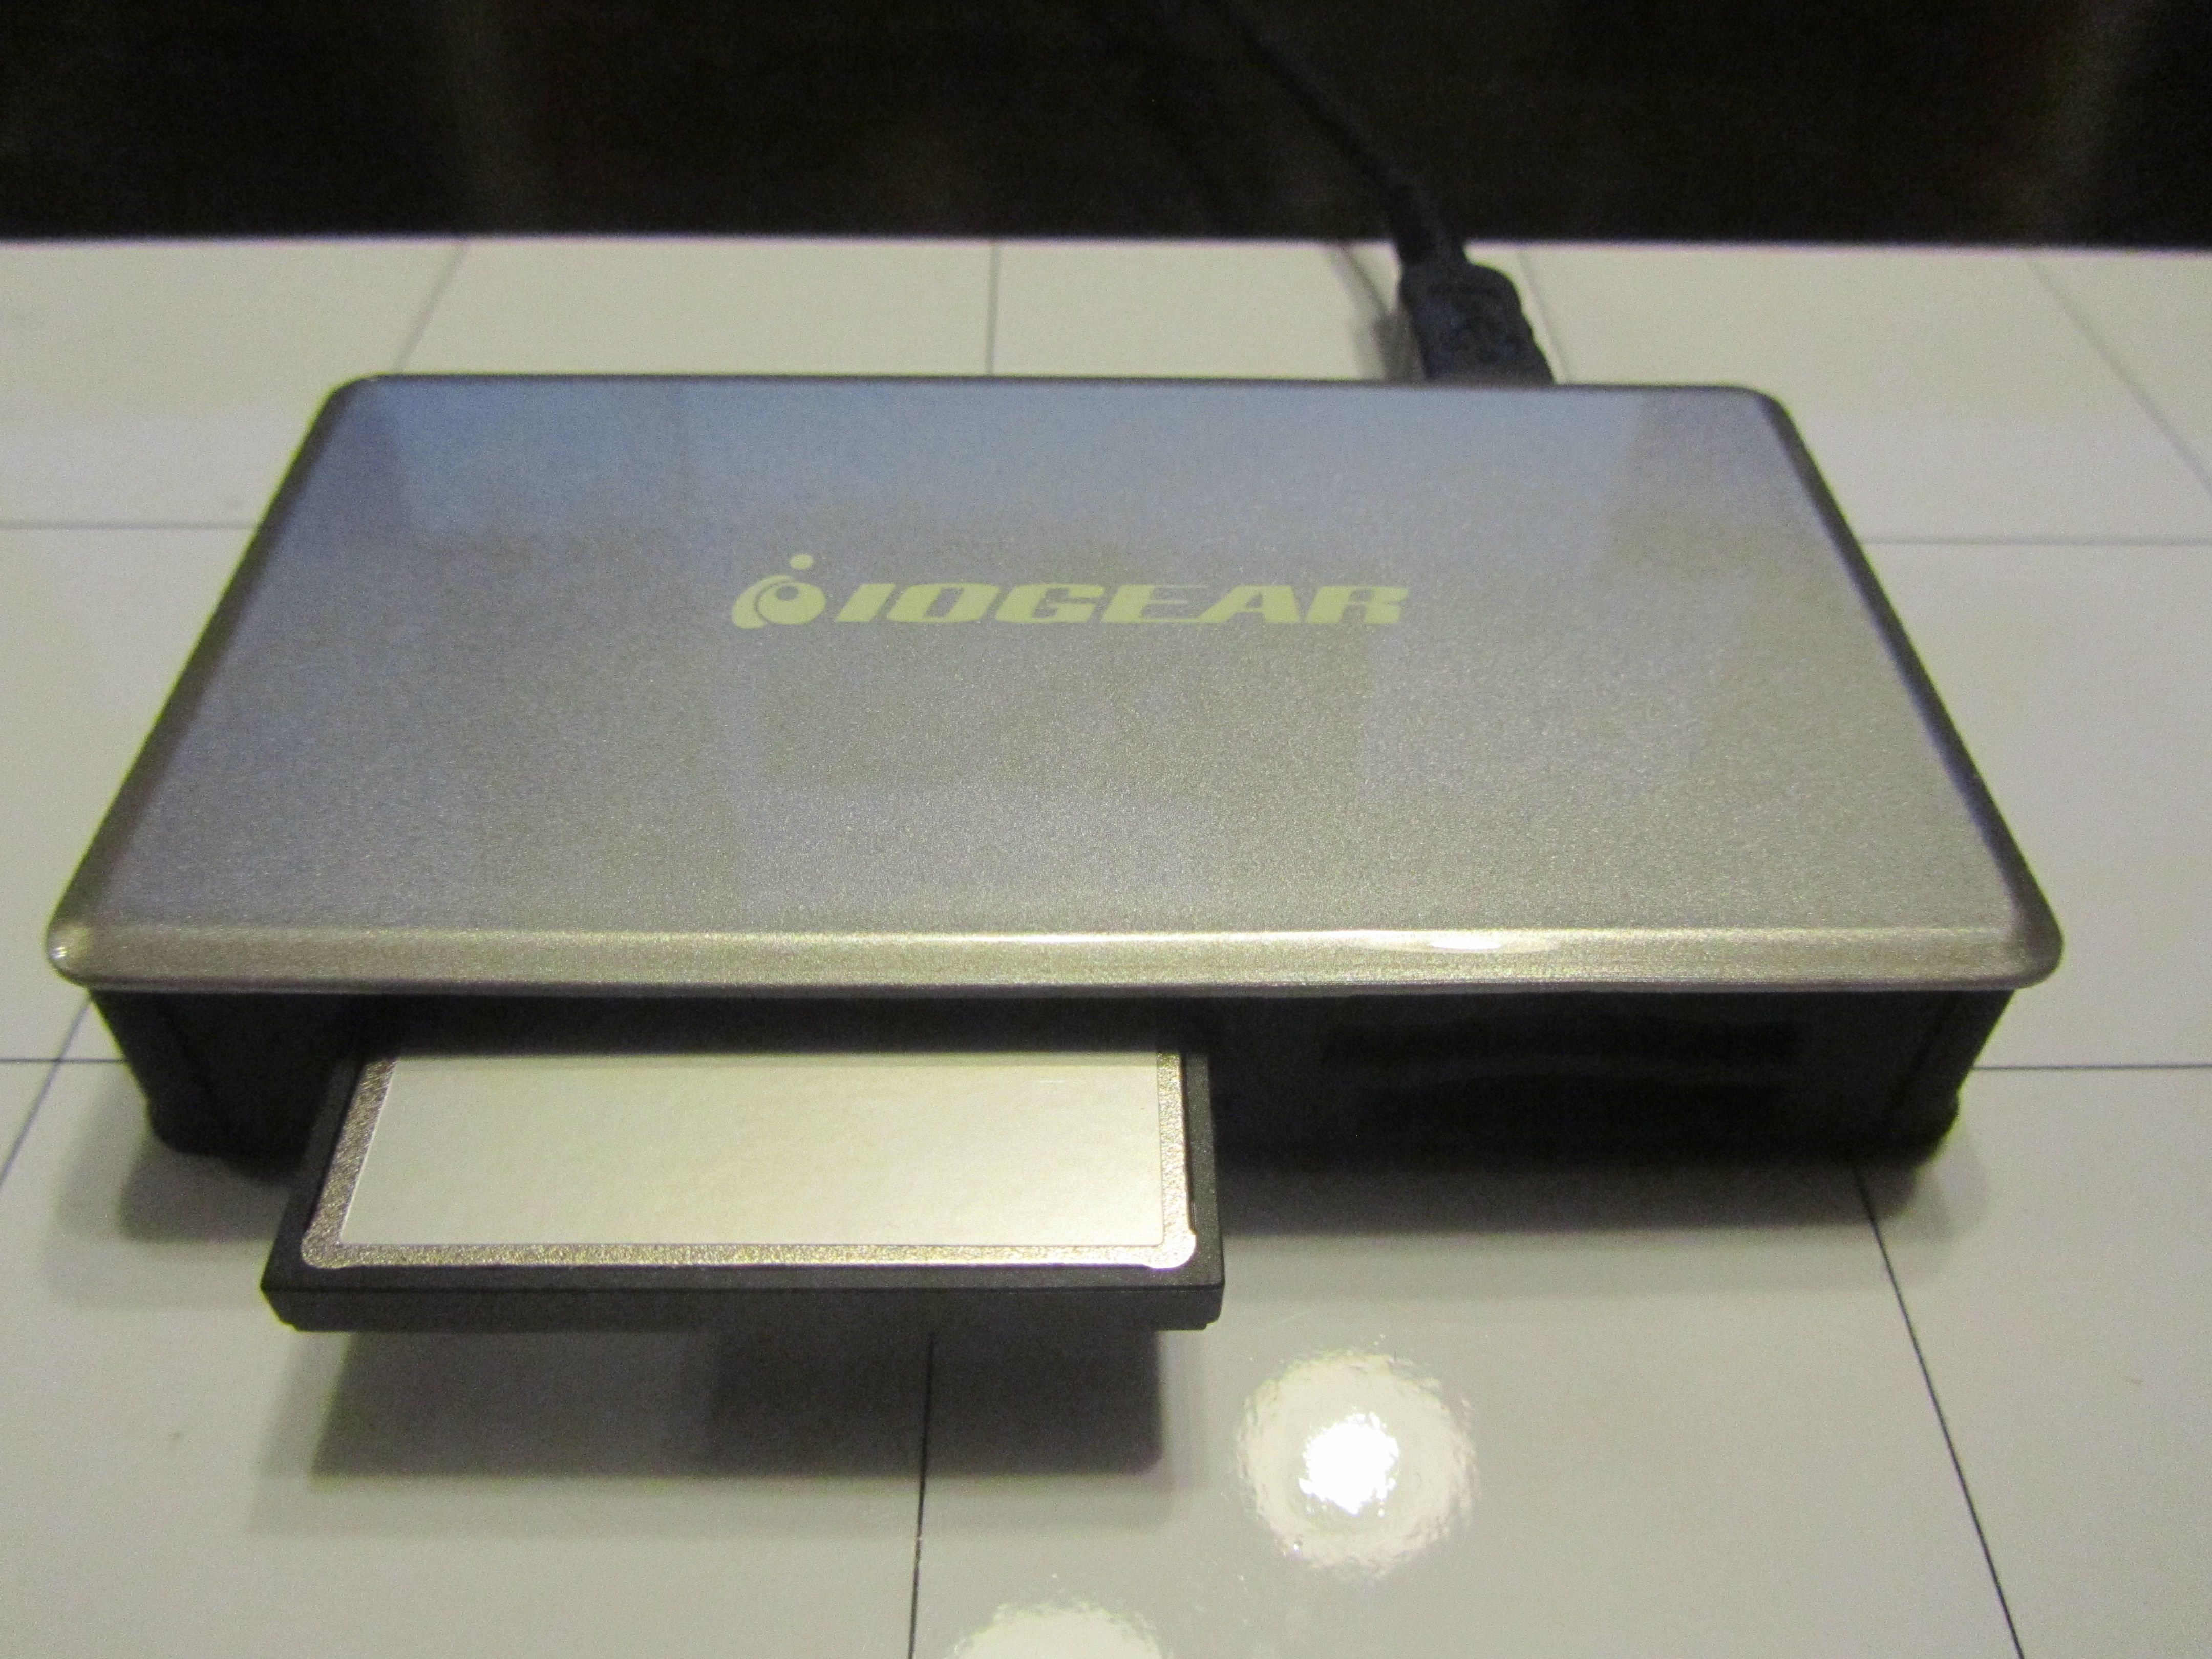
CF Card Installation
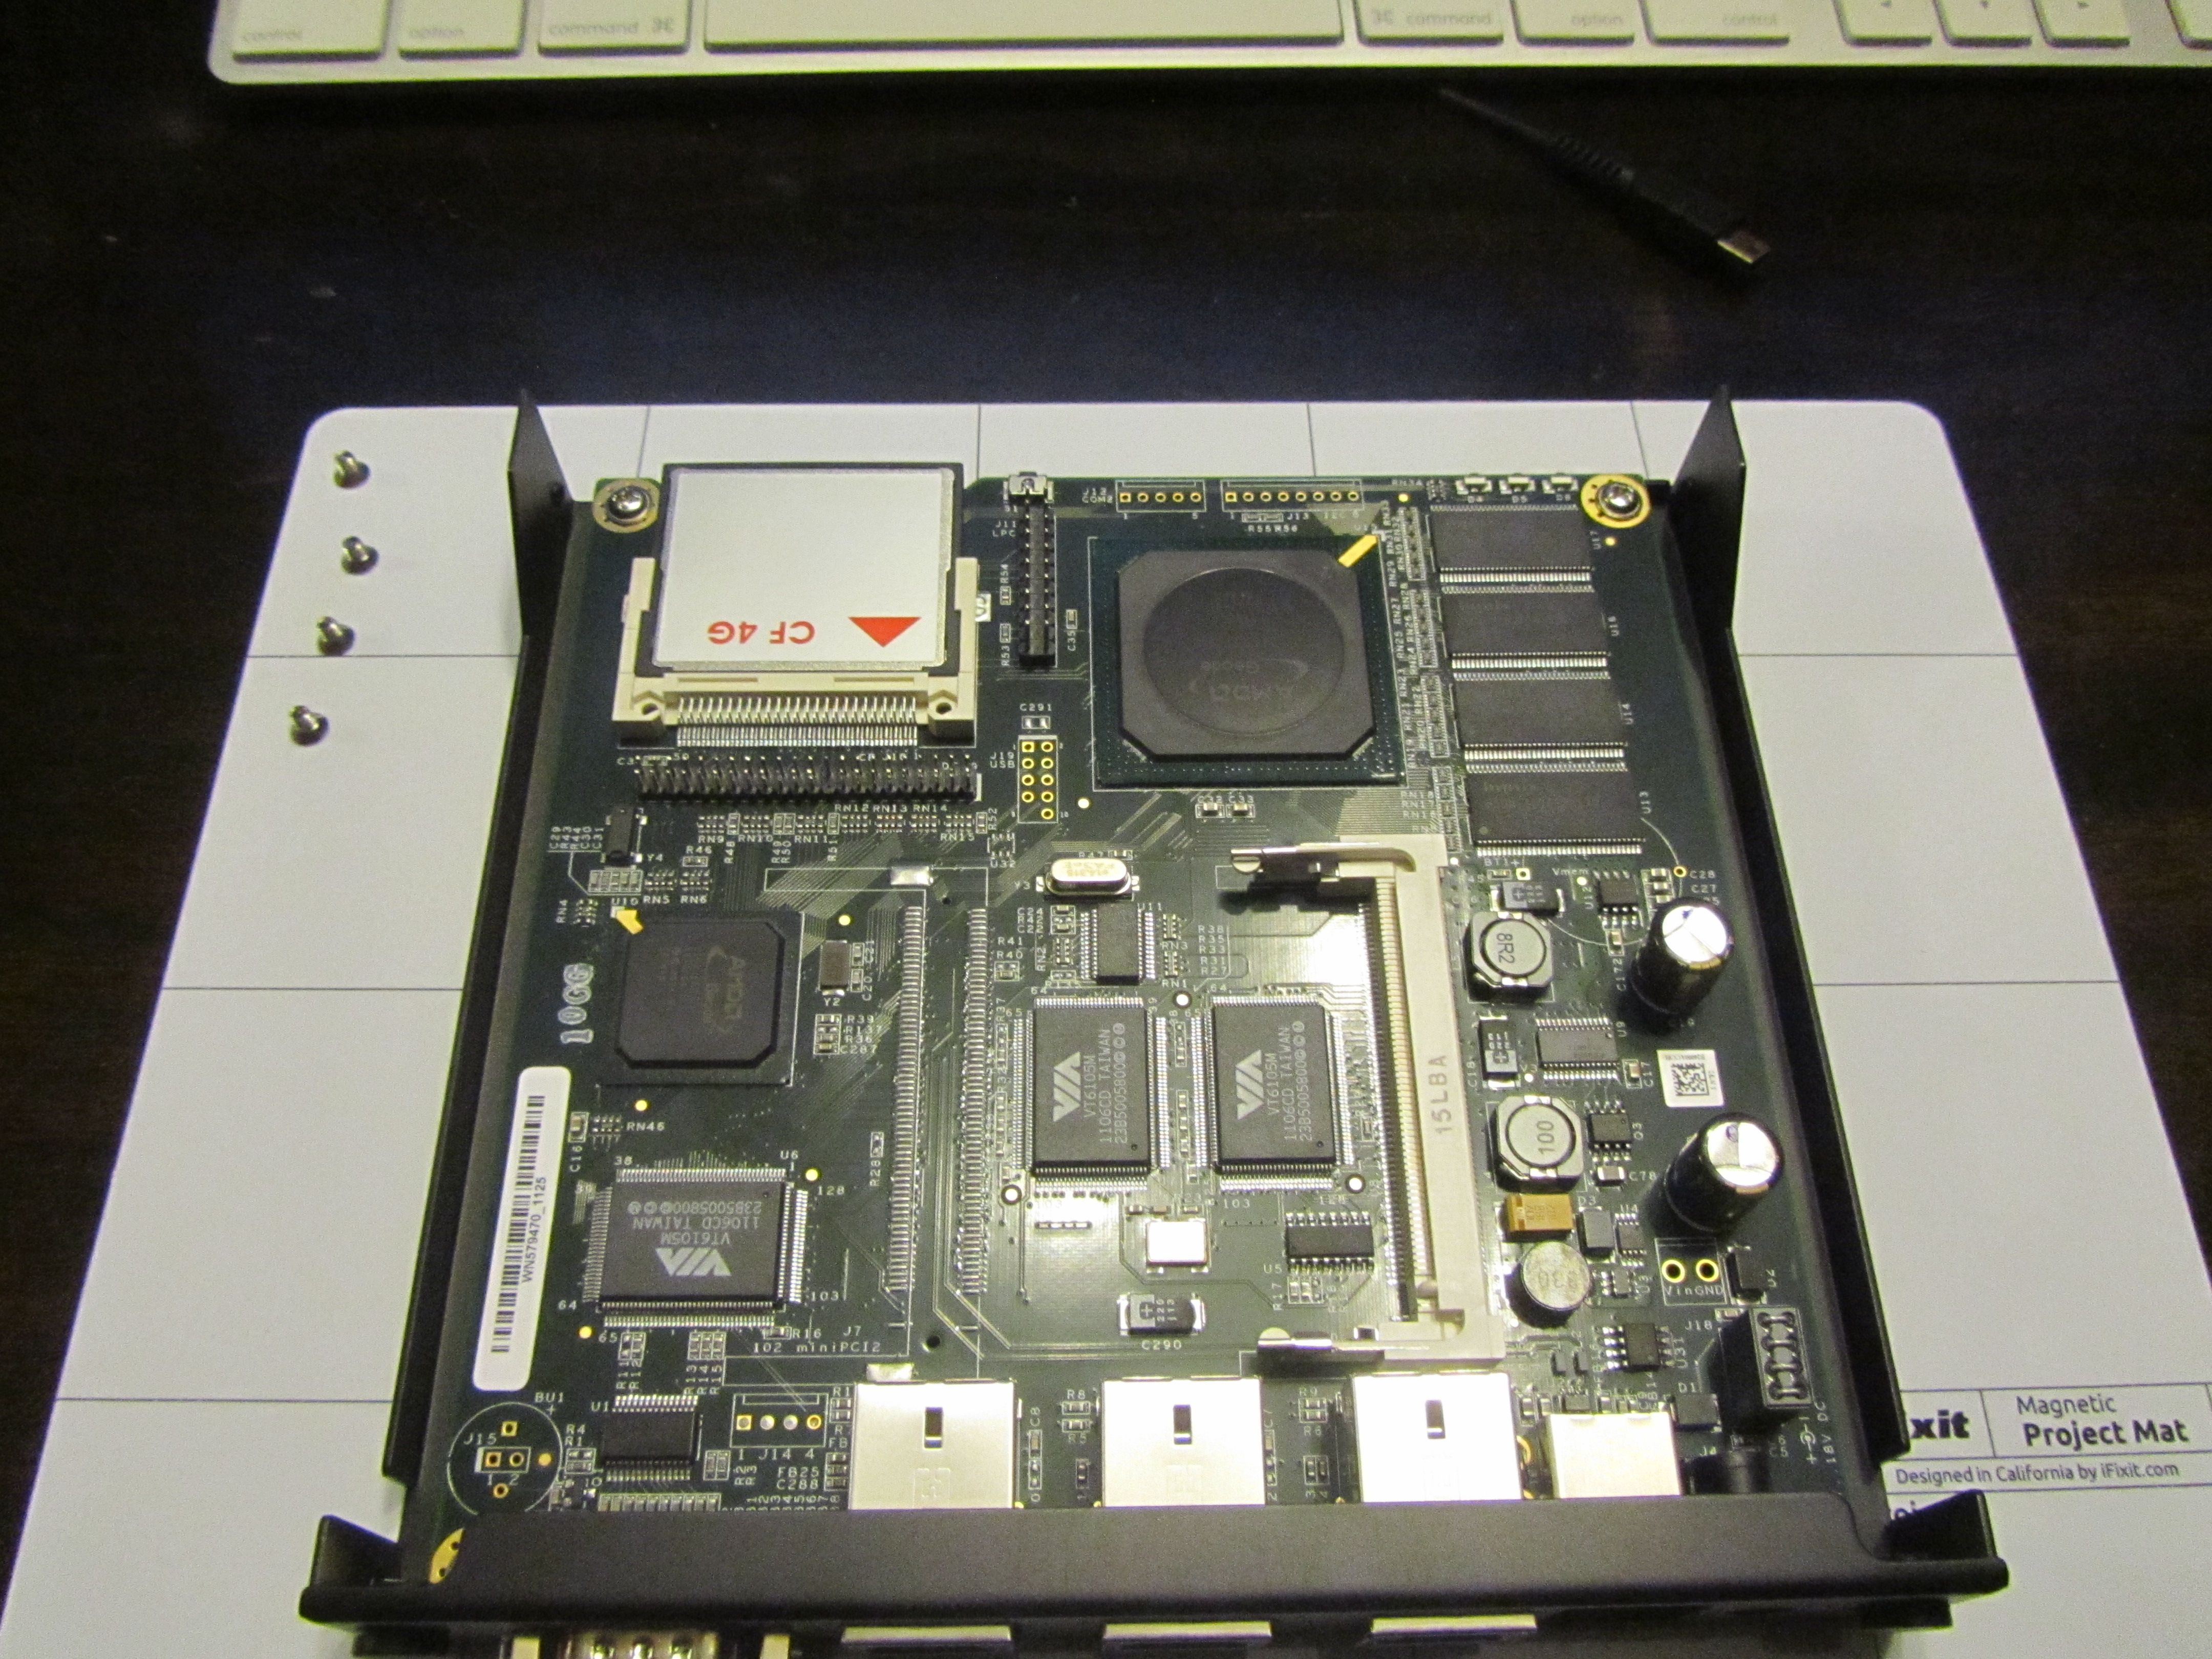
OK, now you need to install the CF card. The location is fairly obvious, but just in case, we have an image.

At this point, it should look like this.
Testing Before Final Assembly
Now that everything is ready, it is time to do an initial boot and make sure i is all working and ready for configuration.
You will need your console cable and power adapter at this point. Start your terminal emulation software footnote:[You may already have one, however if you need one, I use ZOC on my macbook with a serial-to-usb cable and you can use PuTTY with windows and plug in your console cable first, then your power cable.
The initial setup requires a speed of 38400-8-N-1. You will need to change this to 9600 for the pfSense boot. While you are in setup mode, ensure that the had disk is type C,
Here is an example of the console as it boots for the first time:
[SERIAL/DIRECT] CONNECTED TO PORT /dev/cu.usbserial (38400-8N1)

PC Engines ALIX.2 v0.99h (1)
640 KB Base Memory
261120 KB Extended Memory
-
Check the firmware revision here.
|
Note
|
If the ALIX board does not have revision 0.99h, you will need to update the BIOS. The instructions are here: ALIX BIOS Update |
While the memory is being tested, type an "s" character to go into BIOS setup mode and then type a "9" to set the baud rate.
+--------------------------------------------------------------------------+
| PC Engines ALIX.                                                         |
| 2 v0.99                                                                  |
| 640 KB Base Memory                                                       |
| 261120 KB Extended Memory                                                |
|                                                                          |
| 01F0 Master 044A CF 4GB                                                  |
| Phys C/H/S 7785/16/63 Log C/H/S 973/128/63                               |
|                                                                          |
| BIOS setup:                                                              |
|                                                                          |
| (9) 9600 baud (2) 19200 baud *3* 38400 baud (5) 57600 baud (1) 115200 ba |
| u                                                                        |
| *C* CHS mode (L) LBA mode (W) HDD wait (V) HDD slave (U) UDMA enable     |
| (M) MFGPT workaroun                                                      |
| (P) late PCI ini                                                         |
| *R* Serial console enable                                                |
| (E) PXE boot enable                                                      |
| (X) Xmodem uploa                                                         |
| (Q) Qui                                                                  |
|                                                                          |
| *9* 9600 baud (2) 19200 baud (3) 38400 baud (5) 57600 baud (1) 115200 ba |
| u                                                                        |
| *C* CHS mode (L) LBA mode (W) HDD wait (V) HDD slave (U) UDMA enable     |
| (M) MFGPT workaroun                                                      |
| (P) late PCI ini                                                         |
| *R* Serial console enable                                                |
| (E) PXE boot enable                                                      |
| (X) Xmodem uploa                                                         |
| (Q) Qui                                                                  |
|                                                                          |
| Save changes Y/N ?                                                       |
| Writing setup to flash... OK                                             |
| xÇxÇÇxÇxÇÇÇxÇxÇxÇxÇÇÇÇÇÇÇxxÇxÇxÇxÇÇÇÇÇxÇÇÇxÇxÇÇxÇxÇxÇÇxxÇxxxÇxÇÇÇÇÇÇxÇÇx |
| ÇÇÇ                                                                      |
| ÇxÇÇxÇÇÇÇÇxÇÇÇxÇxÇÇÇÇxÇÇÇxÇÇÇxxÇÇÇÇÇÇÇxxÇxÇÇÇÇÇÇÇÇxxÇÇÇÇÇÇÇxxÇÇÇÇÇÇÇÇÇÇx |
| xÇÇÇÇÇÇÇxÇÇÇxxÇÇxÇÇÇÇÇÇxxÇxÇx                                            |
| ÇxÇÇÇxÇÇÇxÇxÇxÇÇÇÇxÇÇÇÇÇÇÇÇÇxÇÇÇÇxÇÇÇÇÇÇÇÇÇÇxÇÇÇÇÇxÇxÇÇÇÇÇÇxÇÇxxÇÇÇxÇÇÇx |
| ÇxÇxÇÇxxÇxxÇxÇxÇÇ                                                        |
| ÇÇxÇxÇxÇÇÇÇÇÇÇxÇÇÇÇÇÇÇÇÇÇÇÇÇÇÇÇÇÇÇÇÇÇÇÇÇÇÇÇÇÇÇÇÇÇÇÇÇÇÇxÇxxxÇÇxÇxÇxÇÇÇÇxÇ |
| xxÇÇÇxÇÇÇÇÇ                                                              |
| ÇÇÇxÇxÇxÇxÇÇÇÇxxÇÇÇÇÇxÇÇÇÇxÇxxÇxxÇÇÇxÇxÇxxÇxxÇxxxÇxÇÇÇÇÇxÇxÇxxÇxxÇxxxÇxÇ |
| xÇxÇÇxxxxÇxÇxxxxÇÇÇxÇÇ                                                   |
| xÇxxxxxxxxxxxxxxxxxÇxxxxxxxxÇxÇxÇxÇÇxxxÇx                                |
+--------------------------------------------------------------------------+
You will get garbage characters at this point. Change the baud rate of your terminal client to 9600-8-N-1
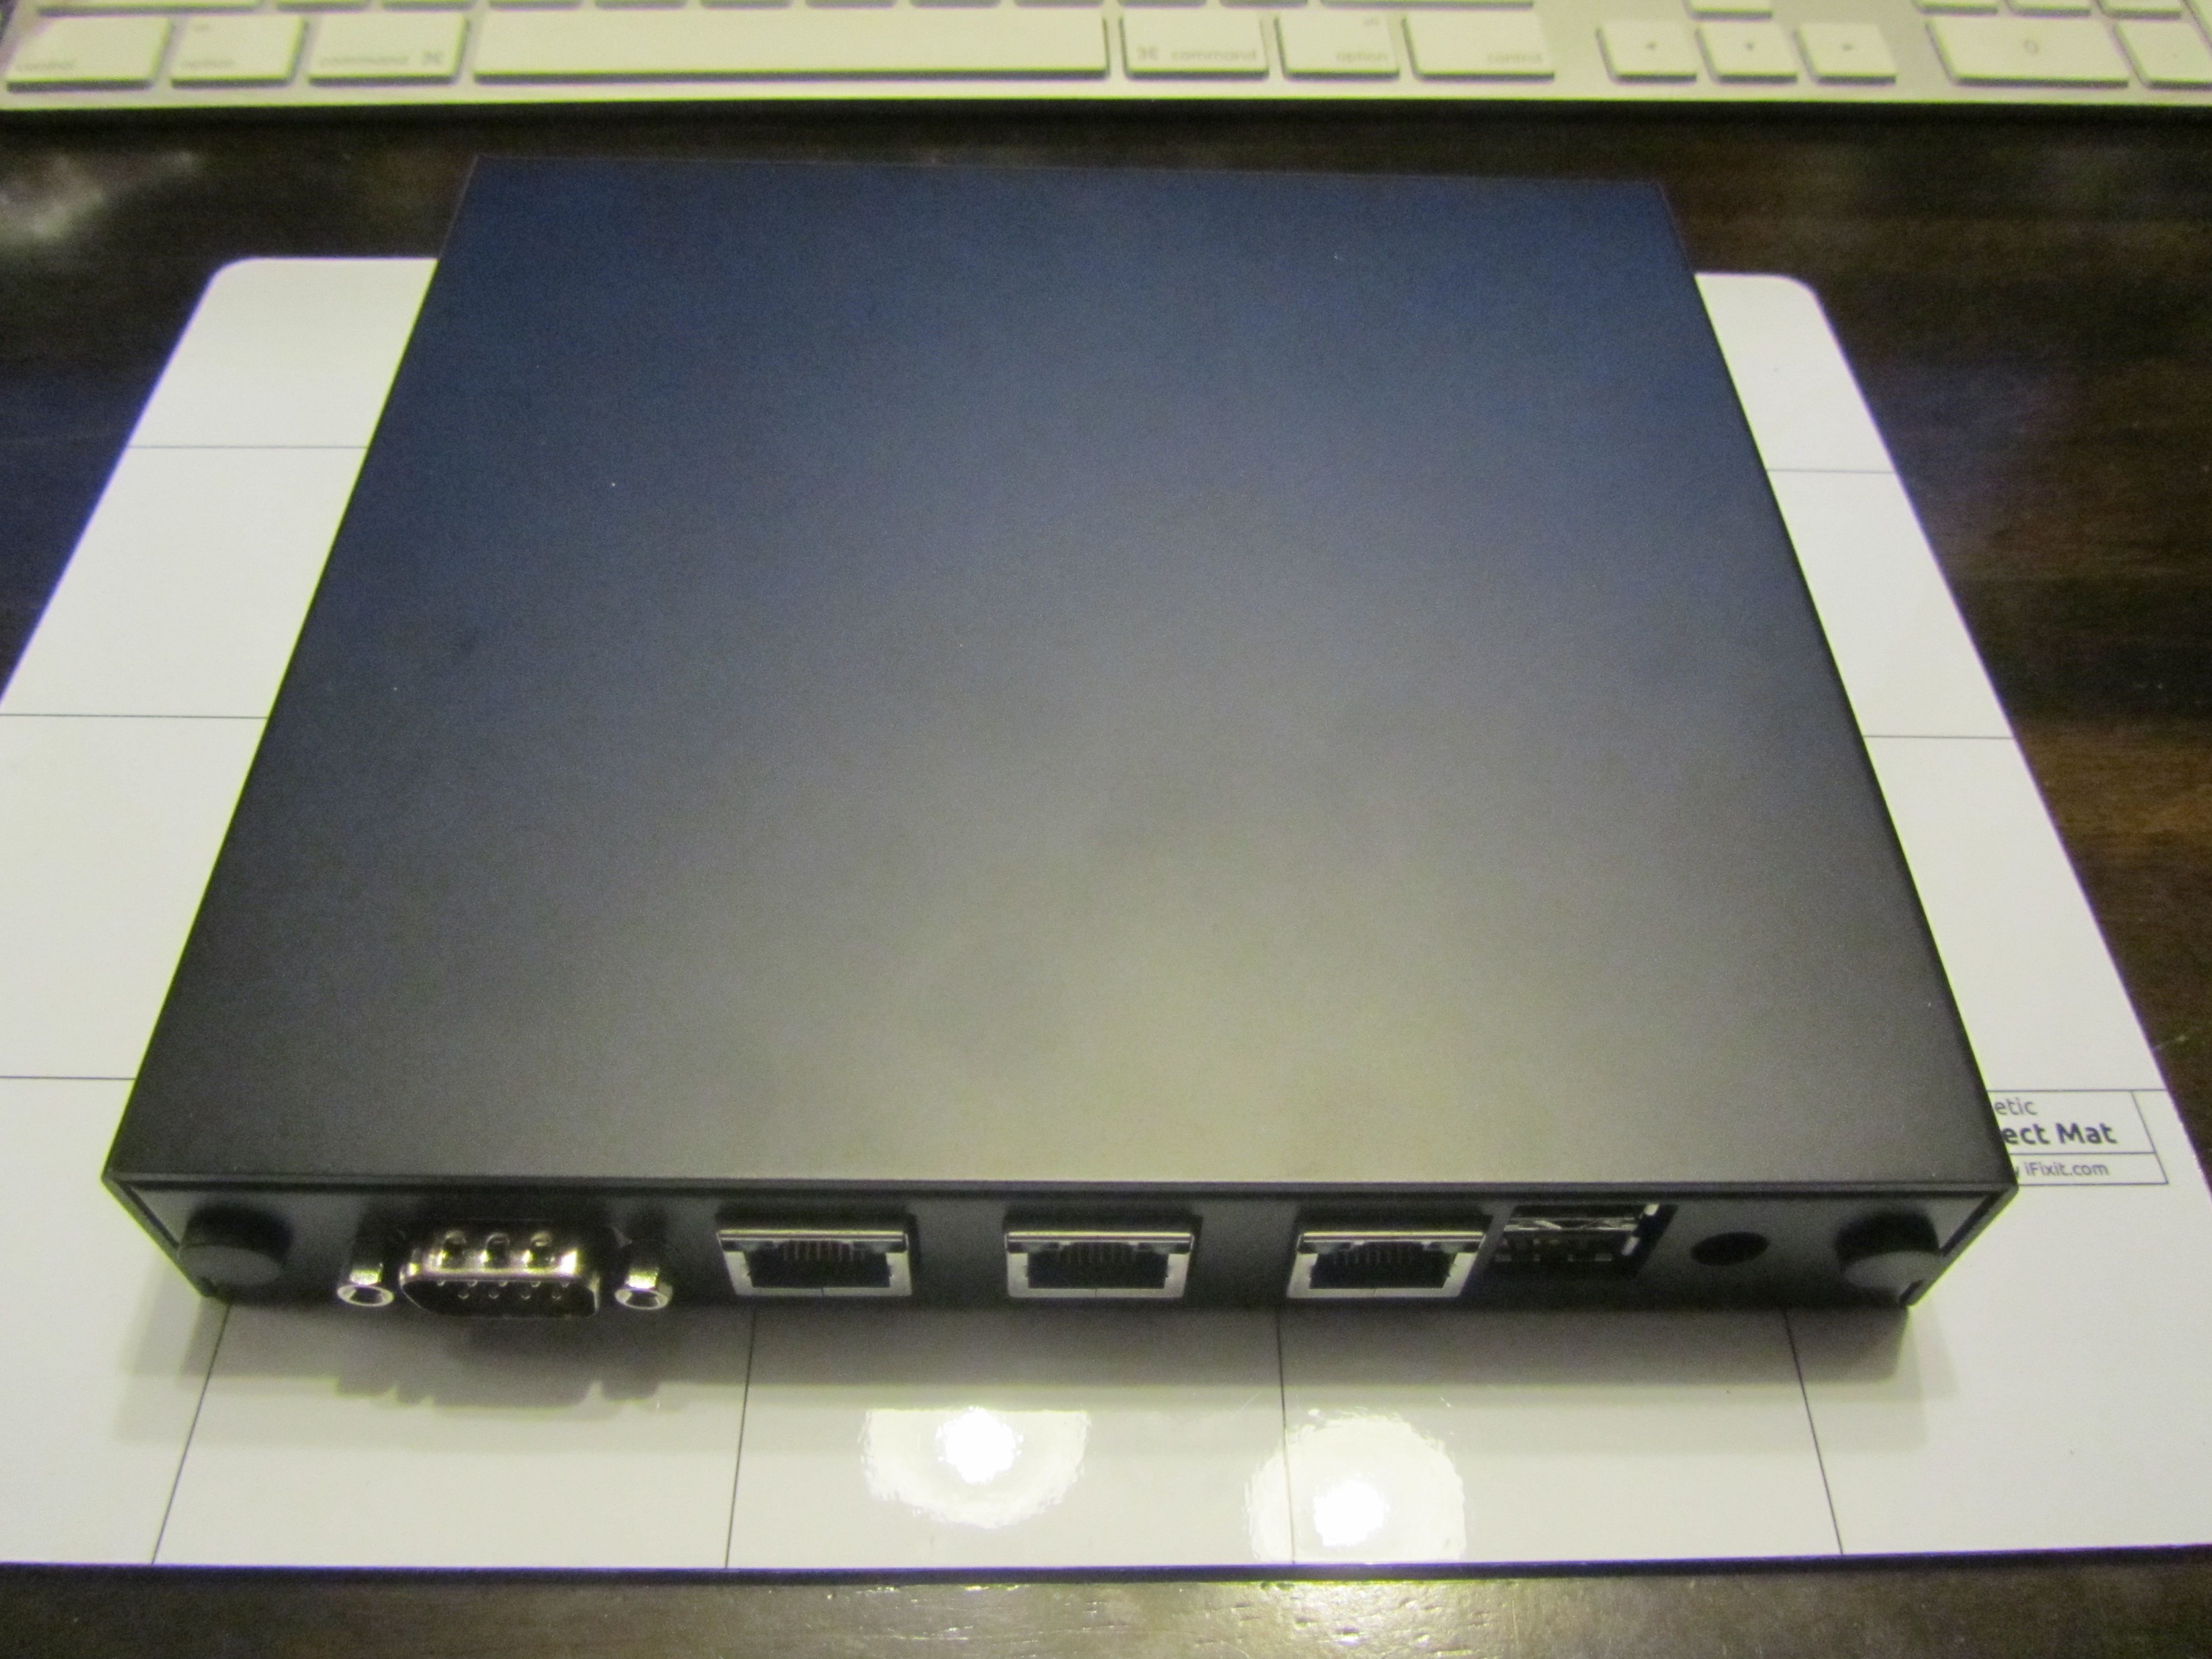
Closing the case
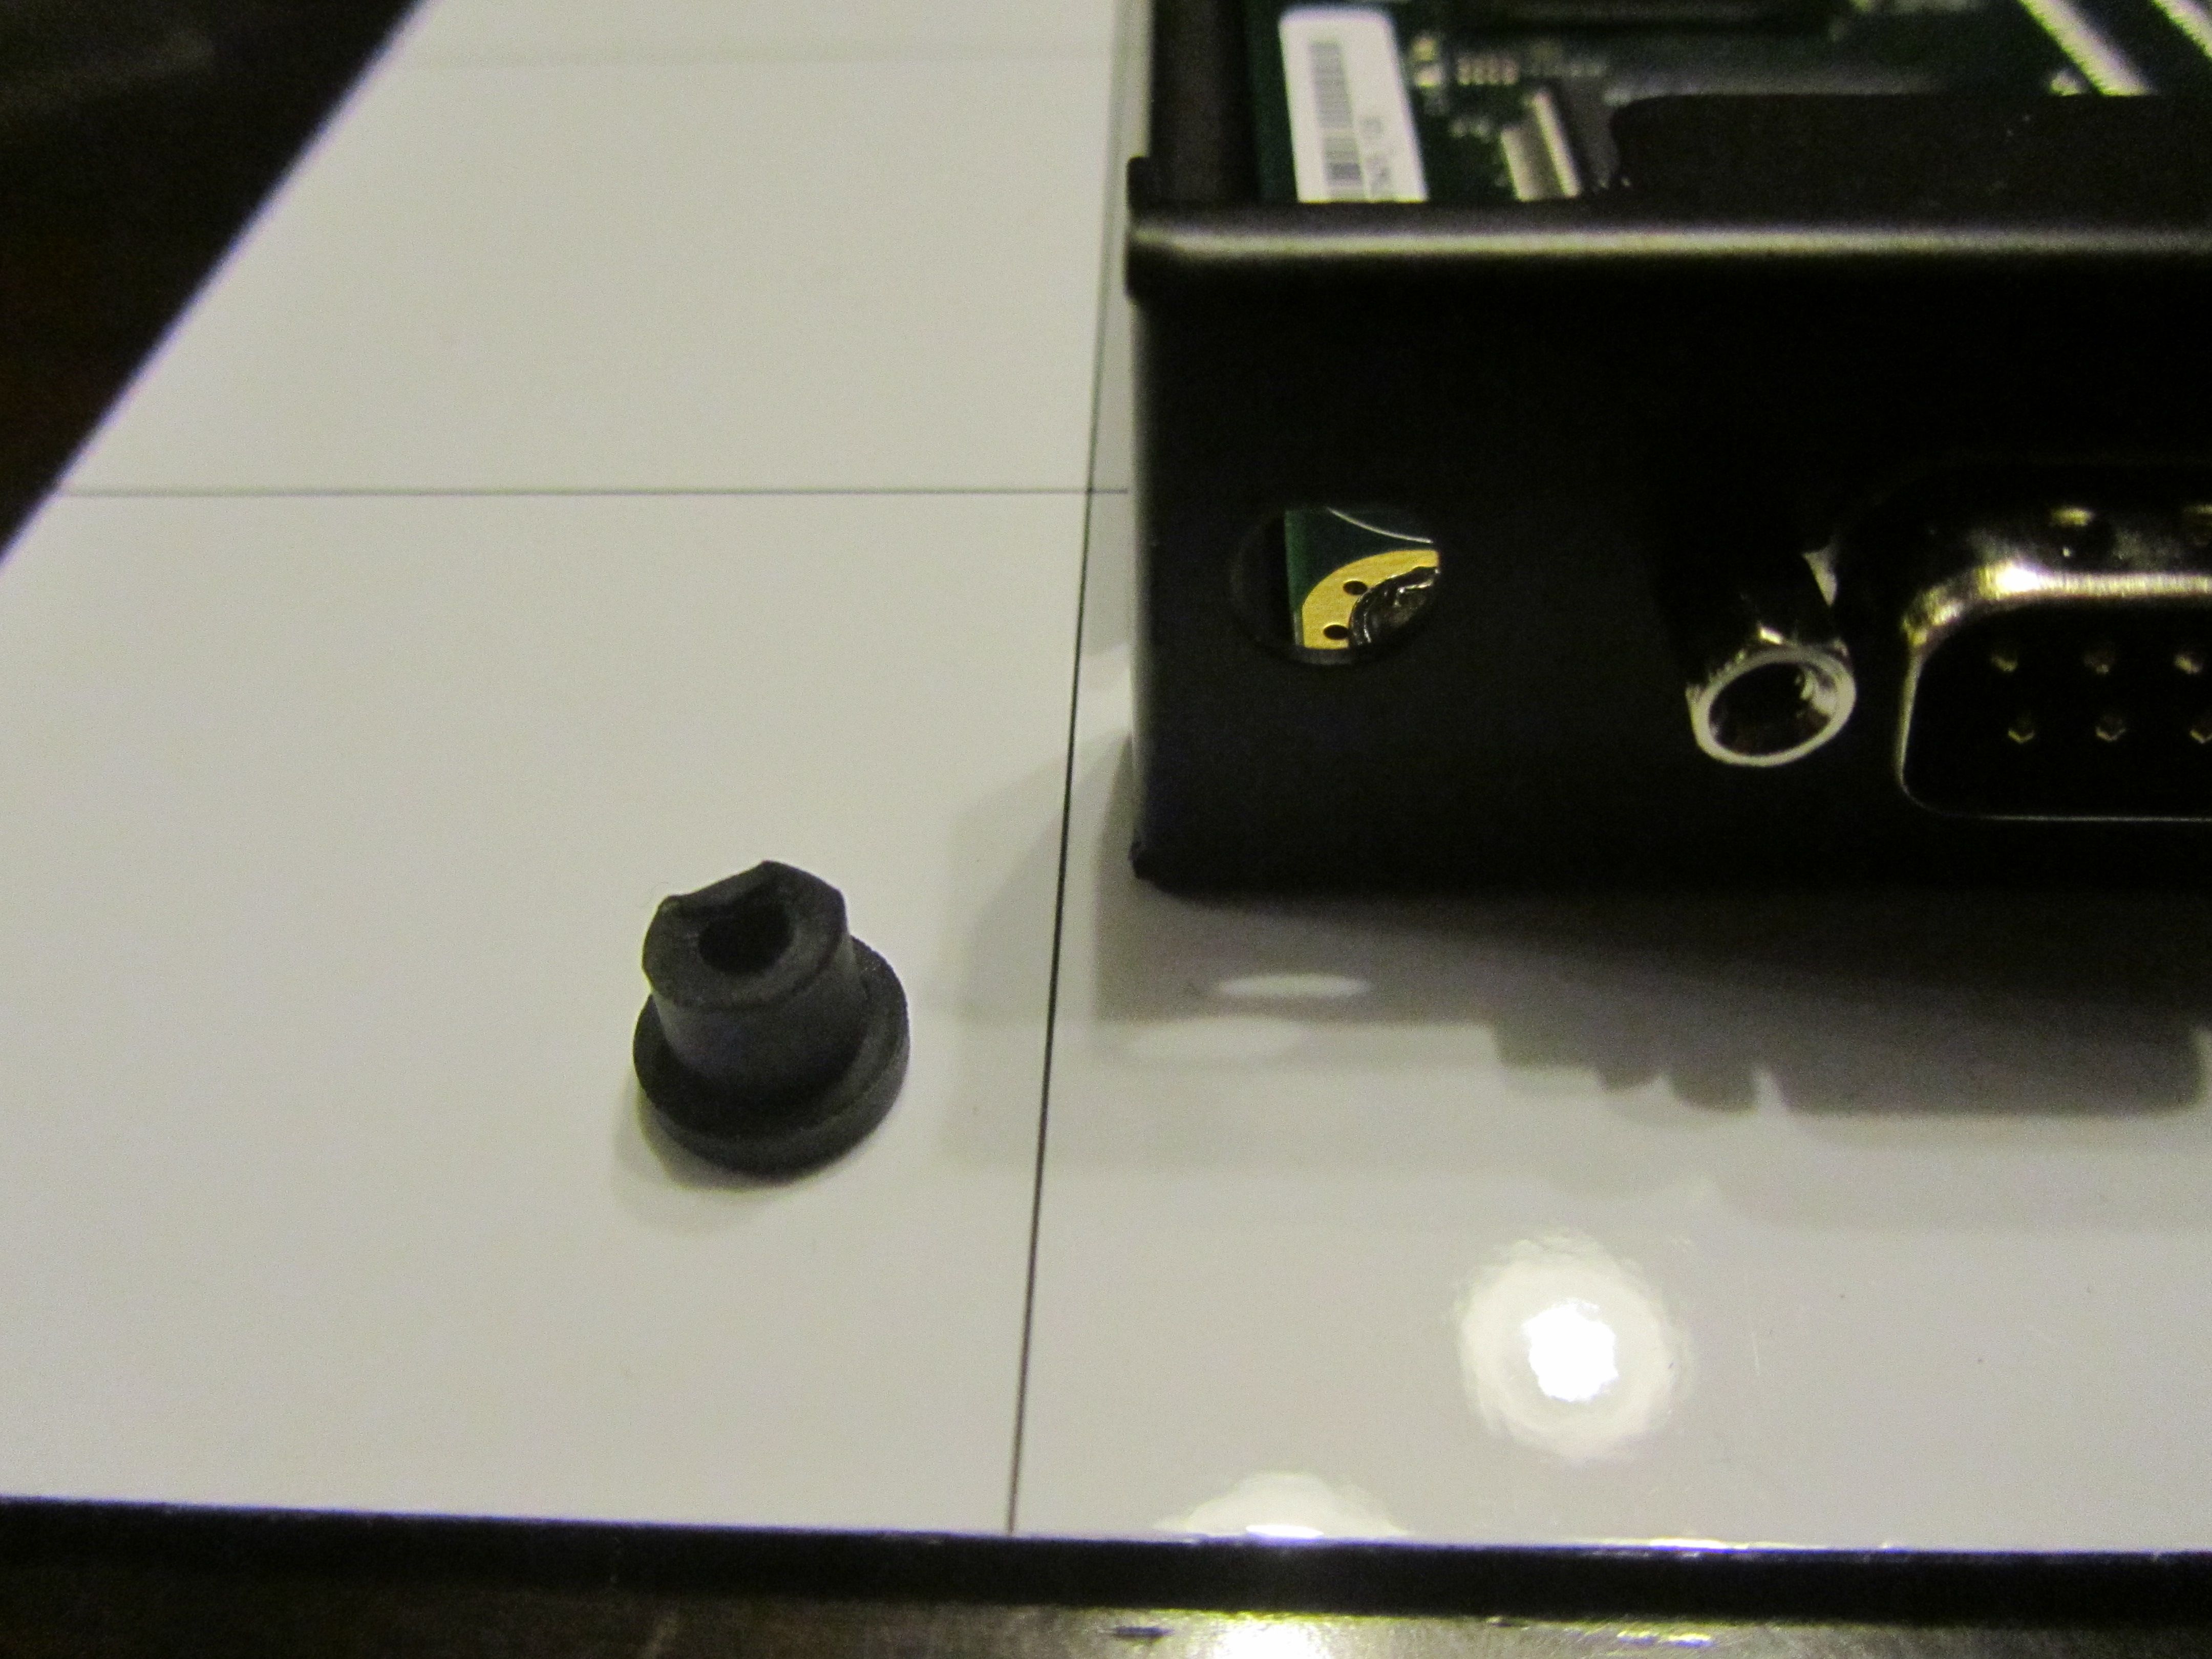
Now that you are satisfied, you can power off the unit and close the case. Use the remaining four screws to go into the sides of the box. There is one final item to take care of - the antenna holes [5] .
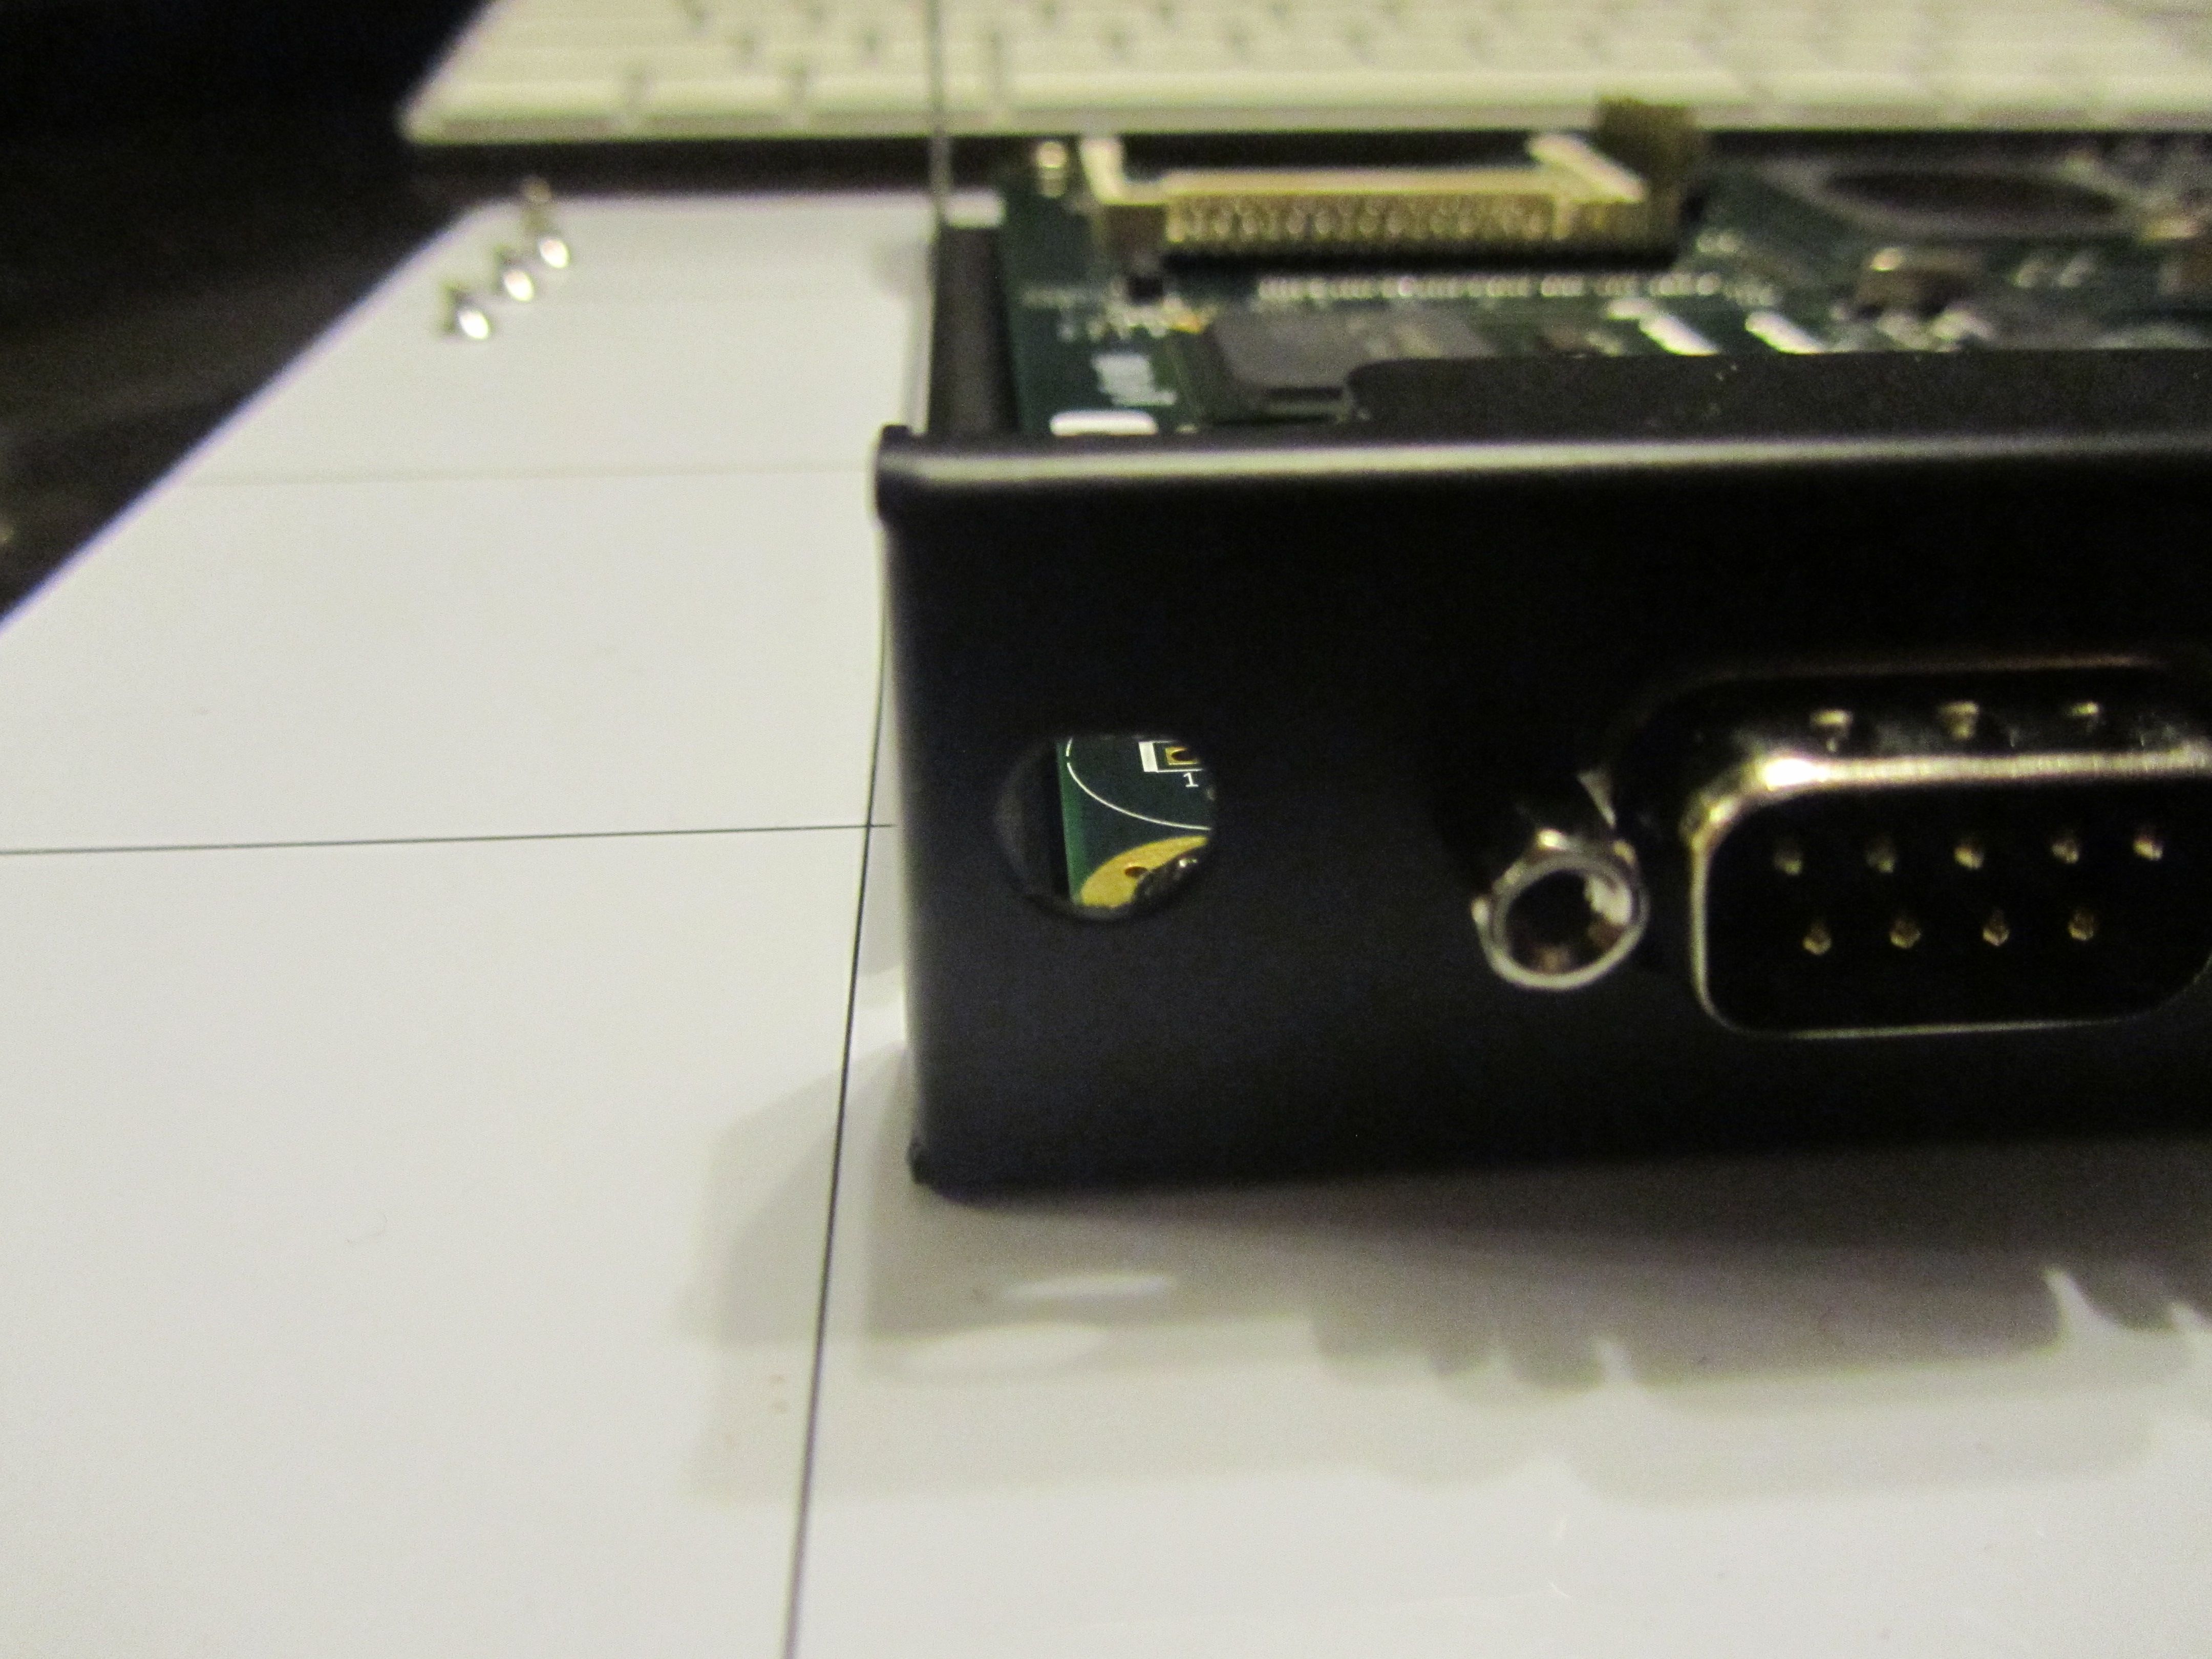
As we will not be using them, you can fill the holes with the provided rubber plugs.
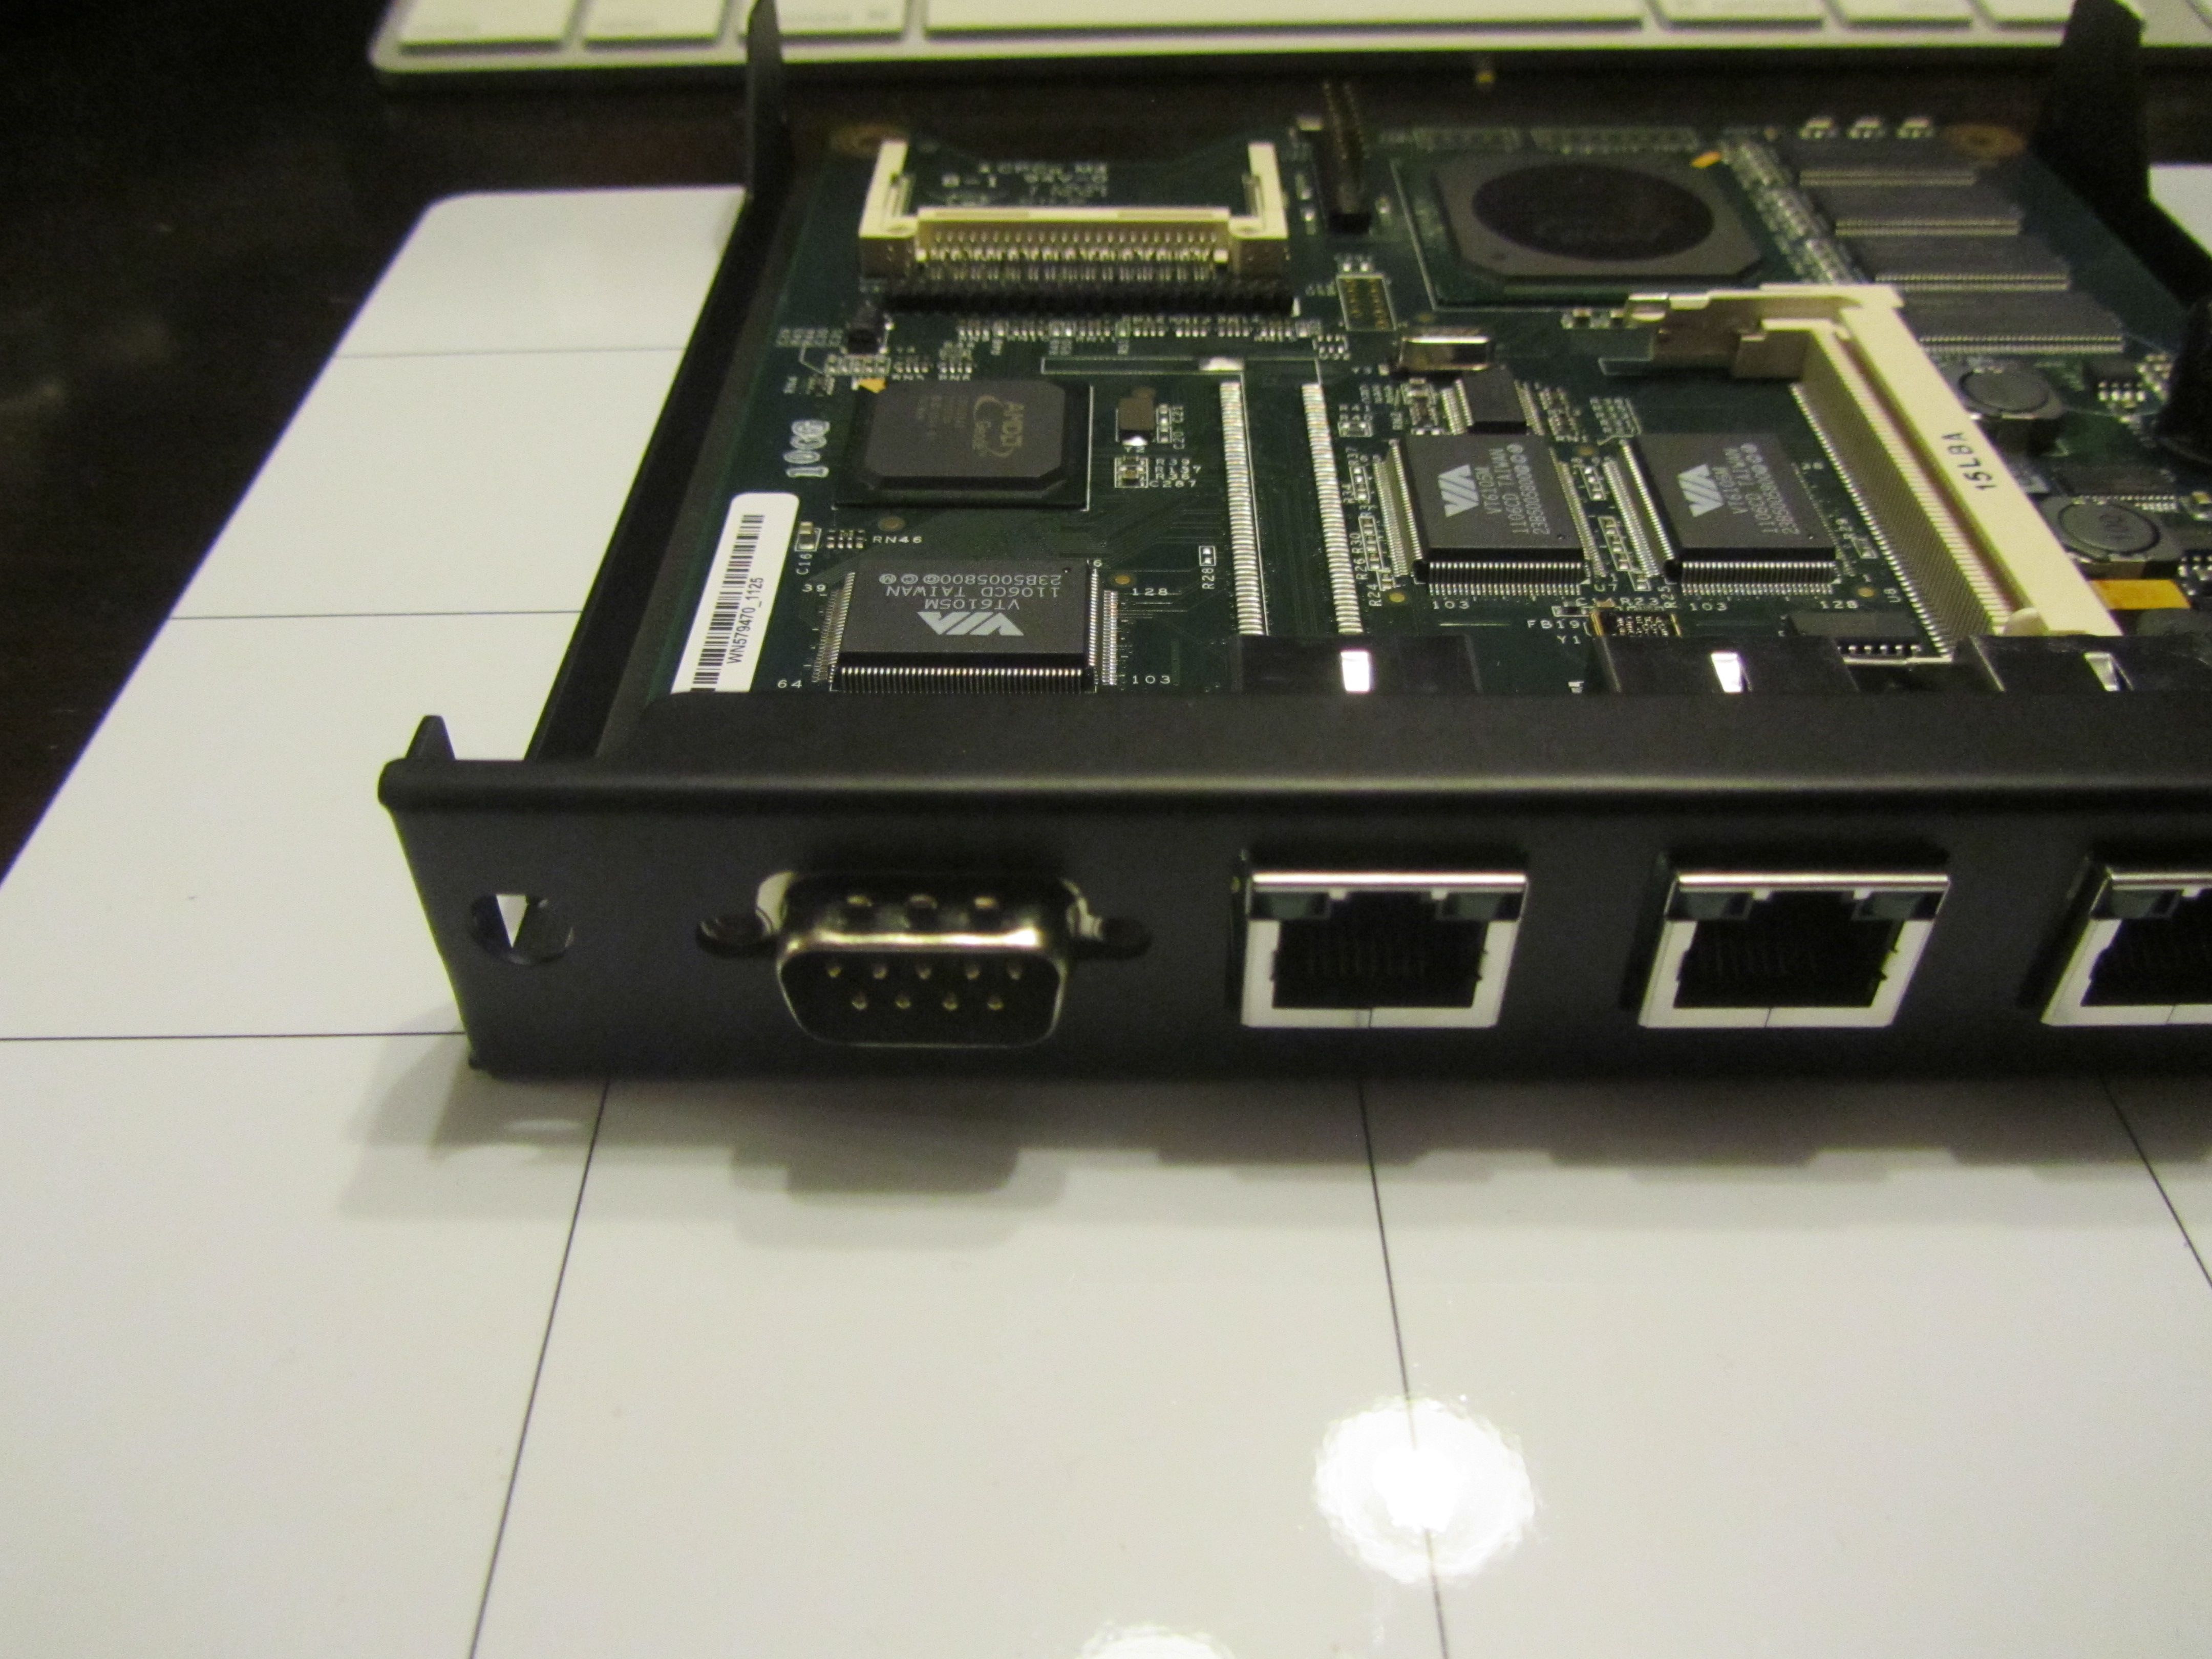
Now that we are fully assembled, you should have something like the following images
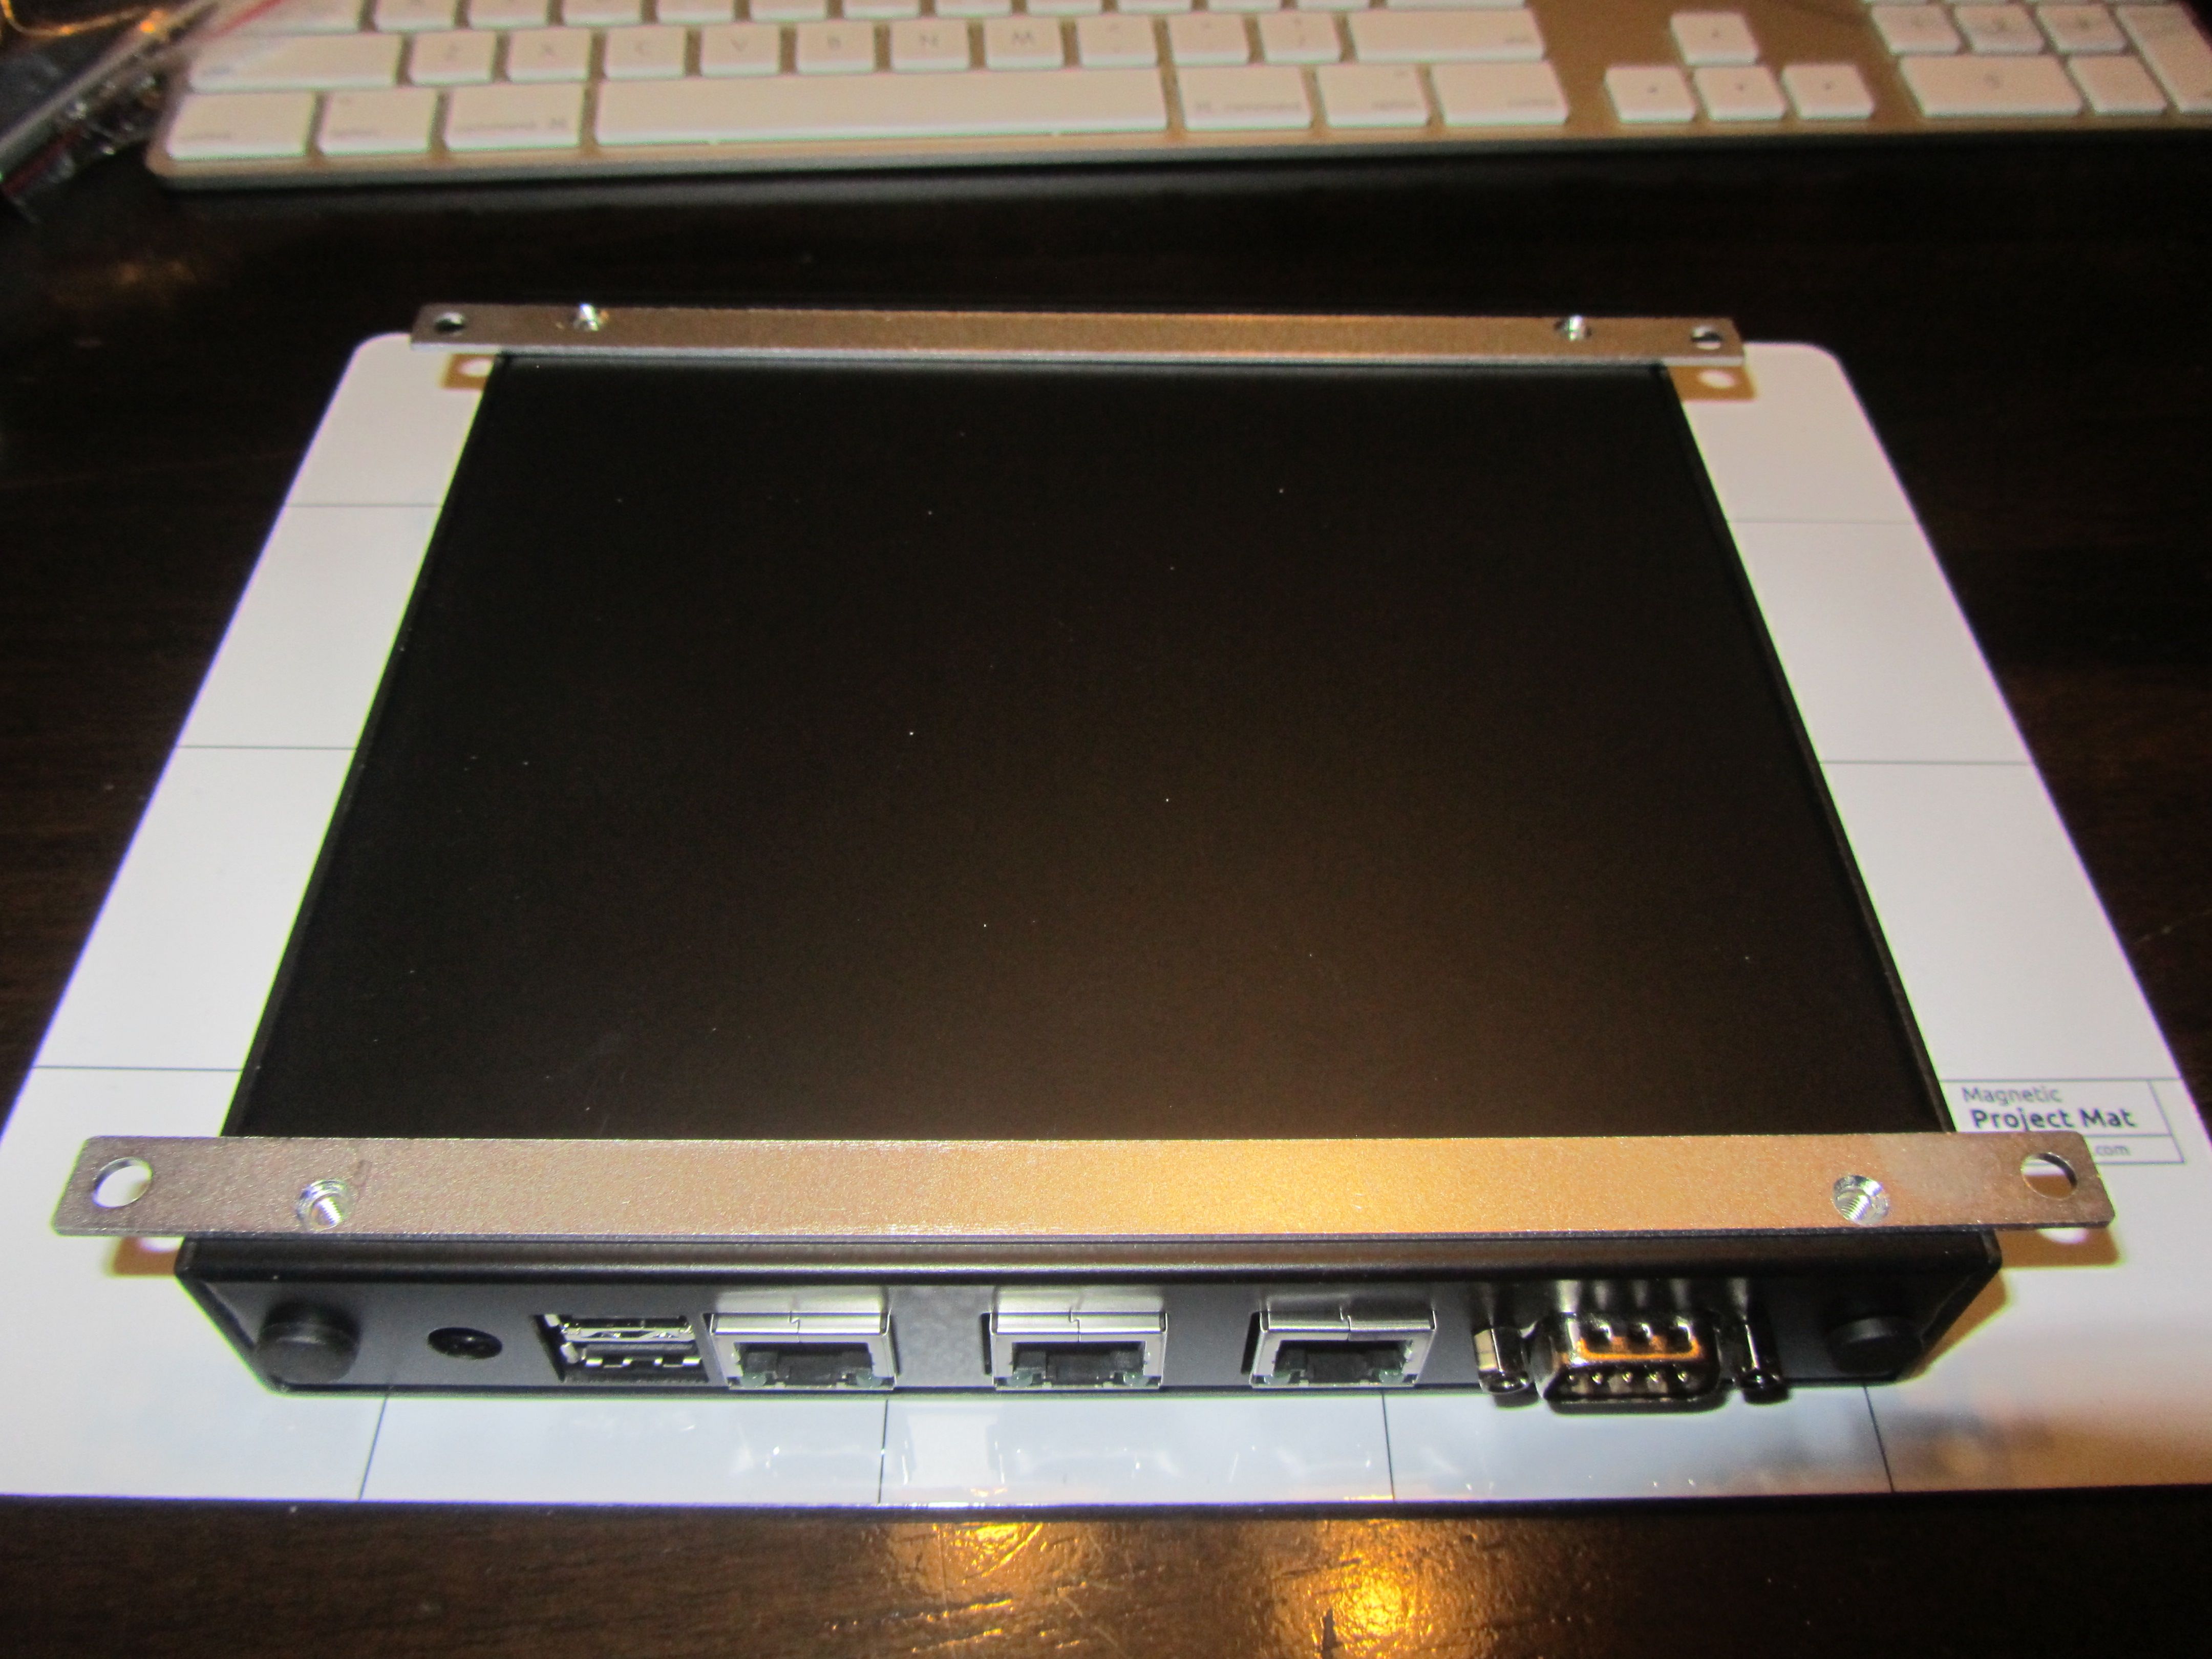
Optional: Wall mounting the unit
The unit has a wall mount option for the case. It is just two steel bars with holes drilled to match the holes at the bottom of the case. If you have not ordered yet, you can spend the couple of dollars and get them. If you want to roll your own, feel free.
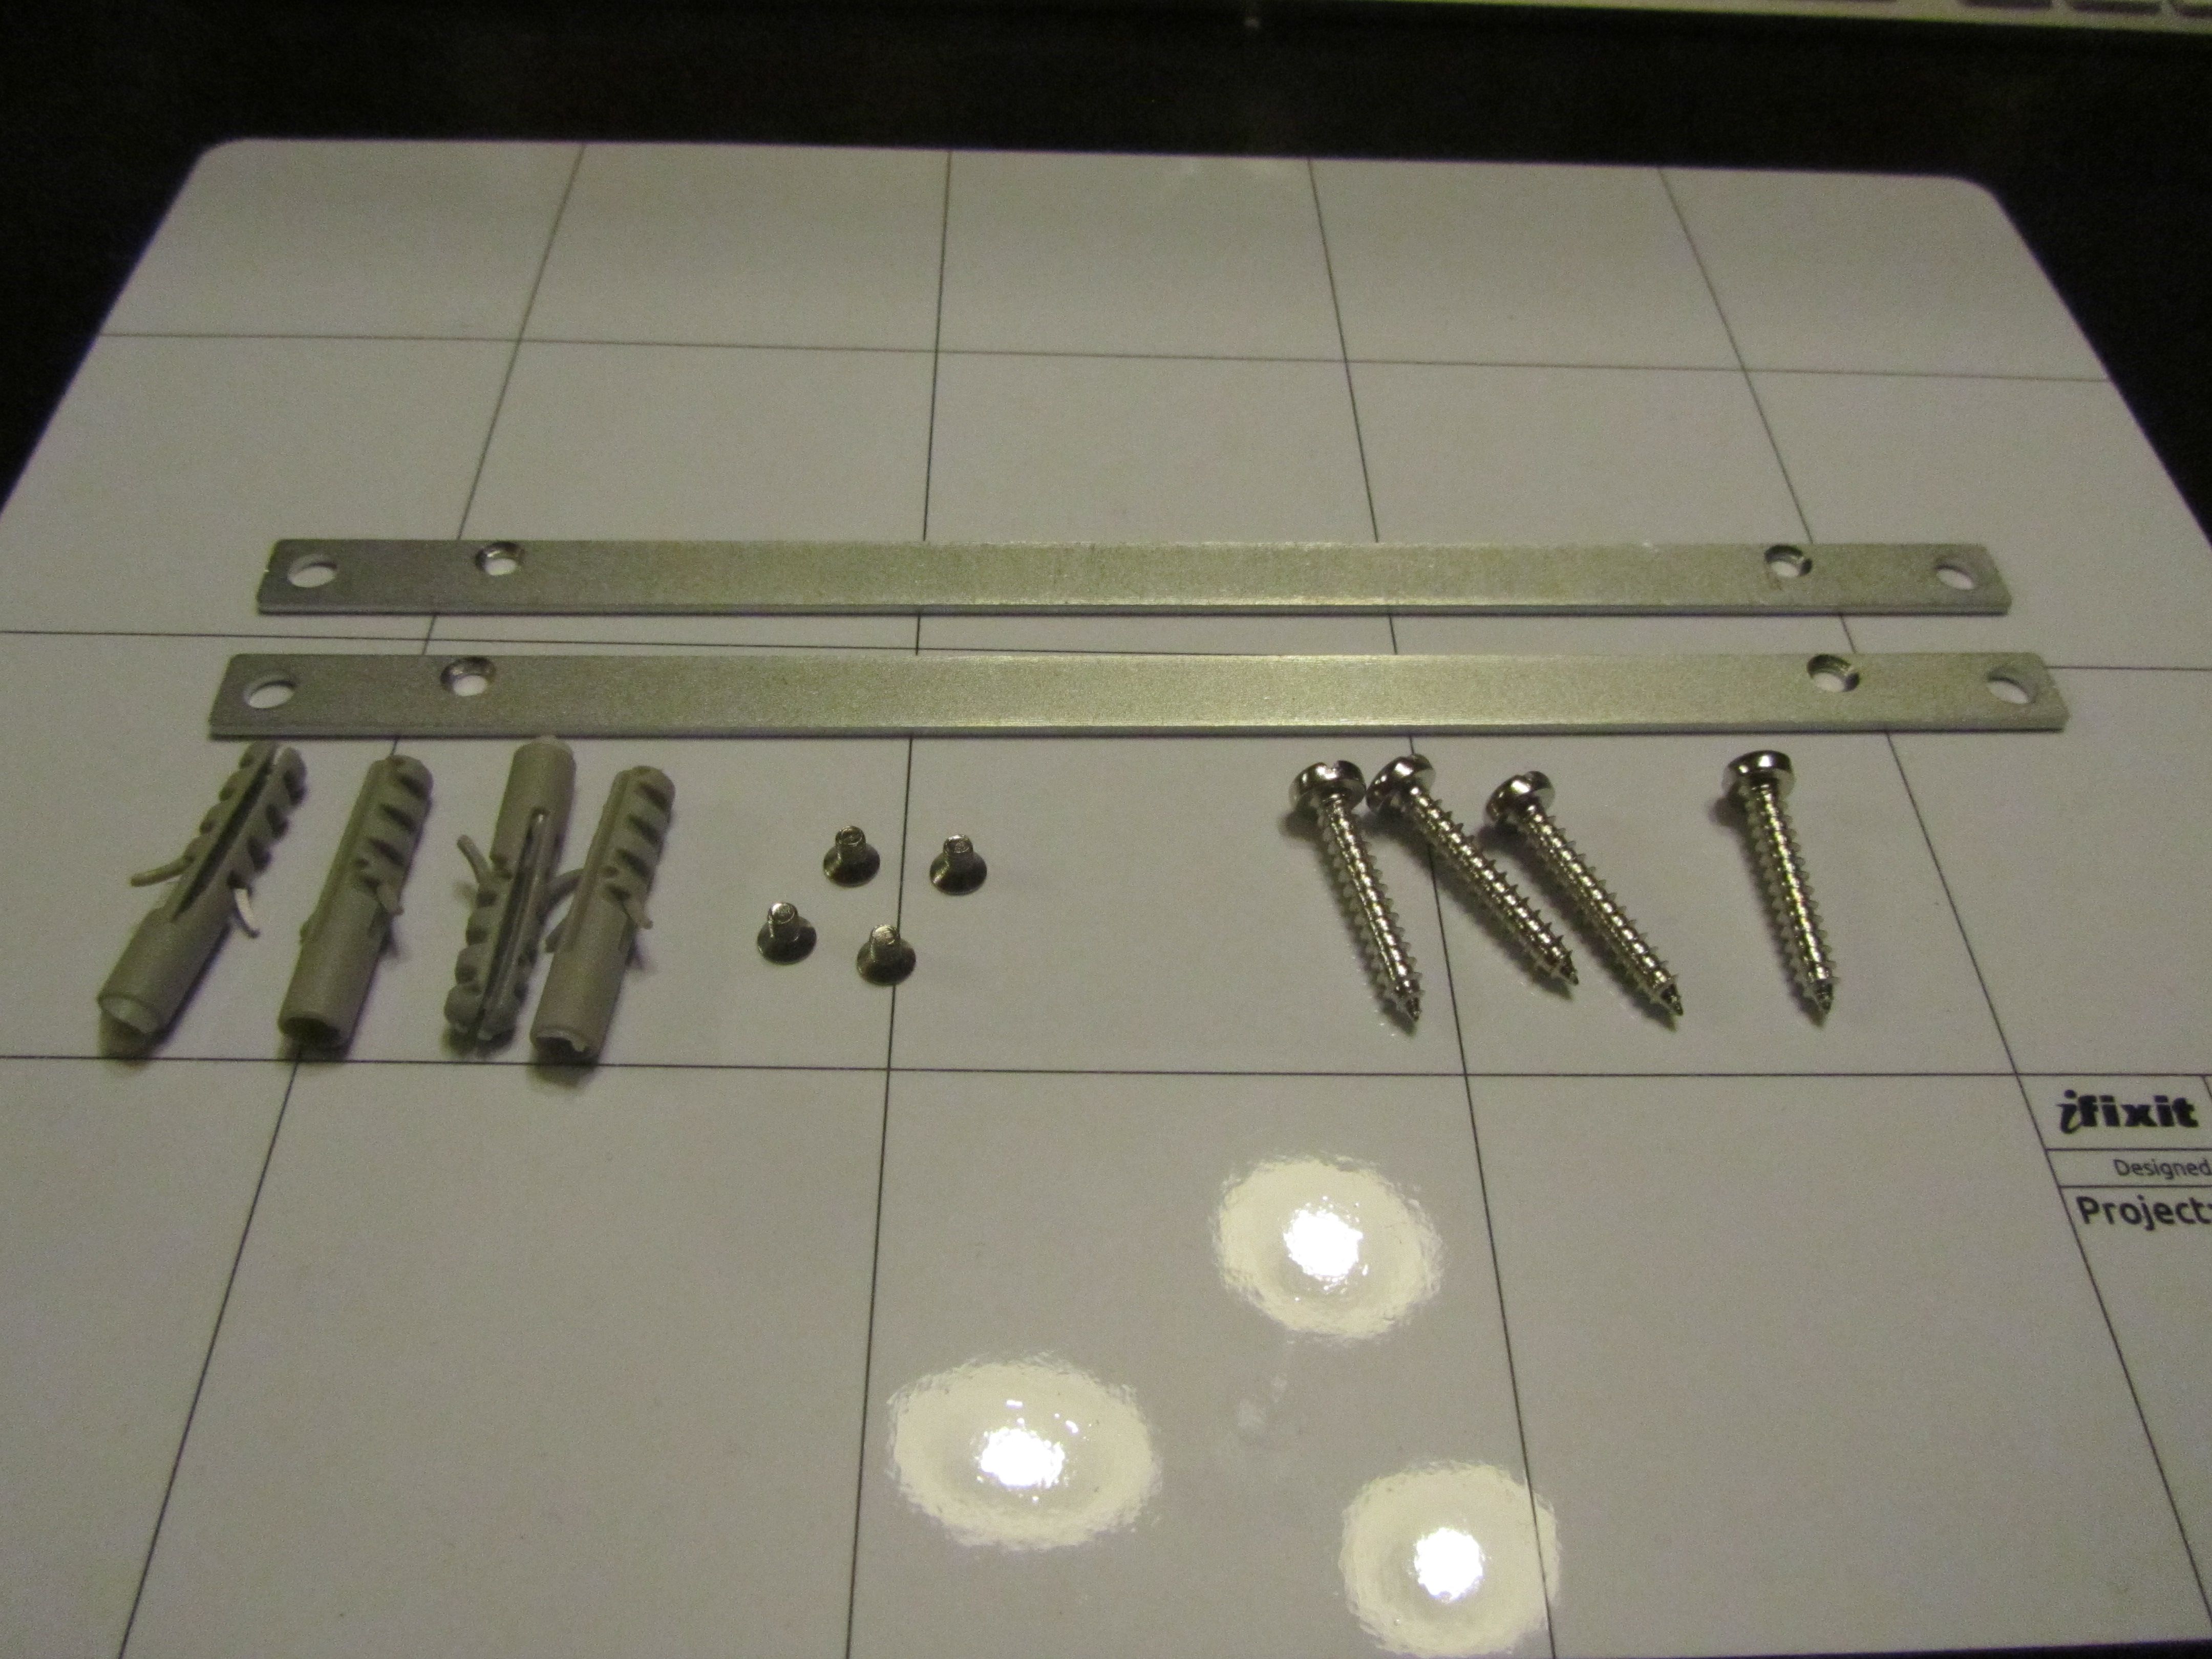
As you can see, it is a pretty basic configuration. Just line up the holes with the screw holes in the base. The countersunk side should be up.
Software Configuration
Once you have gotten the system installed, the serial port configured and are ready to go, you need to actually do the configuration of the system. This is a quick run through the options so that you can get to using the web interface. In this example, I ensure the OS is defaulted to factory reset, that the WAN interface will be DHCPing an address, the internal LAN will be static and service addresses for the internal network and that the unit will be using default rules for most things. This can all be changed later, but this will provide a functional and sufficiently secure start so that you can use your internet connection.
Configuring the system for web access
Make sure you are back in your terminal emulator and power up the system. If you did not correct the baud rate, you will see something like the following on your screen
Incorrect baud rate after initial install
+--------------------------------------------------------------------------+
| PC Engines ALIX.2 v0.99h                                                 |
| 640 KB Base Memory                                                       |
| 261120 KB Extended Memory                                                |
|                                                                          |
| 01F0 Master 044A CF 4GB                                                  |
| Phys C/H/S 7785/16/63 Log C/H/S 973/128/63                               |
| xÇxxÇÇÇxÇxÇxxÇxxÇxxxÇxÇÇÇÇÇxÇxÇxxÇxxÇxxxÇxÇxÇxÇÇxxxxÇxÇxxxxÇÇÇxÇÇxÇxxxxx |
| xxxxxxxxxxxxÇxxxxxxxxÇxÇxÇx                                              |
| ÇÇxxxÇxxxxxxxxxxxxxxxxxxxxxxxxxxxxxxxxxxxxxxxxxxxxxxxxxxxxxxxxxxxxxxxxxx |
| xxxxxxxxxxxxxxxxxxxxxxxxÇxx                                              |
| xxxÇxÇÇÇxxxÇxÇxxxÇxxÇxxÇÇxÇxÇxÇÇxÇxÇxÇÇxÇxÇxxxxÇxÇÇxxÇxÇÇxÇxÇxxxÇxÇxÇxÇÇ |
| xÇxÇxÇÇÇÇÇxxxxÇÇÇÇÇxÇxÇÇÇÇÇxxxÇxx                                        |
| xxÇxxxxxxxÇxxxxxxÇxÇxÇxxÇxÇxÇxxxxxxÇxxxxÇÇÇÇÇxxxxÇxxÇxxxÇxxxÇxxxÇxxÇÇÇxx |
| ÇxxÇxÇxÇxxxÇxÇÇxxÇxÇxxÇÇxxx                                              |
| xxÇxxxxÇxxxxÇxxÇxÇÇxxxxÇÇÇÇÇÇxÇxxxÇxxÇxxxÇxÇxxxÇxÇxxxxÇxxxxxÇxÇxxÇxxxxÇx |
| ÇÇxxÇxxÇxÇxÇÇxÇÇÇÇxÇxÇÇÇÇxÇÇxxx                                          |
| xxÇÇÇÇÇxÇÇÇxxxÇxxxxxxxxxxxxxxxxxxxxxxxxxxxxxxxxxxxxxxxxxxxxxxxxxxxxxxxxx |
| xxxxxxxxxxxxxxxxxxxxxxxxxxxxÇxxx                                         |
| ÇxÇxxÇxÇxÇxxxxxÇxxxÇxxxxxxÇxxxxxÇxxxÇxxxxxÇxÇxÇxxxxxxxxxxxxxxxxxxxxxxxxx |
| xxxxxxxxxxxxxxxxxxxxxxxxxxxx                                             |
| xxxxxxxxxxxxxxxxxxxxxxxxxxxxxxxxxxxxxxxxxxxxxxxxxxxxxxxxxxxxxxxxxxxxxxxx |
| xxxxxxxxxxxxxxxxxxxxxxxxxxxxxx                                           |
| xxxxxxxxxxxxxxxxxxxxxxxxxxxxxxxxxxxxxxxxxxxxxxx                          |
+--------------------------------------------------------------------------+
Fix the baud rate and try again. You should see something more in line with the following
Full system boot
+--------------------------------------------------------------------------+ | PC Engines ALIX.2 v0.99h | | 640 KB Base Memory | | 261120 KB Extended Memory | | | | 01F0 Master 044A CF 4GB | | Phys C/H/S 7785/16/63 Log C/H/S 973/128/63 | | | | 1 pfSense | | 2 pfSense | | | | F6 PXE | | Boot: 1 | | /boot/config: -h | | Consoles: serial port | | BIOS drive C: is disk0 | | BIOS 640kB/261120kB available memory | | | | FreeBSD/x86 bootstrap loader, Revision 1.1 | | (root@snapshots-8_3-i386.builders.pfsense.org, Wed Sep 11 18:59:49 EDT 2 | | 013) | | Loading /boot/defaults/loader.conf | | /boot/kernel/kernel data=0x9162bc data=0x51d734+0x9e0c4 syms=[0x4+0x9aa9 | | 0+0x4+0xd51ab] | | - | | Hit [Enter] to boot immediately, or any other key for command prompt. | | Booting [/boot/kernel/kernel]... | | Copyright (c) 1992-2012 The FreeBSD Project. | | Copyright (c) 1979, 1980, 1983, 1986, 1988, 1989, 1991, 1992, 1993, 1994 | | The Regents of the University of California. All rights reserved | | . | | FreeBSD is a registered trademark of The FreeBSD Foundation. | | FreeBSD 8.3-RELEASE-p11 #0: Wed Sep 11 19:13:36 EDT 2013 | | root@snapshots-8_3-i386.builders.pfsense.org:/usr/obj.pfSense/usr/pf | | Sensesrc/src/sys/pfSense_wrap.8.i386 i386 | | Timecounter "i8254" frequency 1193182 Hz quality 0 | | CPU: Geode(TM) Integrated Processor by AMD PCS (498.05-MHz 586-class CPU | | ) | | Origin = "AuthenticAMD" Id = 0x5a2 Family = 5 Model = a Stepping = | | 2 | | Features=0x88a93d<FPU,DE,PSE,TSC,MSR,CX8,SEP,PGE,CMOV,CLFLUSH,MMX> | | AMD Features=0xc0400000<MMX+,3DNow!+,3DNow!> | | real memory = 268435456 (256 MB) | | avail memory = 239239168 (228 MB) | | pnpbios: Bad PnP BIOS data checksum | | ipw_bss: You need to read the LICENSE file in /usr/share/doc/legal/intel | | _ipw/. | | ipw_bss: If you agree with the license, set legal.intel_ipw.license_ack= | | 1 in /boot/loader.conf. | | module_register_init: MOD_LOAD (ipw_bss_fw, 0xc07330f0, 0) error 1 | | ipw_ibss: You need to read the LICENSE file in /usr/share/doc/legal/inte | | l_ipw/. | | ipw_ibss: If you agree with the license, set legal.intel_ipw.license_ack | | =1 in /boot/loader.conf. | | module_register_init: MOD_LOAD (ipw_ibss_fw, 0xc0733190, 0) error 1 | | ipw_monitor: You need to read the LICENSE file in /usr/share/doc/legal/i | | ntel_ipw/. | | ipw_monitor: If you agree with the license, set legal.intel_ipw.license_ | | ack=1 in /boot/loader.conf. | | module_register_init: MOD_LOAD (ipw_monitor_fw, 0xc0733230, 0) error 1 | | wlan: mac acl policy registered | | K6-family MTRR support enabled (2 registers) | | ACPI Error: A valid RSDP was not found (20101013/tbxfroot-309) | | ACPI: Table initialisation failed: AE_NOT_FOUND | | ACPI: Try disabling either ACPI or apic support. | | cryptosoft0: <software crypto> on motherboard | | padlock0: No ACE support. | | pcib0: <Host to PCI bridge> pcibus 0 on motherboard | | pci0: <PCI bus> on pcib0 | | Geode LX: PC Engines ALIX.2 v0.99h tinyBIOS V1.4a (C)1997-2007 | | pci0: <encrypt/decrypt, entertainment crypto> at device 1.2 (no driver a | | ttached) | | vr0: <VIA VT6105M Rhine III 10/100BaseTX> port 0x1000-0x10ff mem 0xe0000 | | 000-0xe00000ff irq 10 at device 9.0 on pci0 | | vr0: Quirks: 0x2 | | vr0: Revision: 0x96 | | miibus0: <MII bus> on vr0 | | ukphy0: <Generic IEEE 802.3u media interface> PHY 1 on miibus0 | | ukphy0: none, 10baseT, 10baseT-FDX, 100baseTX, 100baseTX-FDX, auto, aut | | o-flow | | vr0: [ITHREAD] | | vr1: <VIA VT6105M Rhine III 10/100BaseTX> port 0x1400-0x14ff mem 0xe0040 | | 000-0xe00400ff irq 11 at device 10.0 on pci0 | | vr1: Quirks: 0x2 | | vr1: Revision: 0x96 | | miibus1: <MII bus> on vr1 | | ukphy1: <Generic IEEE 802.3u media interface> PHY 1 on miibus1 | | ukphy1: none, 10baseT, 10baseT-FDX, 100baseTX, 100baseTX-FDX, auto, aut | | o-flow | | vr1: [ITHREAD] | | vr2: <VIA VT6105M Rhine III 10/100BaseTX> port 0x1800-0x18ff mem 0xe0080 | | 000-0xe00800ff irq 15 at device 11.0 on pci0 | | vr2: Quirks: 0x2 | | vr2: Revision: 0x96 | | miibus2: <MII bus> on vr2 | | ukphy2: <Generic IEEE 802.3u media interface> PHY 1 on miibus2 | | ukphy2: none, 10baseT, 10baseT-FDX, 100baseTX, 100baseTX-FDX, auto, aut | | o-flow | | vr2: [ITHREAD] | | isab0: <PCI-ISA bridge> port 0x6000-0x6007,0x6100-0x61ff,0x6200-0x623f,0 | | x9d00-0x9d7f,0x9c00-0x9c3f at device 15.0 on pci0 | | isa0: <ISA bus> on isab0 | | atapci0: <AMD CS5536 UDMA100 controller> port 0x1f0-0x1f7,0x3f6,0x170-0x | | 177,0x376,0xff00-0xff0f at device 15.2 on pci0 | | ata0: <ATA channel> at channel 0 on atapci0 | | ata0: [ITHREAD] | | ata1: <ATA channel> at channel 1 on atapci0 | | ata1: [ITHREAD] | | ohci0: <OHCI (generic) USB controller> mem 0xefffe000-0xefffefff irq 12 | | at device 15.4 on pci0 | | ohci0: [ITHREAD] | | usbus0: <OHCI (generic) USB controller> on ohci0 | | ehci0: <AMD CS5536 (Geode) USB 2.0 controller> mem 0xefffd000-0xefffdfff | | irq 12 at device 15.5 on pci0 | | ehci0: [ITHREAD] | | usbus1: EHCI version 1.0 | | usbus1: <AMD CS5536 (Geode) USB 2.0 controller> on ehci0 | | cpu0 on motherboard | | orm0: <ISA Option ROM> at iomem 0xe0000-0xea7ff pnpid ORM0000 on isa0 | | atrtc0: <AT Real Time Clock> at port 0x70 irq 8 on isa0 | | ppc0: parallel port not found. | | uart0: <16550 or compatible> at port 0x3f8-0x3ff irq 4 flags 0x10 on isa | | 0 | | uart0: [FILTER] | | uart0: console (9600,n,8,1) | | uart1: <16550 or compatible> at port 0x2f8-0x2ff irq 3 on isa0 | | uart1: [FILTER] | | RTC BIOS diagnostic error 80<clock_battery> | | Timecounter "TSC" frequency 498052662 Hz quality 800 | | Timecounters tick every 10.000 msec | | IPsec: Initialized Security Association Processing. | | usbus0: 12Mbps Full Speed USB v1.0 | | usbus1: 480Mbps High Speed USB v2.0 | | ugen0.1: <AMD> at usbus0 | | uhub0: <AMD OHCI root HUB, class 9/0, rev 1.00/1.00, addr 1> on usbus0 | | ugen1.1: <AMD> at usbus1 | | uhub1: <AMD EHCI root HUB, class 9/0, rev 2.00/1.00, addr 1> on usbus1 | | ad0: 3831MB <CF 4GB 20110221> at ata0-master PIO4 | | Root mount waiting for: usbus1 usbus0 | | uhub0: 4 ports with 4 removable, self powered | | Root mount waiting for: usbus1 | | uhub1: 4 ports with 4 removable, self powered | | Trying to mount root from ufs:/dev/ufs/pfsense0 | | Configuring crash dumps... | | Mounting filesystems... | | Setting up memory disks... done. | | Disabling APM on /dev/ad0 | | | | ___ | | ___/ f \ | | / p \___/ Sense | | \___/ \ | | \___/ | | | | Welcome to pfSense 2.1-RELEASE ... | | | | Creating symlinks......done. | | >>> Under 512 megabytes of ram detected. Not enabling APC. | | External config loader 1.0 is now starting... ad0s3 | | Launching the init system... done. | | Initializing............................. done. | | Starting device manager (devd)...done. | | Loading configuration......done. | | Updating configuration...done. | | Cleaning backup cache....done. | | Setting up extended sysctls...done. | | Setting timezone...done. | | Configuring loopback interface...done. | | Starting syslog...done. | | Starting Secure Shell Services...done. | | Setting up polling defaults...done. | | Setting up interfaces microcode...done. | | Configuring loopback interface...done. | | Creating wireless clone interfaces...done. | | Configuring LAGG interfaces...done. | | Configuring VLAN interfaces...done. | | Configuring QinQ interfaces...done. | | Configuring WAN interface...done. | | Configuring LAN interface...done. | | Syncing OpenVPN settings...done. | | Configuring firewall......done. | | Starting PFLOG...done. | | Setting up gateway monitors...done. | | Synchronizing user settings...done. | | Starting webConfigurator...done. | | Configuring CRON...done. | | Starting DNS forwarder...done. | | Starting NTP time client...done. | | Starting DHCP service...done. | | Starting DHCPv6 service...done. | | Configuring firewall......done. | | Generating RRD graphs...done. | | Starting syslog...done. | | Starting CRON... done. | | Bootup complete | | | | FreeBSD/i386 (pfSense.localdomain) (console) | | | | *** Welcome to pfSense 2.1-RELEASE-nanobsd (i386) on pfSense *** | | | | WAN (wan) -> vr1 -> | | LAN (lan) -> vr0 -> v4: 192.168.1.1/24 | | | | 0) Logout (SSH only) 8) Shell | | 1) Assign Interfaces 9) pfTop | | 2) Set interface(s) IP address 10) Filter Logs | | 3) Reset webConfigurator password 11) Restart webConfigurator | | 4) Reset to factory defaults 12) pfSense Developer Shell | | 5) Reboot system 13) Upgrade from console | | 6) Halt system 14) Enable Secure Shell (sshd) | | 7) Ping host 15) Restore recent configuration | | | | Enter an option: | +--------------------------------------------------------------------------+
It is very detailed, but it provides a lot of information for debugging any isues. In pretty much all cases, you can ignore the barrage of information. You are interested in the last portion, the console menu.
Console menu
+--------------------------------------------------------------------------+
| FreeBSD/i386 (gateway.internal) (console)                                |
|                                                                          |
| *** Welcome to pfSense 2.1-RELEASE-nanobsd (i386) on gateway ***         |
|                                                                          |
|  WAN (wan)       -> vr0        -> v4/DHCP4: 10.9.8.181/24                |
|  LAN (lan)       -> vr1        -> v4: 192.168.99.1/24                    |
|  DMZ (opt1)      -> vr2        -> v4: 192.168.98.1/24                    |
|                                                                          |
|  0) Logout (SSH only)                  8) Shell                          |
|  1) Assign Interfaces                  9) pfTop                          |
|  2) Set interface(s) IP address       10) Filter Logs                    |
|  3) Reset webConfigurator password    11) Restart webConfigurator        |
|  4) Reset to factory defaults         12) pfSense Developer Shell        |
|  5) Reboot system                     13) Upgrade from console           |
|  6) Halt system                       14) Disable Secure Shell (sshd)    |
|  7) Ping host                         15) Restore recent configuration   |
|                                                                          |
| Enter an option:                                                         |
+--------------------------------------------------------------------------+
We are getting close. You want to reset to factory defaults to make sure the system provides a functional working service before you decide to strike out on your own. At the prompt, type a 4 and press Enter. You will reboot after this.
Reset to factory defaults
+--------------------------------------------------------------------------+ | FreeBSD/i386 (gateway.internal) (console) | | | | *** Welcome to pfSense 2.1-RELEASE-nanobsd (i386) on gateway *** | | | | WAN (wan) -> vr0 -> v4/DHCP4: 10.9.8.181/24 | | LAN (lan) -> vr1 -> v4: 192.168.99.1/24 | | DMZ (opt1) -> vr2 -> v4: 192.168.98.1/24 | | | | 0) Logout (SSH only) 8) Shell | | 1) Assign Interfaces 9) pfTop | | 2) Set interface(s) IP address 10) Filter Logs | | 3) Reset webConfigurator password 11) Restart webConfigurator | | 4) Reset to factory defaults 12) pfSense Developer Shell | | 5) Reboot system 13) Upgrade from console | | 6) Halt system 14) Disable Secure Shell (sshd) | | 7) Ping host 15) Restore recent configuration | | | | Enter an option: 4 | | | | You are about to reset the firewall to factory defaults. | | The firewall will reboot after resetting the configuration. | | | | Do you want to proceed [y|n]?y | | | | pfSense is rebooting now. | | | | *** FINAL System shutdown message from root@gateway.internal *** | | | | System going down IMMEDIATELY | | | | *** Welcome to pfSense 2.1-RELEASE-nanobsd (i386) on gateway *** | | | | WAN (wan) -> vr0 -> v4/DHCP4: 10.9.8.181/24 | | LAN (lan) -> vr1 -> v4: 192.168.99.1/24 | | DMZ (opt1) -> vr2 -> v4: 192.168.98.1/24 | | | | 0) Logout (SSH only) 8) Shell | | 1) Assign Interfaces 9) pfTop | | 2) Set interface(s) IP address 10) Filter Logs | | 3) Reset webConfigurator password 11) Restart webConfigurator | | 4) Reset to factory defaults 12) pfSense Developer Shell | | 5) Reboot system 13) Upgrade from console | | 6) Halt system 14) Disable Secure Shell (sshd) | | 7) Ping host 15) Restore recent configuration | | | | Enter an option: | | pfSense is now shutting down ... | | | | Dec 31 19:06:16 lighttpd[29214]: (server.c.1546) server stopped by UID = | | 0 PID =Waiting (max 60 seconds) for system process | | `vnlru' to stop...done | | Waiting (max 60 seconds) for system process `bufdaemon' to stop...done | | Waiting (max 60 seconds) for system process `syncer' to stop... | | Syncing disks, vnodes remaining...0 0 done | | All buffers synced. | | Uptime: 5m54s | | vr0: vr_stop: Rx shutdown error | | usbus0: Controller shutdown | | uhub0: at usbus0, port 1, addr 1 (disconnected) | | usbus0: Controller shutdown complete | | usbus1: Controller shutdown | | uhub1: at usbus1, port 1, addr 1 (disconnected) | | usbus1: Controller shutdown complete | | Rebooting... | | PC Engines ALIX.2 v0.99h | | 640 KB Base Memory | | 261120 KB Extended Memory | | | | 01F0 Master 044A CF 4GB | | Phys C/H/S 7785/16/63 Log C/H/S 973/128/63 | | | | 1 pfSense | | 2 pfSense | | | | F6 PXE | | Boot: 1 | | /boot/config: -h | | Consoles: serial port | | BIOS drive C: is disk0 | | BIOS 640kB/261120kB available memory | | | | FreeBSD/x86 bootstrap loader, Revision 1.1 | | . | | . | | lots of messages | | . | | . | | Trying to mount root from ufs:/dev/ufs/pfsense0 | | Configuring crash dumps... | | Mounting filesystems... | | Setting up memory disks... done. | | Disabling APM on /dev/ad0 | | | | ___ | | ___/ f \ | | / p \___/ Sense | | \___/ \ | | \___/ | | | | Welcome to pfSense 2.1-RELEASE ... | | | | Creating symlinks......done. | | . | | . | | lots more messages | | . | | . | | Configuring firewall......done. | | Generating RRD graphs...done. | | Starting syslog...done. | | Starting CRON... done. | | Bootup complete | +--------------------------------------------------------------------------+
Now you need to configure your interfaces. Select 1 and press enter. The next part is a walkthrough. Follow it and you will be ready for the web configuration.
Configuration walkthrough
+--------------------------------------------------------------------------+ | FreeBSD/i386 (pfSense.localdomain) (console) | | | | *** Welcome to pfSense 2.1-RELEASE-nanobsd (i386) on pfSense *** | | | | WAN (wan) -> vr1 -> | | LAN (lan) -> vr0 -> v4: 192.168.1.1/24 | | | | 0) Logout (SSH only) 8) Shell | | 1) Assign Interfaces 9) pfTop | | 2) Set interface(s) IP address 10) Filter Logs | | 3) Reset webConfigurator password 11) Restart webConfigurator | | 4) Reset to factory defaults 12) pfSense Developer Shell | | 5) Reboot system 13) Upgrade from console | | 6) Halt system 14) Enable Secure Shell (sshd) | | 7) Ping host 15) Restore recent configuration | | | | Enter an option: 1 | | | | Valid interfaces are: | | | | vr0 00:0d:b9:23:5f:38 (up) VIA VT6105M Rhine III 10/100BaseTX | | vr1 00:0d:b9:23:5f:39 (up) VIA VT6105M Rhine III 10/100BaseTX | | vr2 00:0d:b9:23:5f:3a (down) VIA VT6105M Rhine III 10/100BaseTX | | | | Do you want to set up VLANs first? | | | | If you are not going to use VLANs, or only for optional interfaces, you | | should | | say no here and use the webConfigurator to configure VLANs later, if req | | uired. | | | | Do you want to set up VLANs now [y|n]? n | | | | *NOTE* pfSense requires *AT LEAST* 1 assigned interface(s) to function. | | If you do not have *AT LEAST* 1 interfaces you CANNOT continue. | | | | If you do not have at least 1 *REAL* network interface card(s) | | or one interface with multiple VLANs then pfSense | | *WILL NOT* function correctly. | | | | If you do not know the names of your interfaces, you may choose to use | | auto-detection. In that case, disconnect all interfaces now before | | hitting 'a' to initiate auto detection. | | | | Enter the WAN interface name or 'a' for auto-detection: vr0 | | | | Enter the LAN interface name or 'a' for auto-detection | | NOTE: this enables full Firewalling/NAT mode. | | (or nothing if finished): vr1 | | | | Enter the Optional 1 interface name or 'a' for auto-detection | | (or nothing if finished): vr2 | | | | Enter the Optional 2 interface name or 'a' for auto-detection | | (or nothing if finished): | | | | The interfaces will be assigned as follows: | | | | WAN -> vr0 | | LAN -> vr1 | | OPT1 -> vr2 | | | | Do you want to proceed [y|n]?y | | | | Writing configuration...done. | | One moment while we reload the settings... done! | | *** Welcome to pfSense 2.1-RELEASE-nanobsd (i386) on pfSense *** | | | | WAN (wan) -> vr0 -> | | LAN (lan) -> vr1 -> v4: 192.168.1.1/24 | | OPT1 (opt1) -> vr2 -> | | | | 0) Logout (SSH only) 8) Shell | | 1) Assign Interfaces 9) pfTop | | 2) Set interface(s) IP address 10) Filter Logs | | 3) Reset webConfigurator password 11) Restart webConfigurator | | 4) Reset to factory defaults 12) pfSense Developer Shell | | 5) Reboot system 13) Upgrade from console | | 6) Halt system 14) Enable Secure Shell (sshd) | | 7) Ping host 15) Restore recent configuration | | | | Enter an option: 2 | | | | Available interfaces: | | | | 1 - WAN (vr0 - dhcp, dhcp6) | | 2 - LAN (vr1 - static) | | 3 - OPT1 (vr2) | | | | Enter the number of the interface you wish to configure: 1 | | Configure IPv4 address WAN interface via DHCP? [y|n] | | > y | | Configure IPv6 address WAN interface via DHCP6? [y|n] | | > n | | | | Enter the new WAN IPv6 address. Press <ENTER> for none: | | > | | Disabling DHCPD...Done! | | Disabling DHCPD...Done! | | | | Do you want to revert to HTTP as the webConfigurator protocol? (y/n) y | | | | Please wait while the changes are saved to WAN... Reloading filter... | | DHCPD... restarting webConfigurator... | | | | The IPv4 WAN address has been set to dhcp | | You can now access the webConfigurator by opening the following URL in y | | our web browser: | | http://dhcp/ | | | | Press <ENTER> to continue. | | *** Welcome to pfSense 2.1-RELEASE-nanobsd (i386) on pfSense *** | | | | WAN (wan) -> vr0 -> v4/DHCP4: 10.9.8.181/24 | | LAN (lan) -> vr1 -> v4: 192.168.1.1/24 | | OPT1 (opt1) -> vr2 -> | | | | 0) Logout (SSH only) 8) Shell | | 1) Assign Interfaces 9) pfTop | | 2) Set interface(s) IP address 10) Filter Logs | | 3) Reset webConfigurator password 11) Restart webConfigurator | | 4) Reset to factory defaults 12) pfSense Developer Shell | | 5) Reboot system 13) Upgrade from console | | 6) Halt system 14) Enable Secure Shell (sshd) | | 7) Ping host 15) Restore recent configuration | | | | Enter an option: | +--------------------------------------------------------------------------+
You have completed the console portion of the configuration. You can now move on to the web configuration.
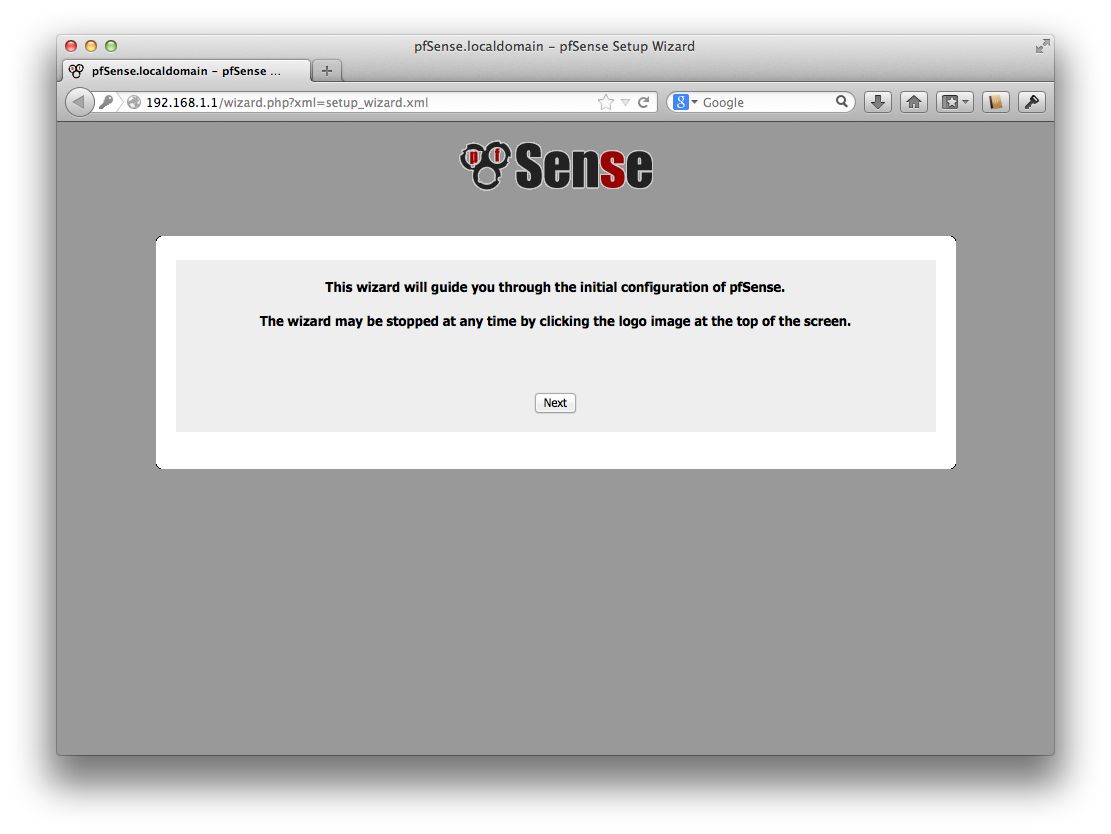
Web Configuration
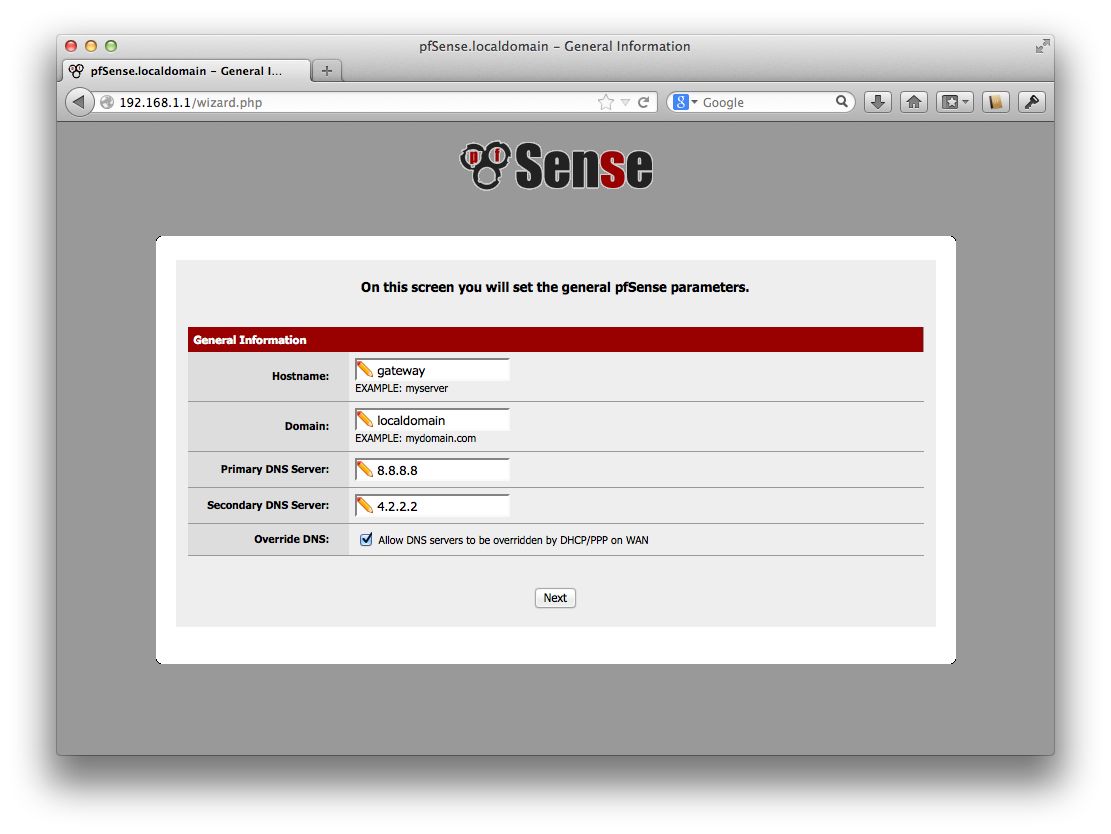
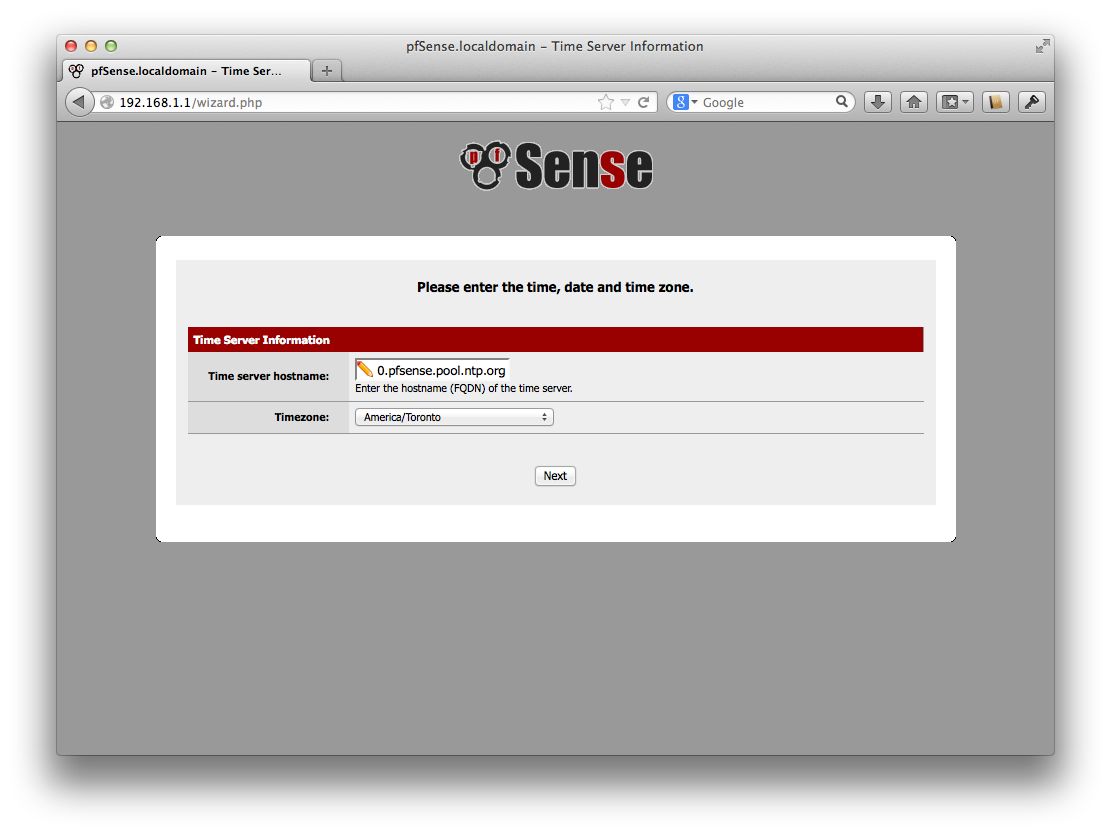
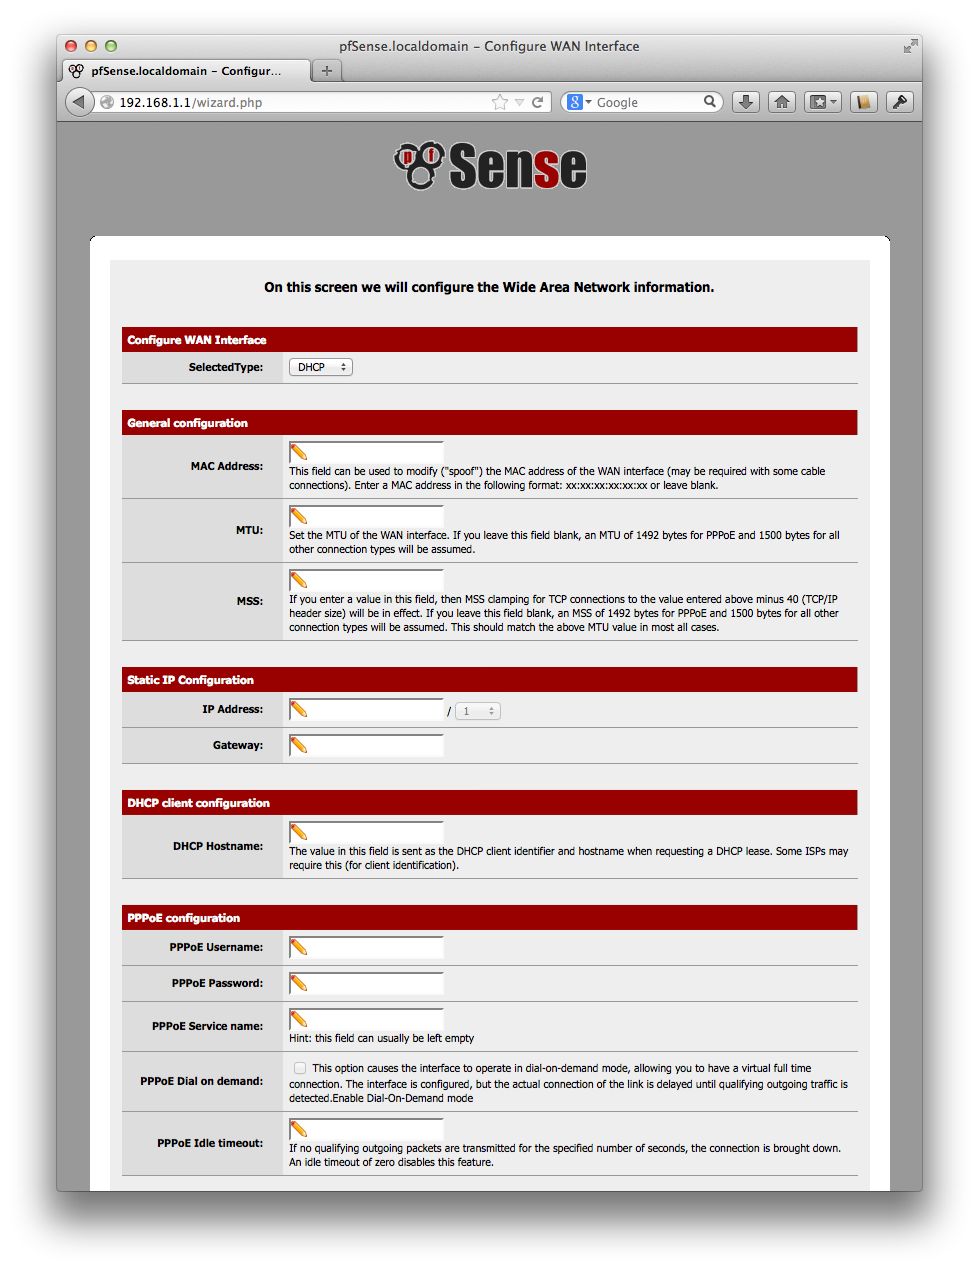
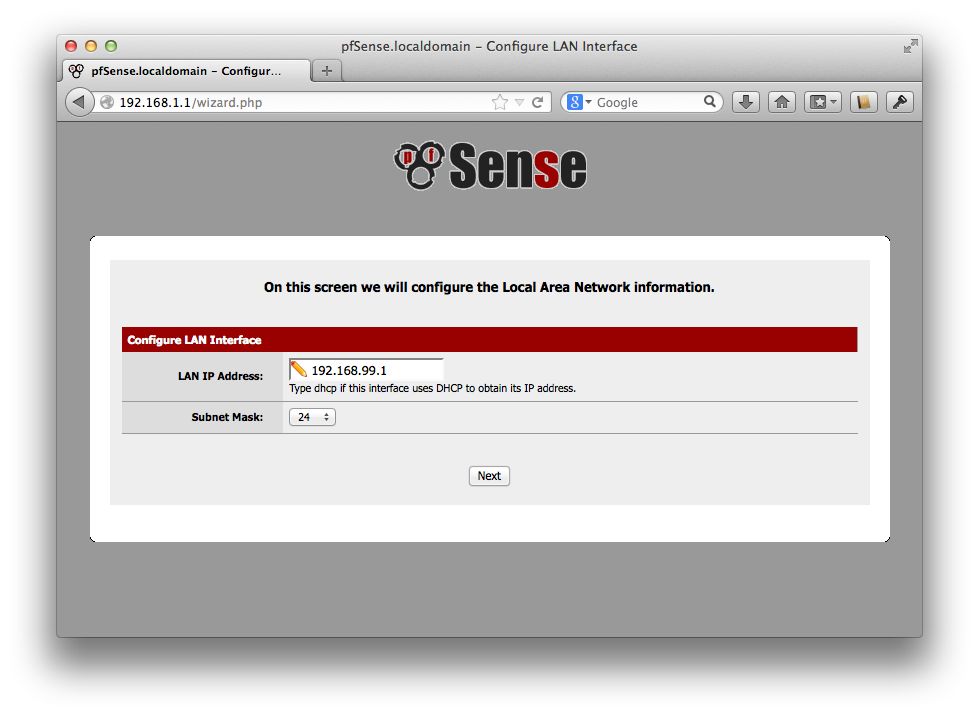
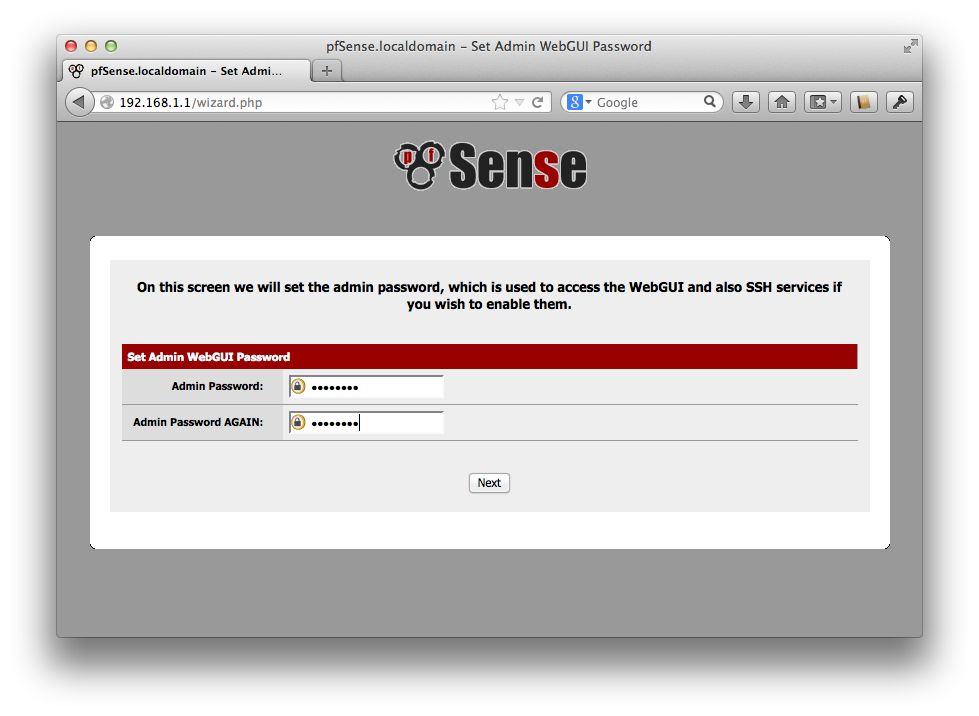
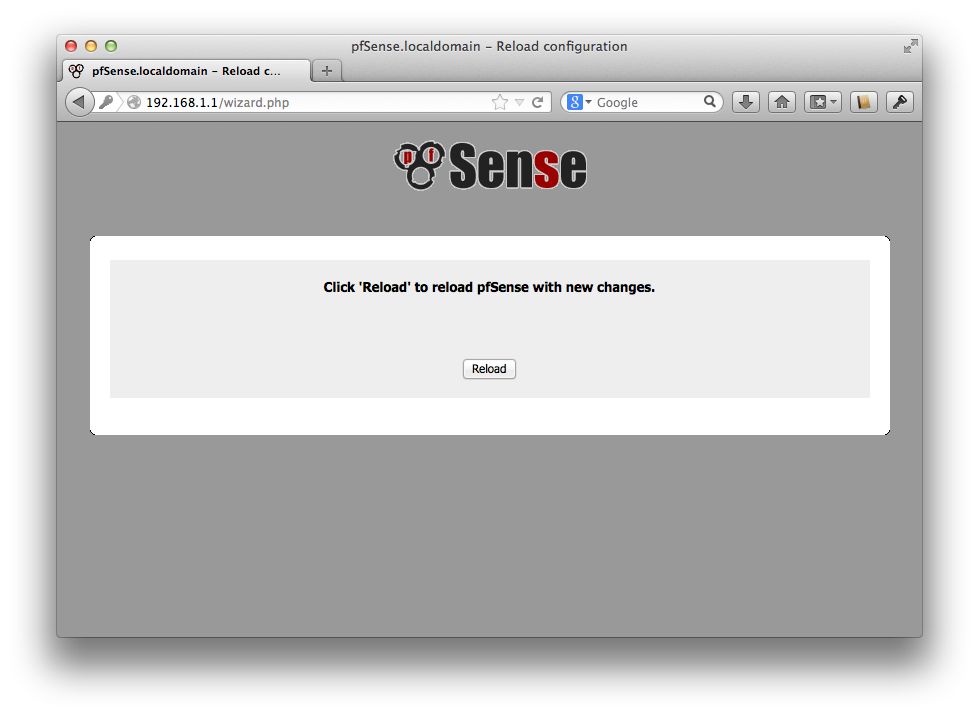
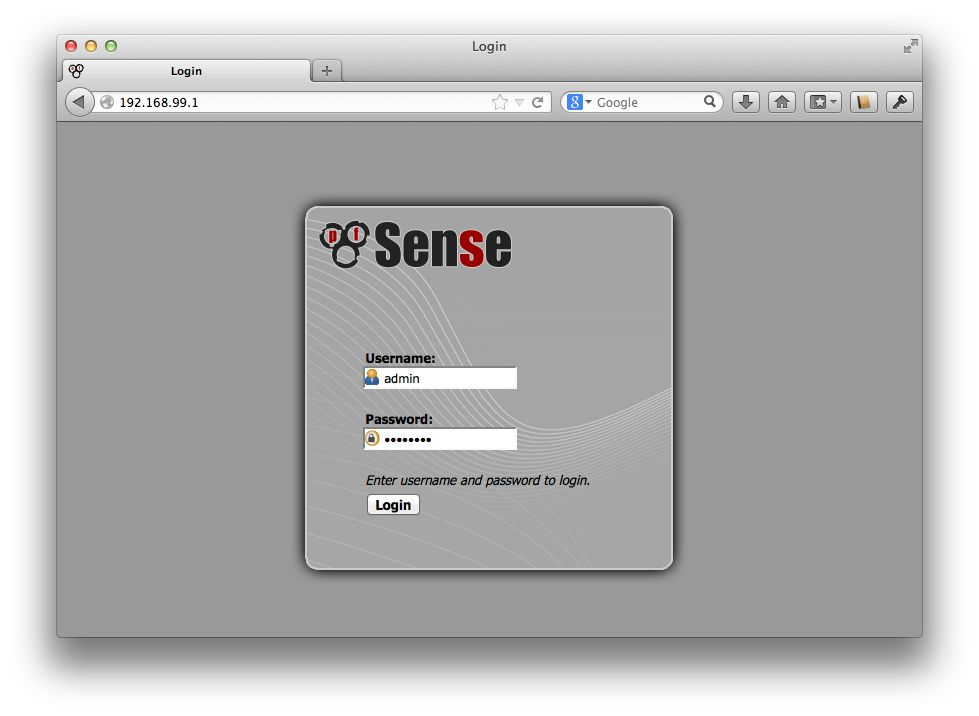
As this is a basic configuration, we will just go the screen capture route. The config is pretty simple, just follow the prompts after the initial login. The defaults are mostly correct, you will want to adjust your LAN interface to manage the network you will be using internally. All of this is shown below.
The default username is admin and the default password is pfsense. You will be prompted to change the password during configuration.


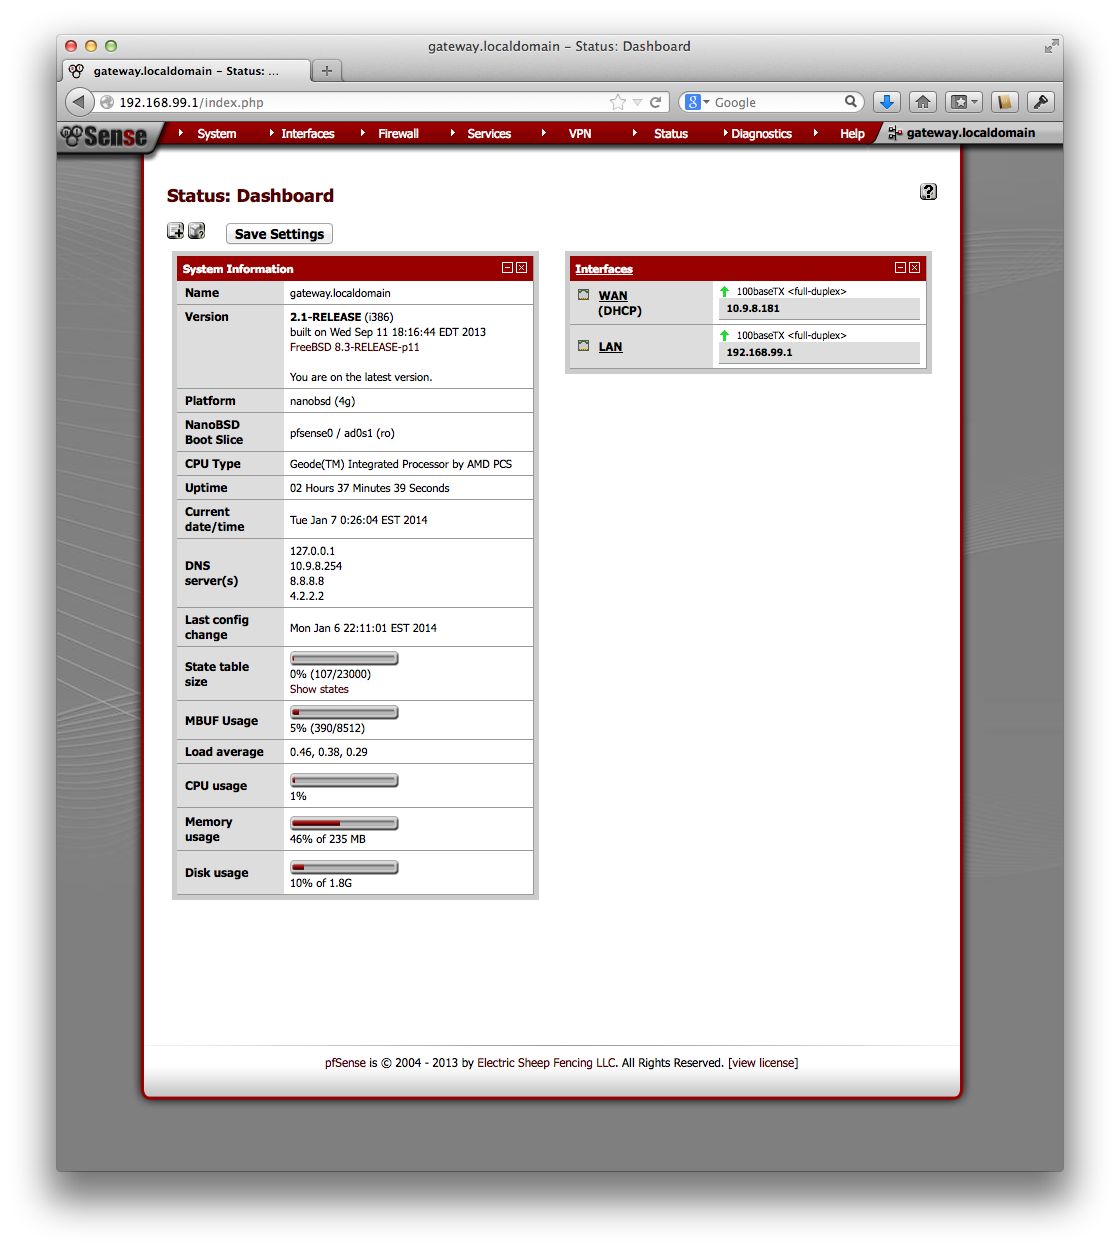
Once you are here, in the top left is a icon with a "+" character in the bottom corner. You can add status items to this screen from that menu. Here is an example with a couple of extra information boxes.

Congratulations, you are done. Happy surfing!
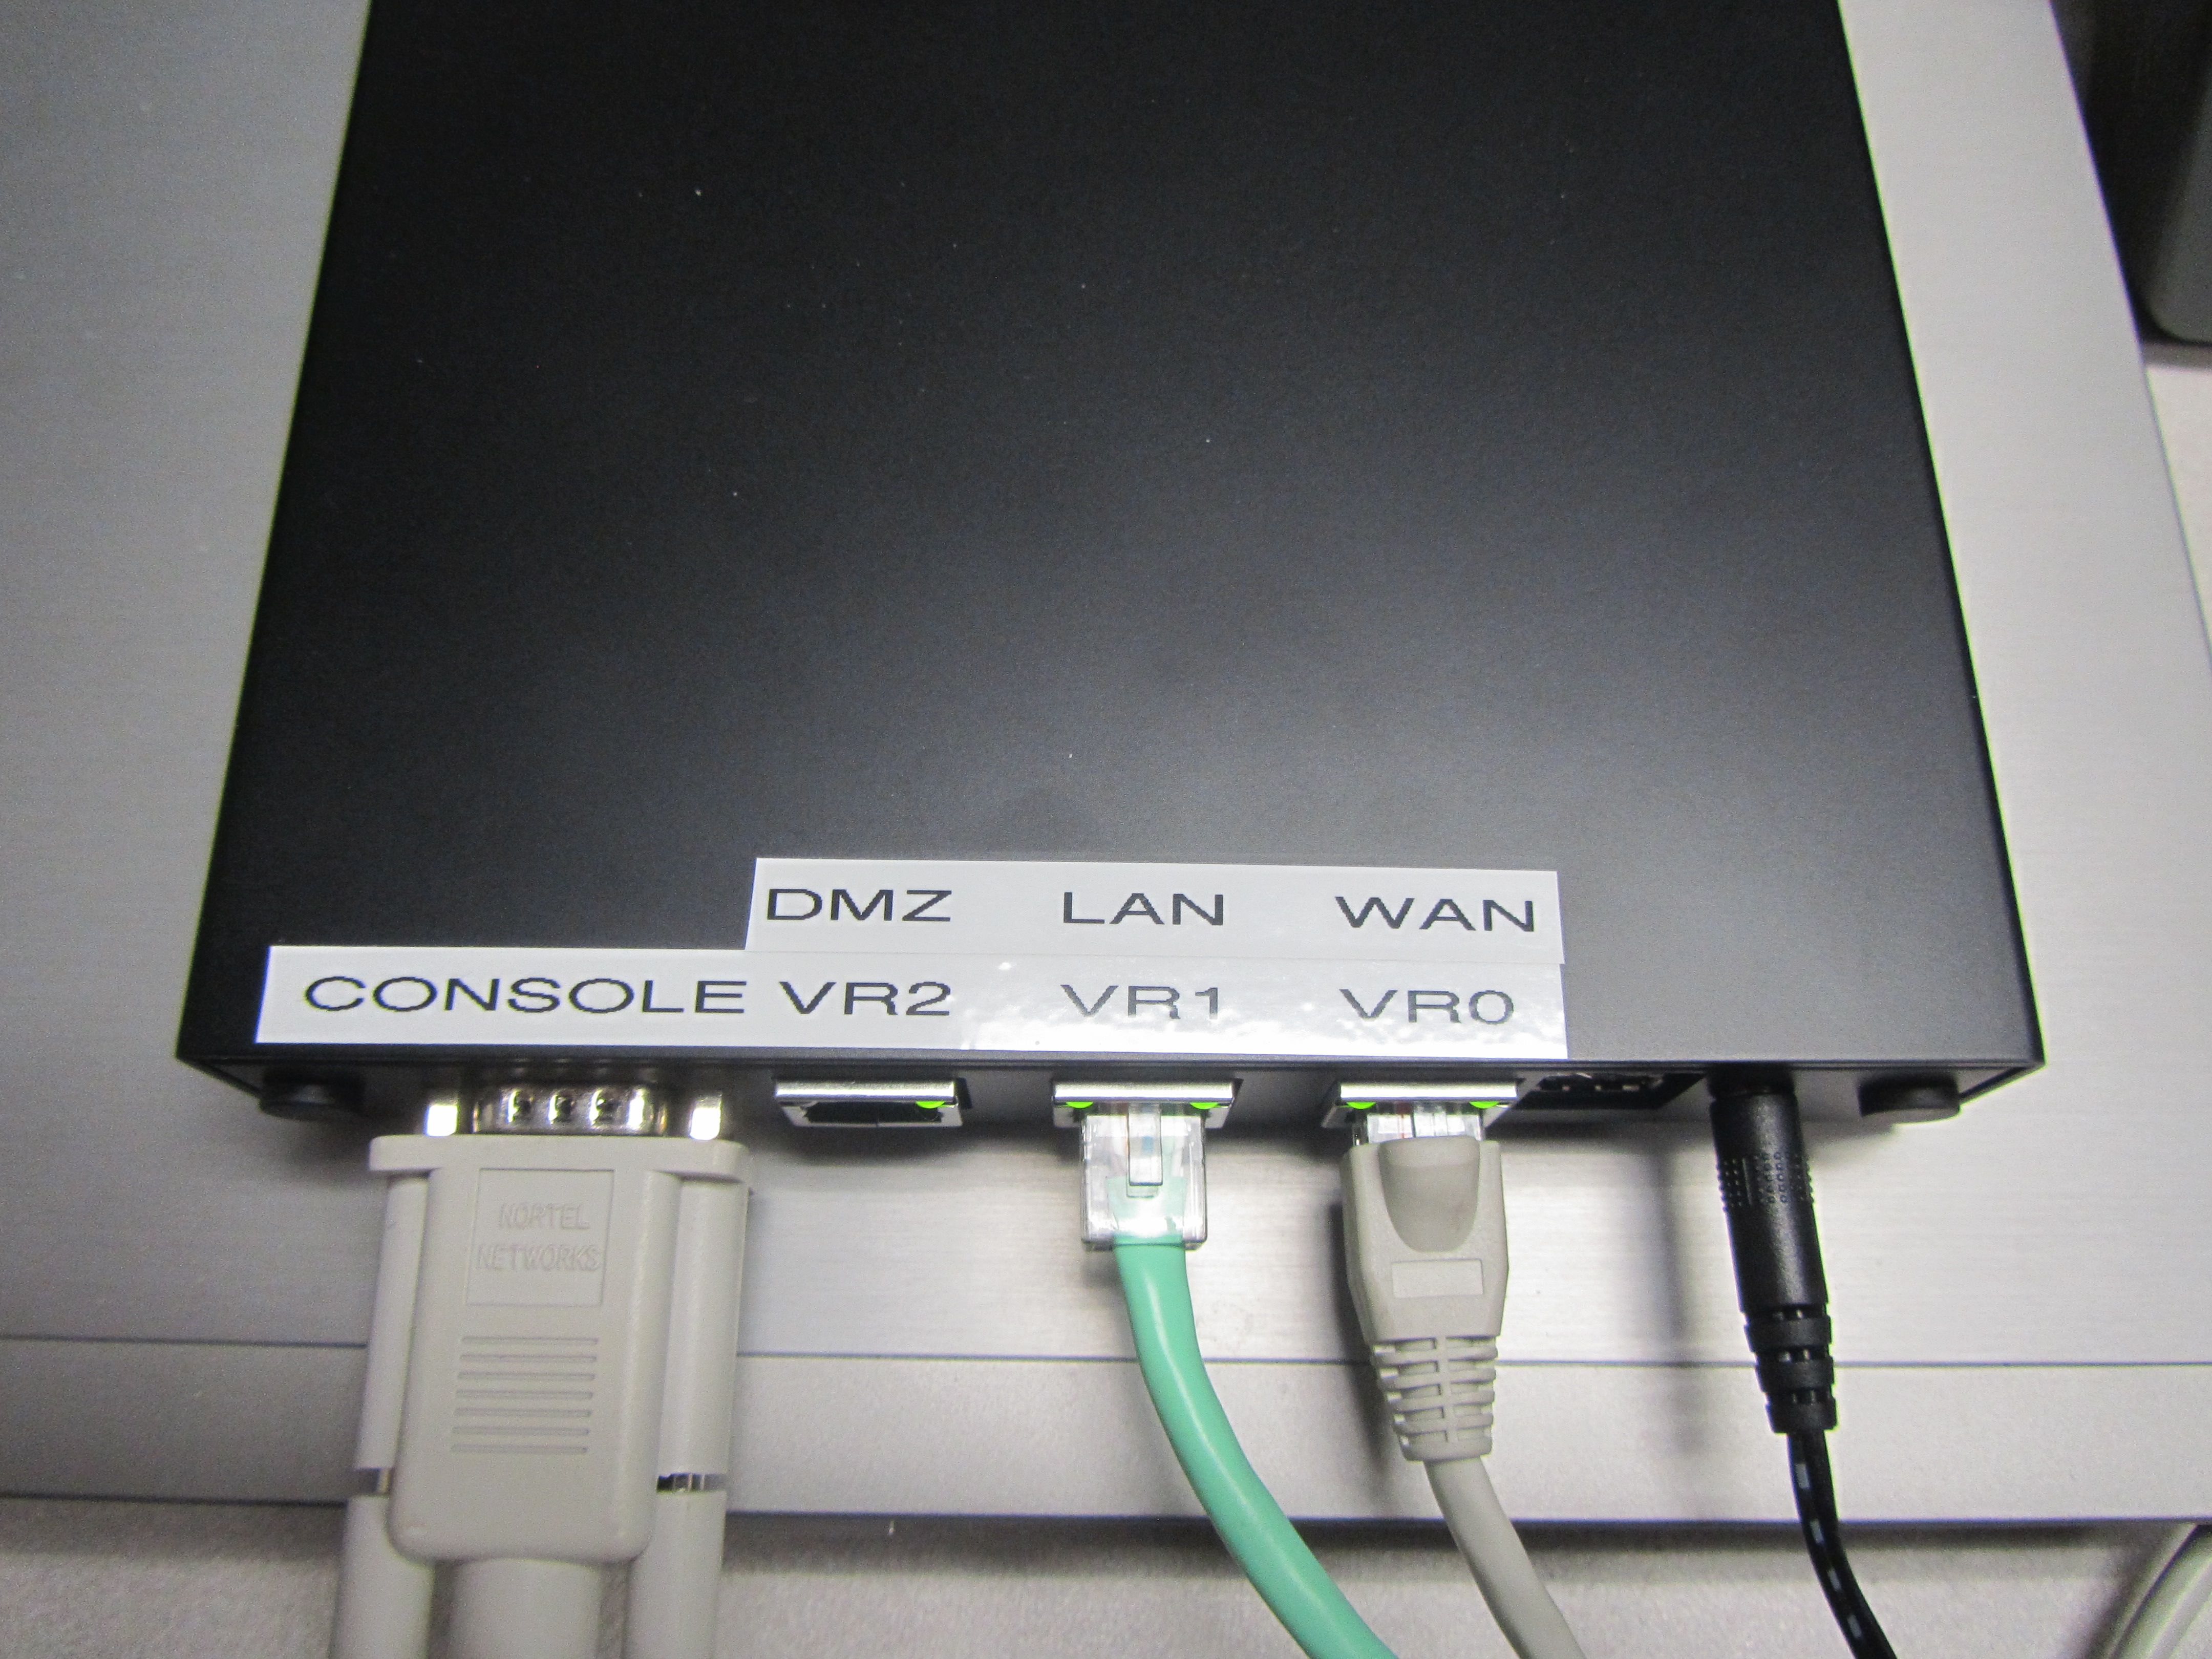
Final Case Picture
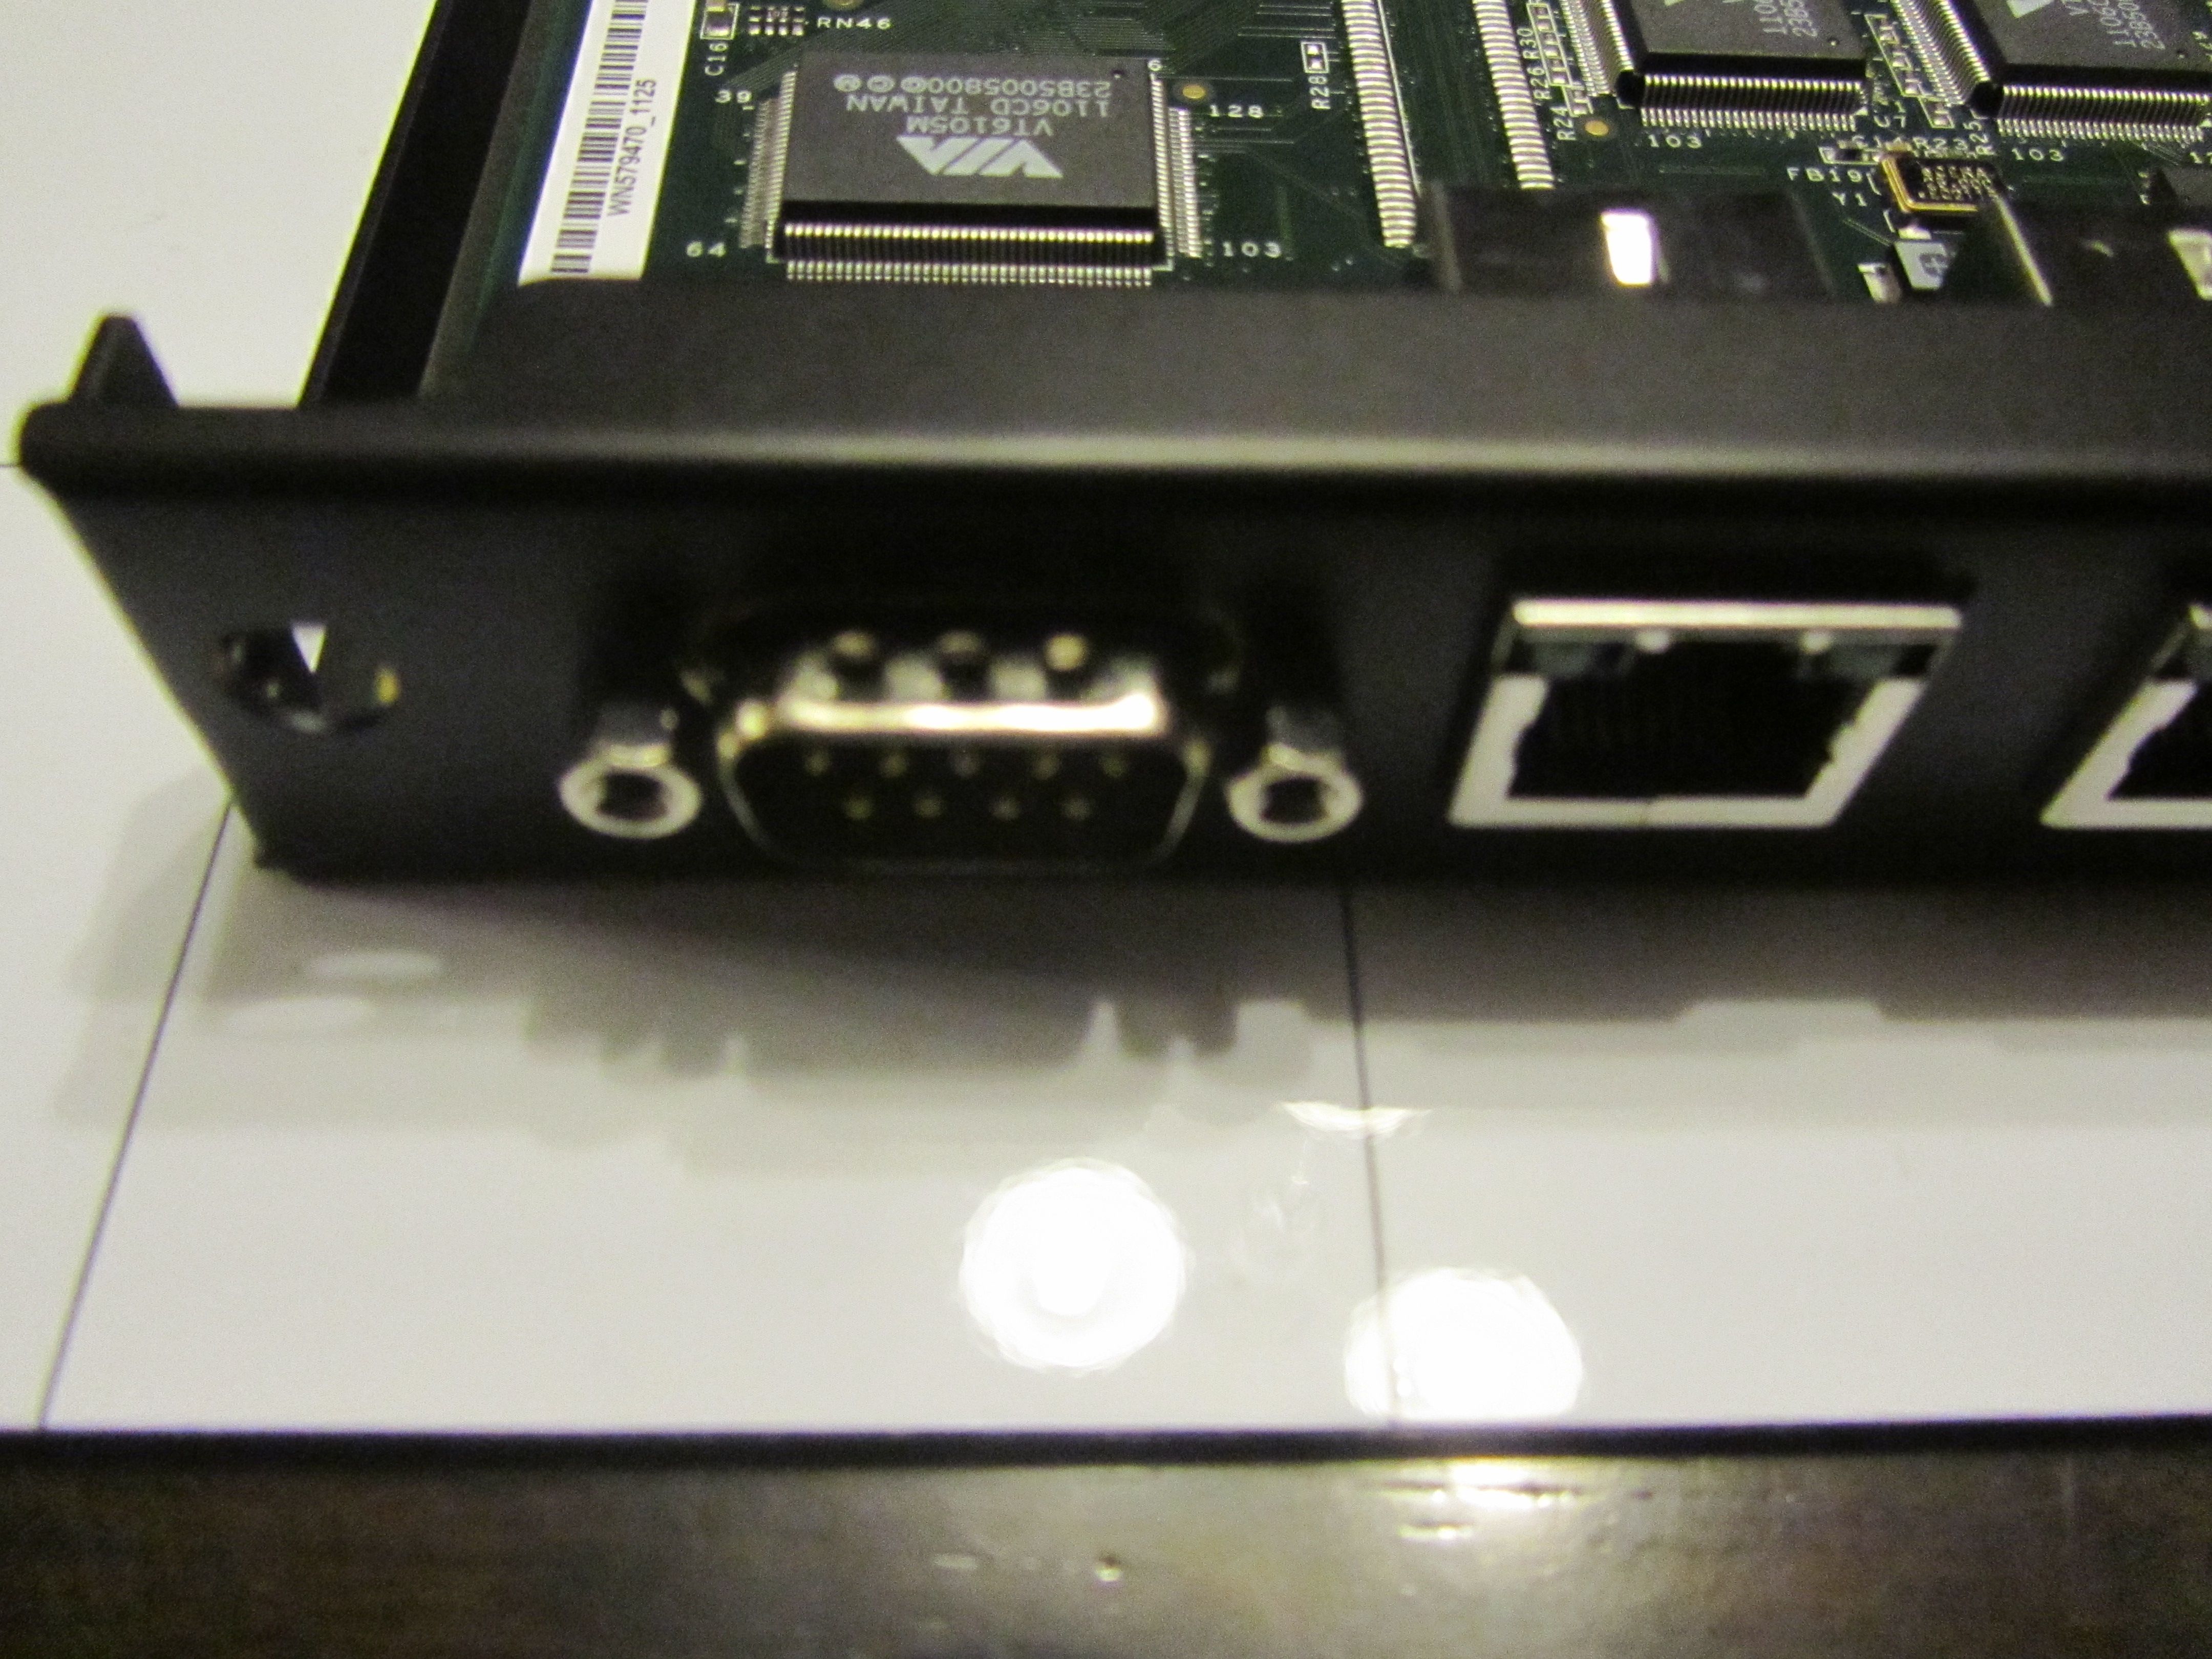
I thought I’d add a picture with the interfaces, etc. labelled. It is amazing how often you end up wondering which interface is which.
Parts List
This is the list of parts from PCEngines. My experiences with them have been very good and shipping to Canada seems to be cheaper than getting goods from the U.S. It also seems to arrive faster.